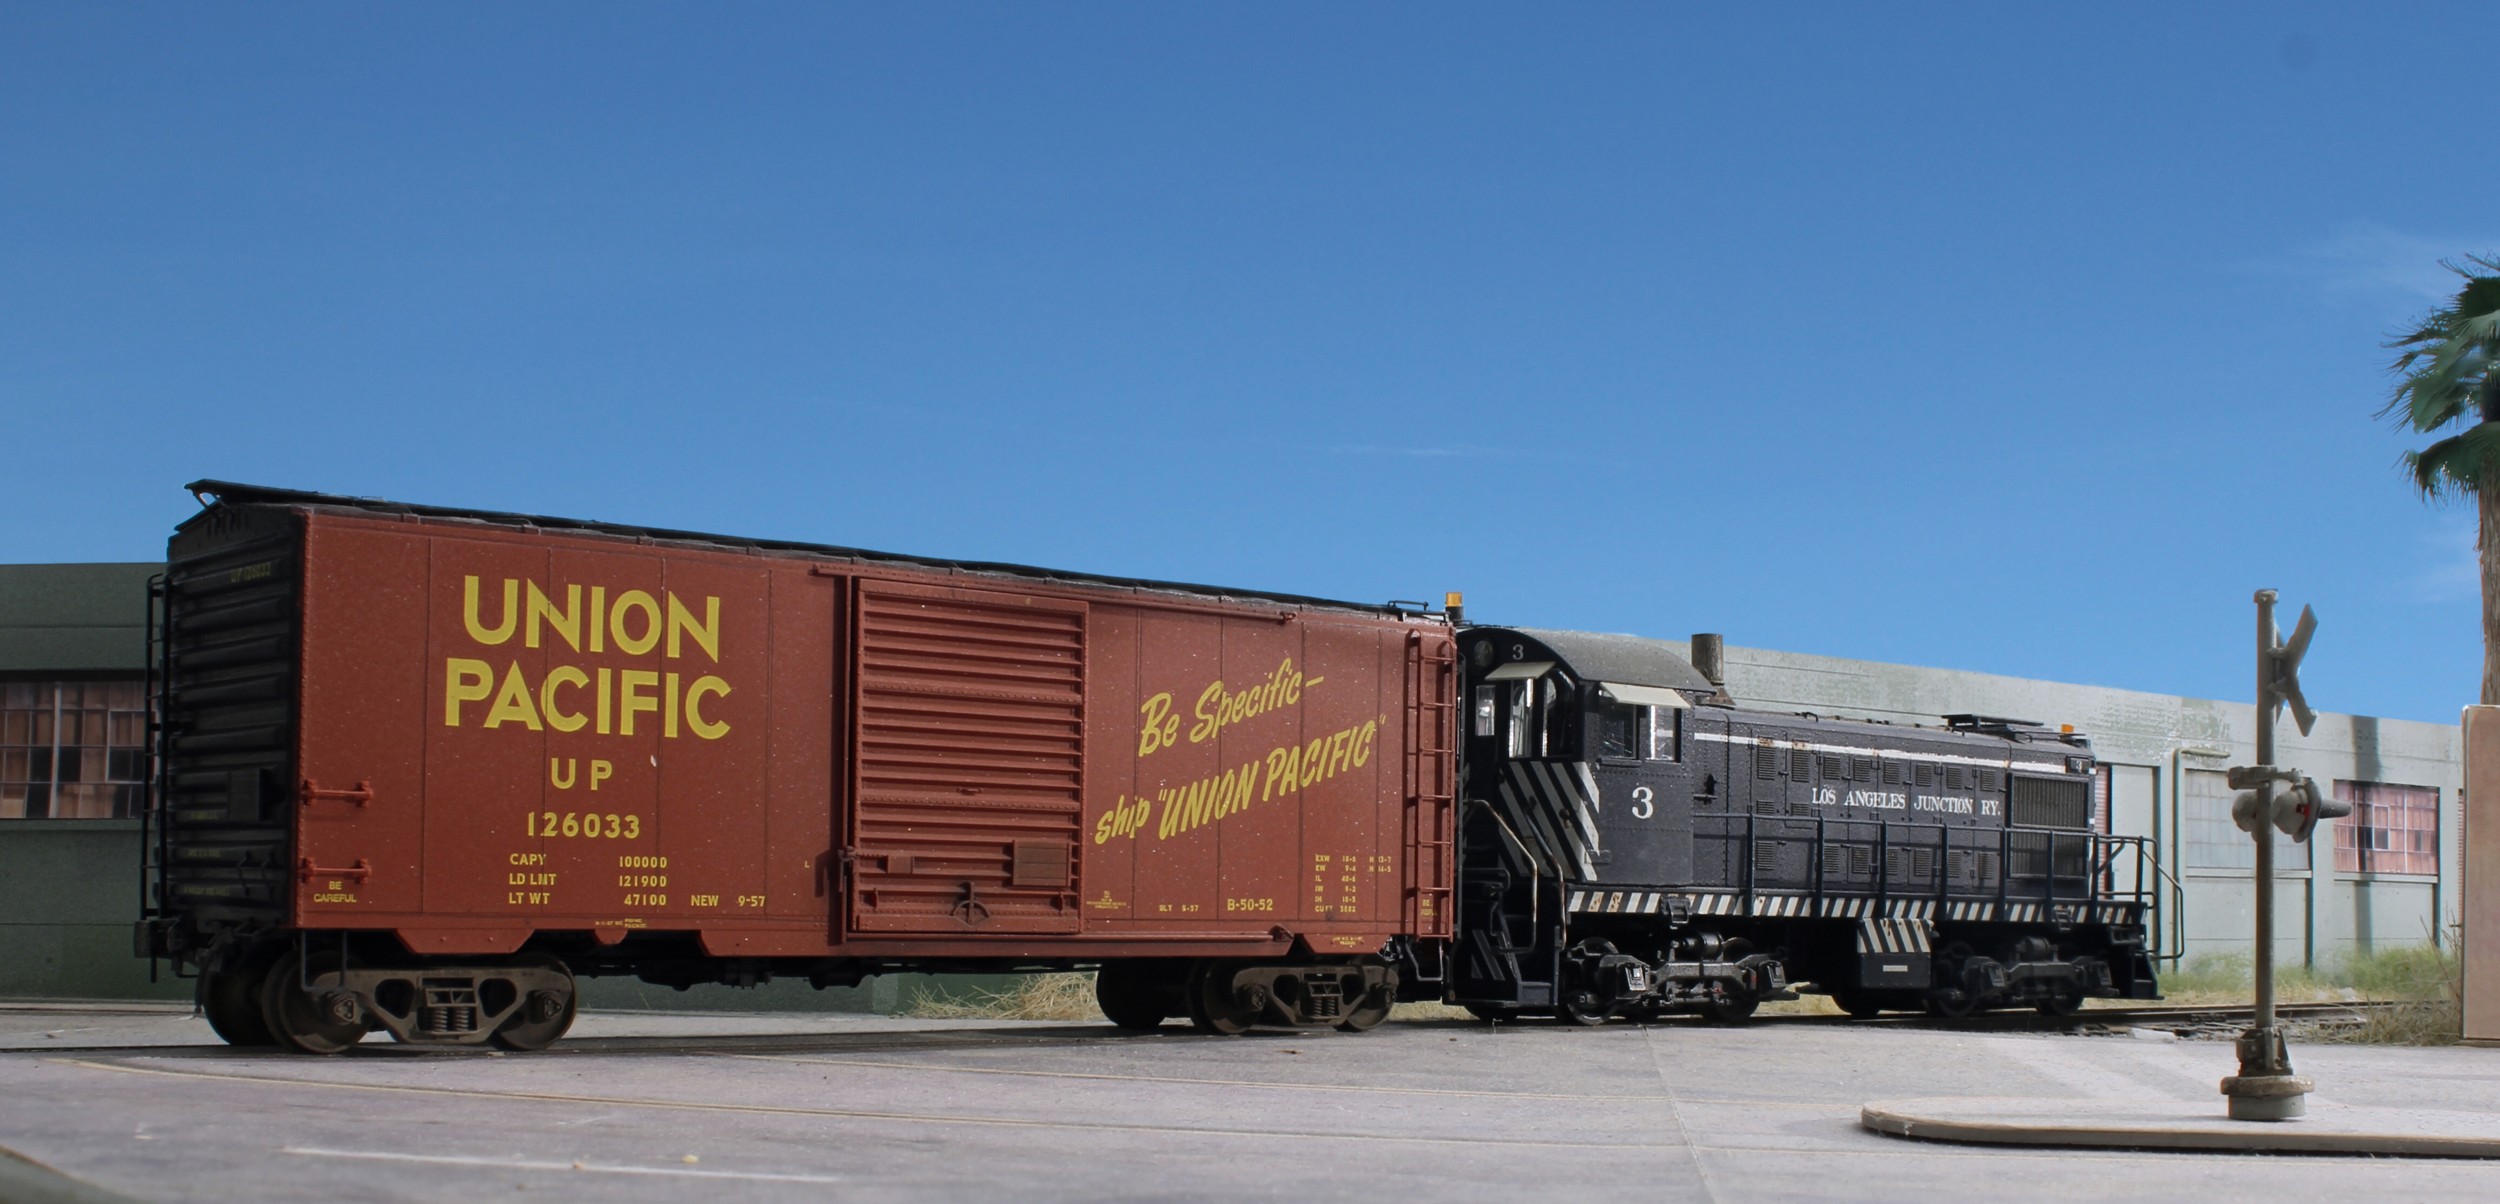
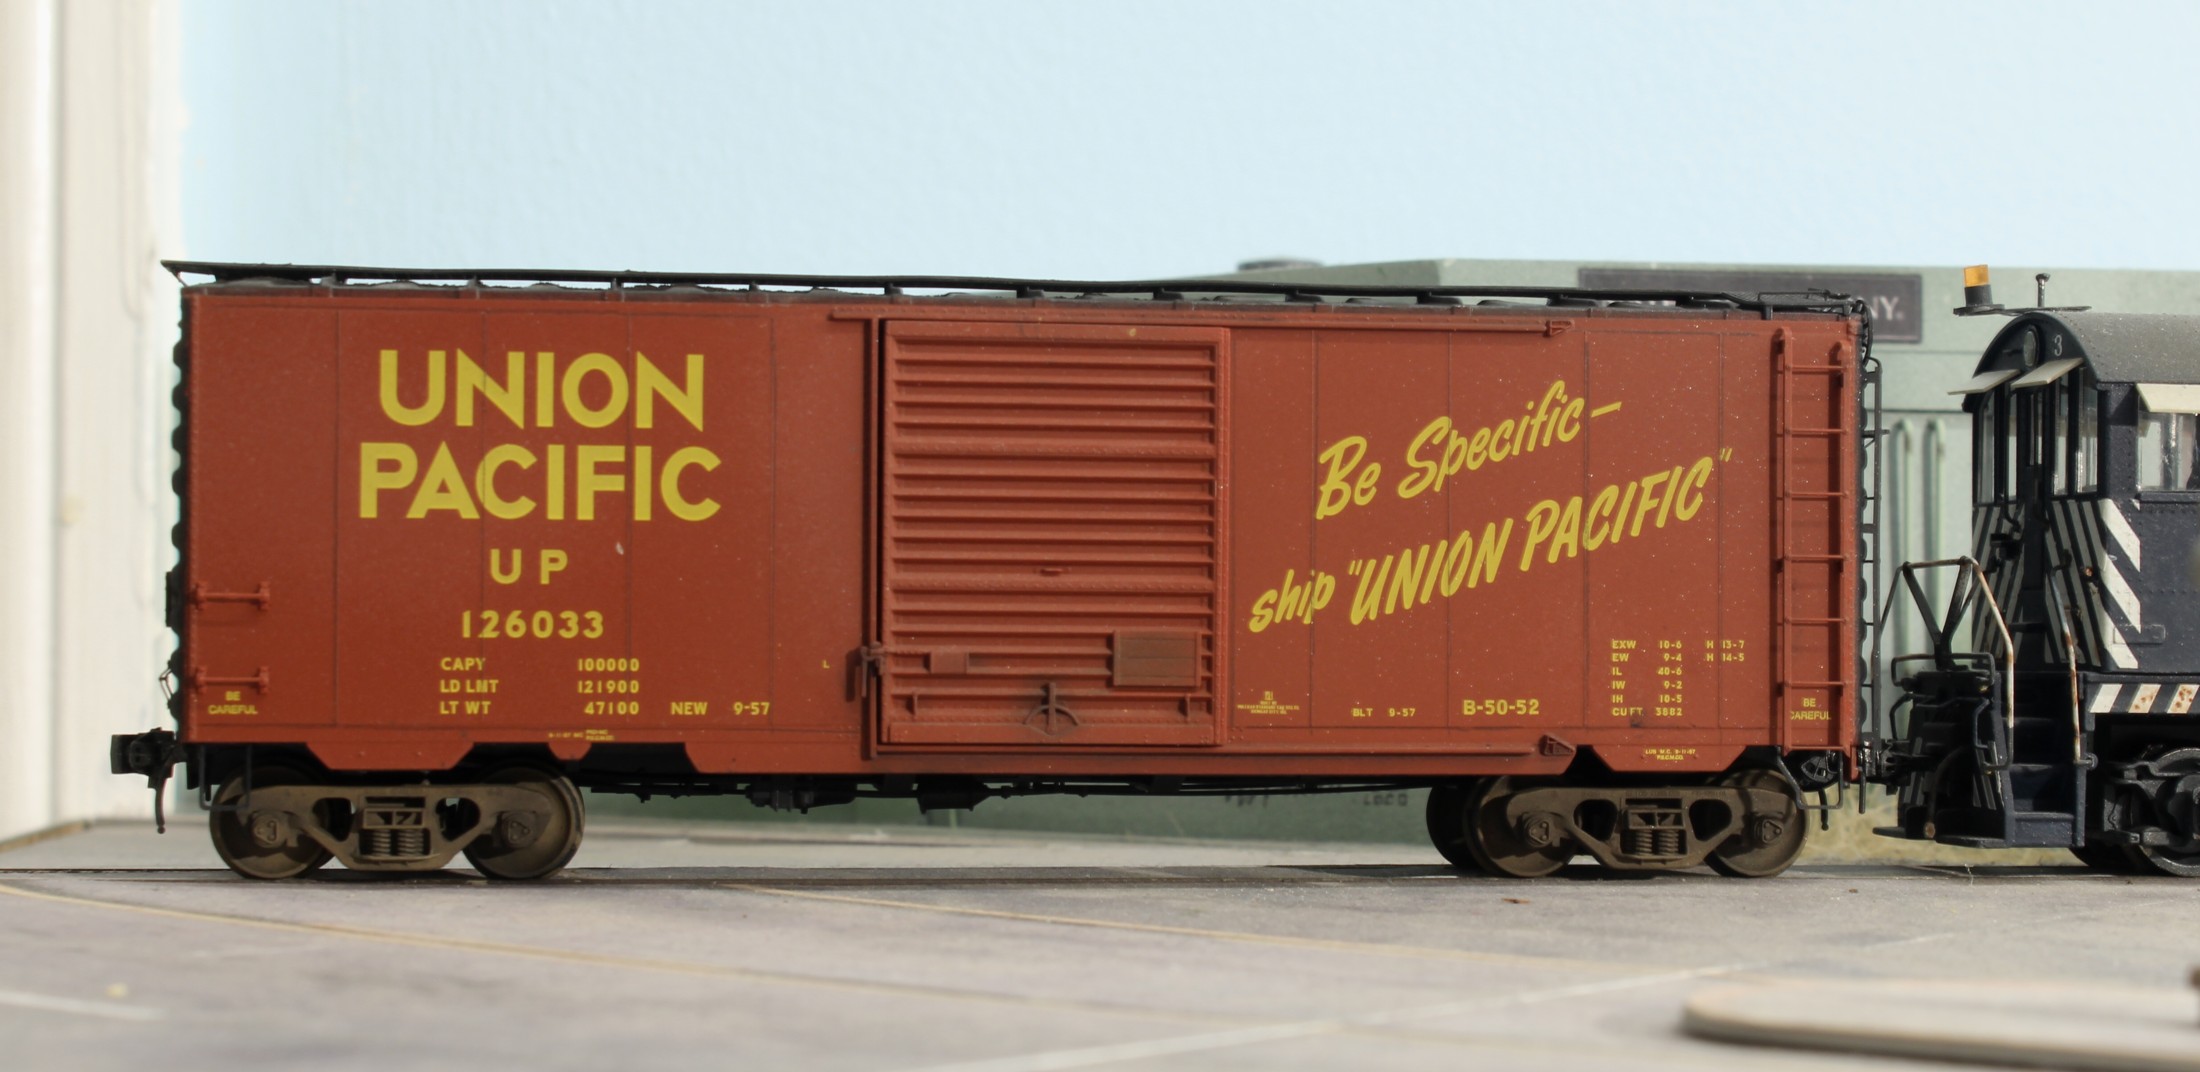
It’s February in 1961 as the local hauls a UP PS-1 down The Horn Lead. Effectively weathering rolling stock for this era is totally different than more modern times and, in a way, harder.
One of the hardest weathering skills to master is that of the light touch…of not overdoing the effect. As you work, you are on a spectrum that starts with “not enough” to “just right” to…..you’ve done too much and are “totally screwed”. Underdoing weathering is desired because all you have to do is add another pass to bring the effect up to “just right”. Once you go too far it’s virtually impossible to correct and, in most cases, the model is ruined. Ask me how I know.
This is particularly an issue with earlier-era rolling stock where you didn’t see the same visual weathering effects as you do today. You didn’t have the same fades, rust bleeds, patch-outs, and graffiti. The look was much more subtle and typified by dead flat surfaces with just a hint of a uniform grimy haze. In a way, it’s much hard to replicate and the risk of screwing it up is much higher. Let’s go through how I approached weathering a Kadee UP PS-1
It helps to have a goal going in as to the look you’re after and the strategy you’ll employ to get there. Unfortunately, it also helps to have made enough expensive mistakes in the past to know where the land mines are. My goals with this car were: to knock the shine down, apply the most subtle layers of grime, add contrast to the panel lines, add highlights to the roof, and weather the trucks. While I use a rattle can for most projects, with rolling stock you really need an airbrush to create the smoother finishes necessary.
-Apply several layers of Dullcote with an airbrush to the entire model. Dullcote comes in bottle form and you’ll need to thin it 50/50 with Testors enamel thinner.
-For the grime layer I applied an ultra-thin mix of Tamiya Dark Iron XF-84 thinned with X20A thinner. This is the riskiest step in terms of going too far. Prepare a thin mix and spray it on a white sheet of paper to make sure it’s not too dark. If you’re ok, move to the model. You want just a hint of hazy grime.
-The panel lines need contrast and the traditional wash method isn’t the best fit. You want the look of a subtle haze and the wash won’t do that. Take a black artists pencil, and give it the sharpest of points. Using a straight edge as a guide, draw over the panel lines with the pencil. This is another step where it’s easy to go too far by making the lines too wide. They should be the thickness of a human hair.
-Using a small brush, apply a hint of earth brown weathering powders around the latches. Keep the weathering footprint small.
-For the trucks I airbrushed them with Model Master earth brown. Any flat tan will work. Once the paint dried, I ground in a layer of black weathering powder.
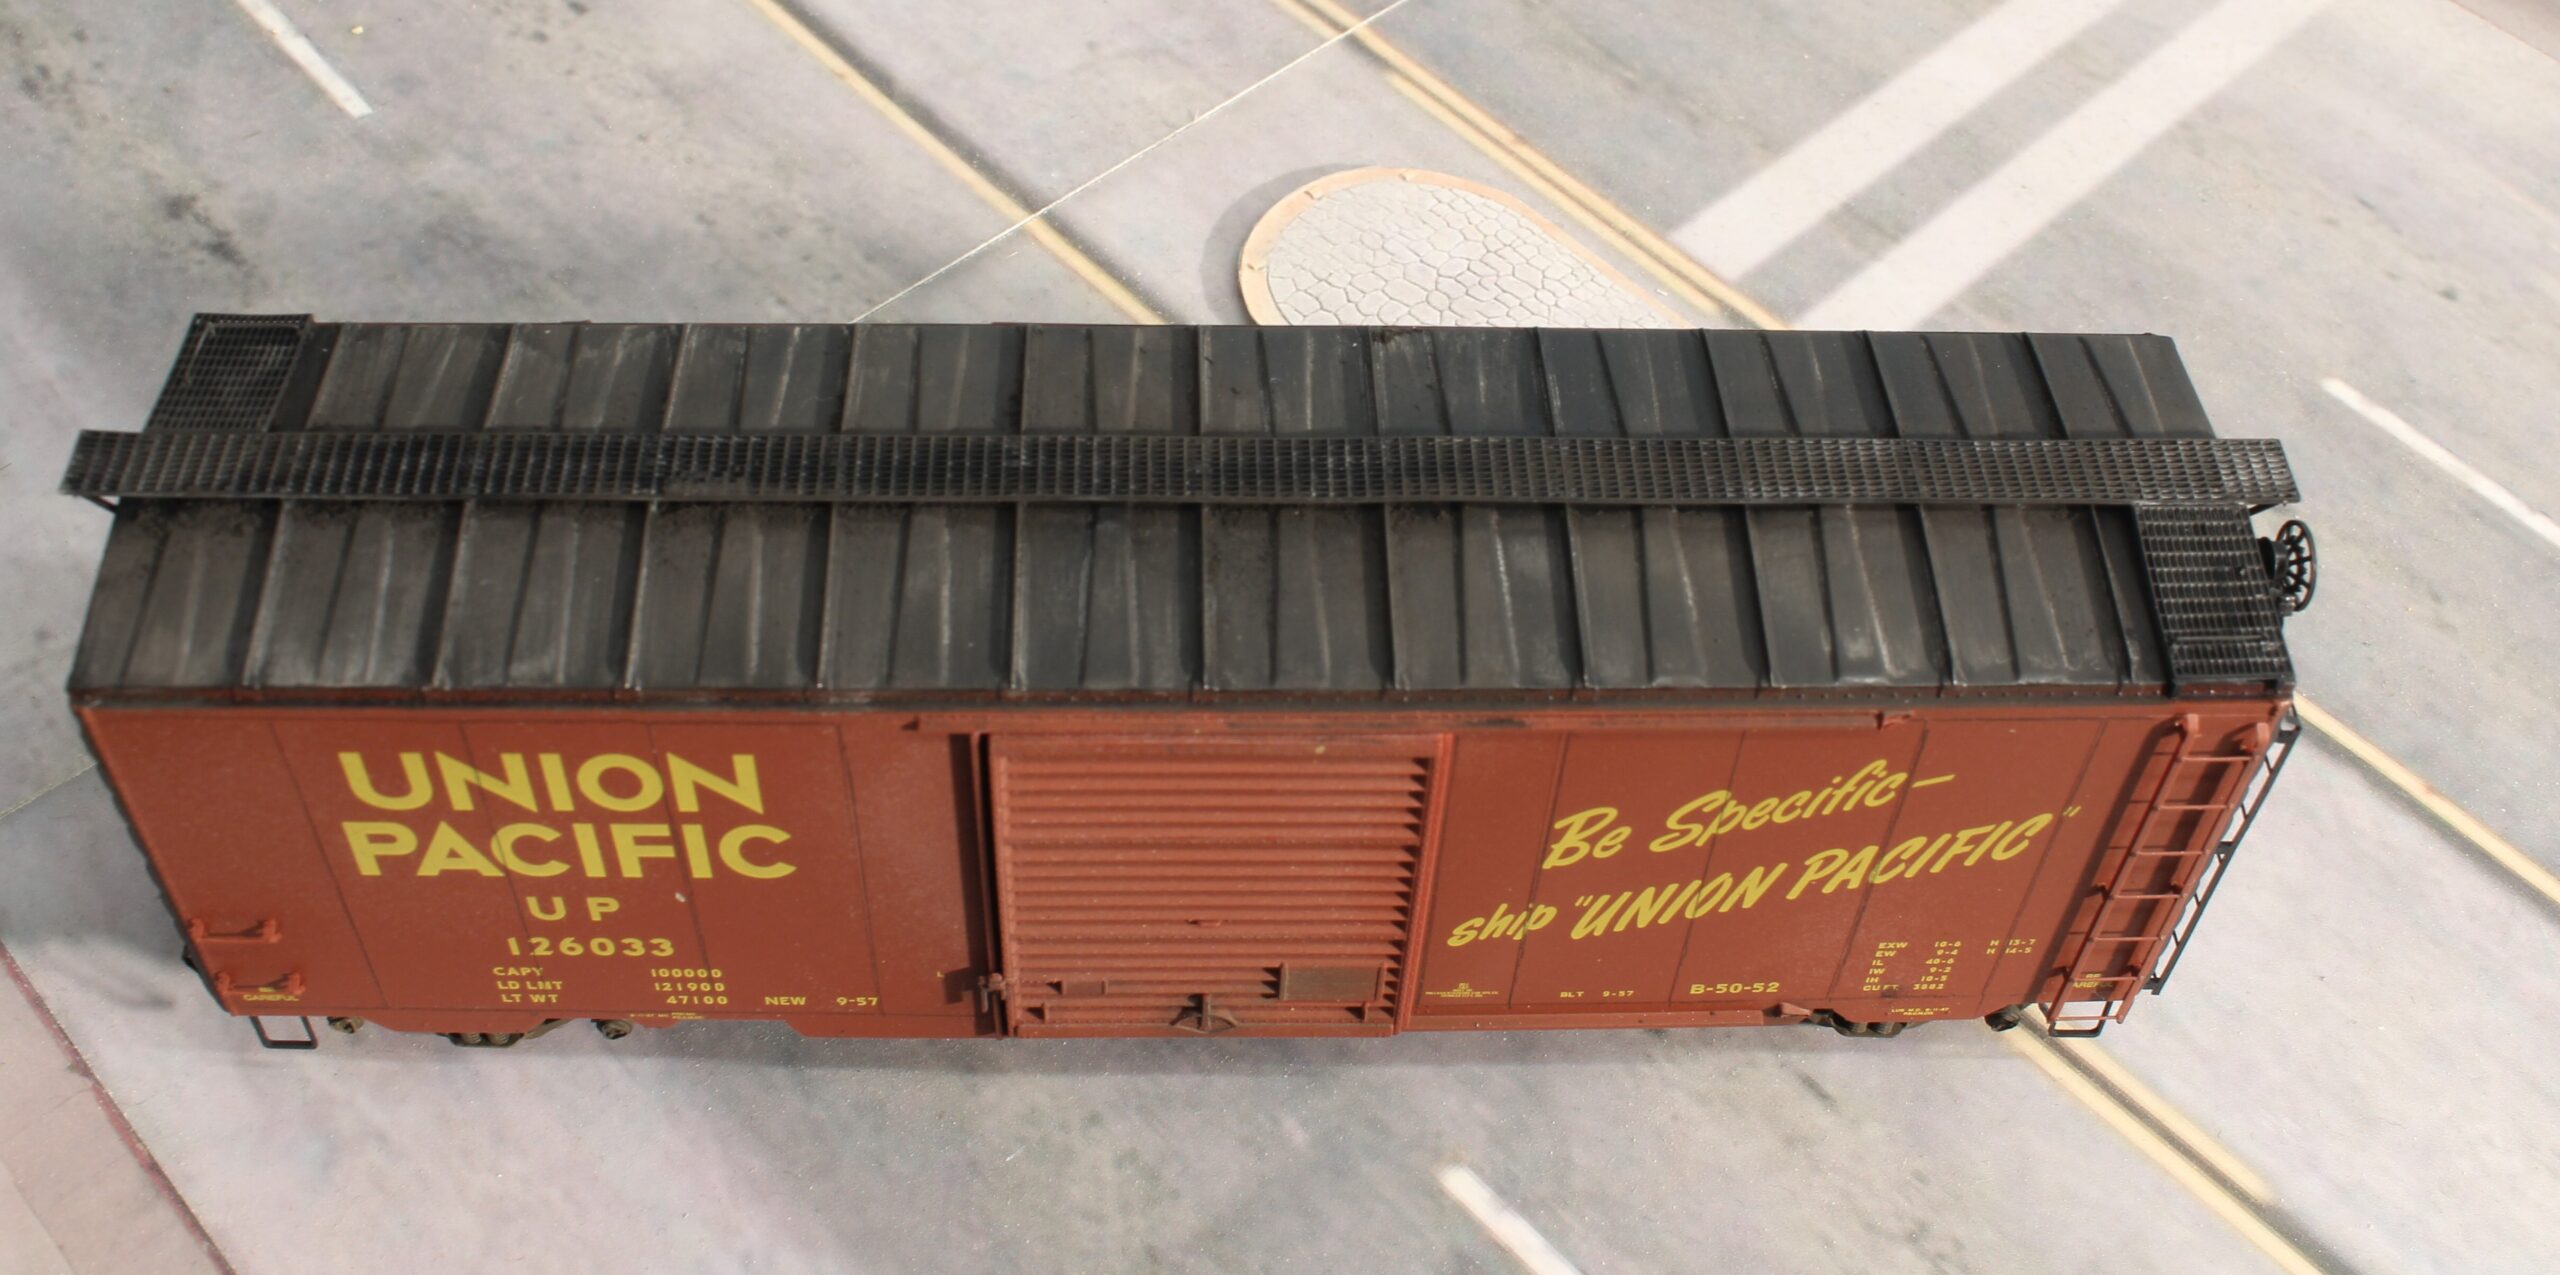
The roof was too uniformly black. I took a flat-tipped brush and lightly painted on a layer of straight rubbing alcohol. Alcohol over Dullcote creates a frosting effect. At this point, the effect was too stark. I dialed it back by applying a layer of black weathering powders.
The key to weathering these earlier era cars is to go in from the start with the mindset of using the lightest of light touches. You can alway bring the color up but once you cross the line into “too much” you’re screwed.