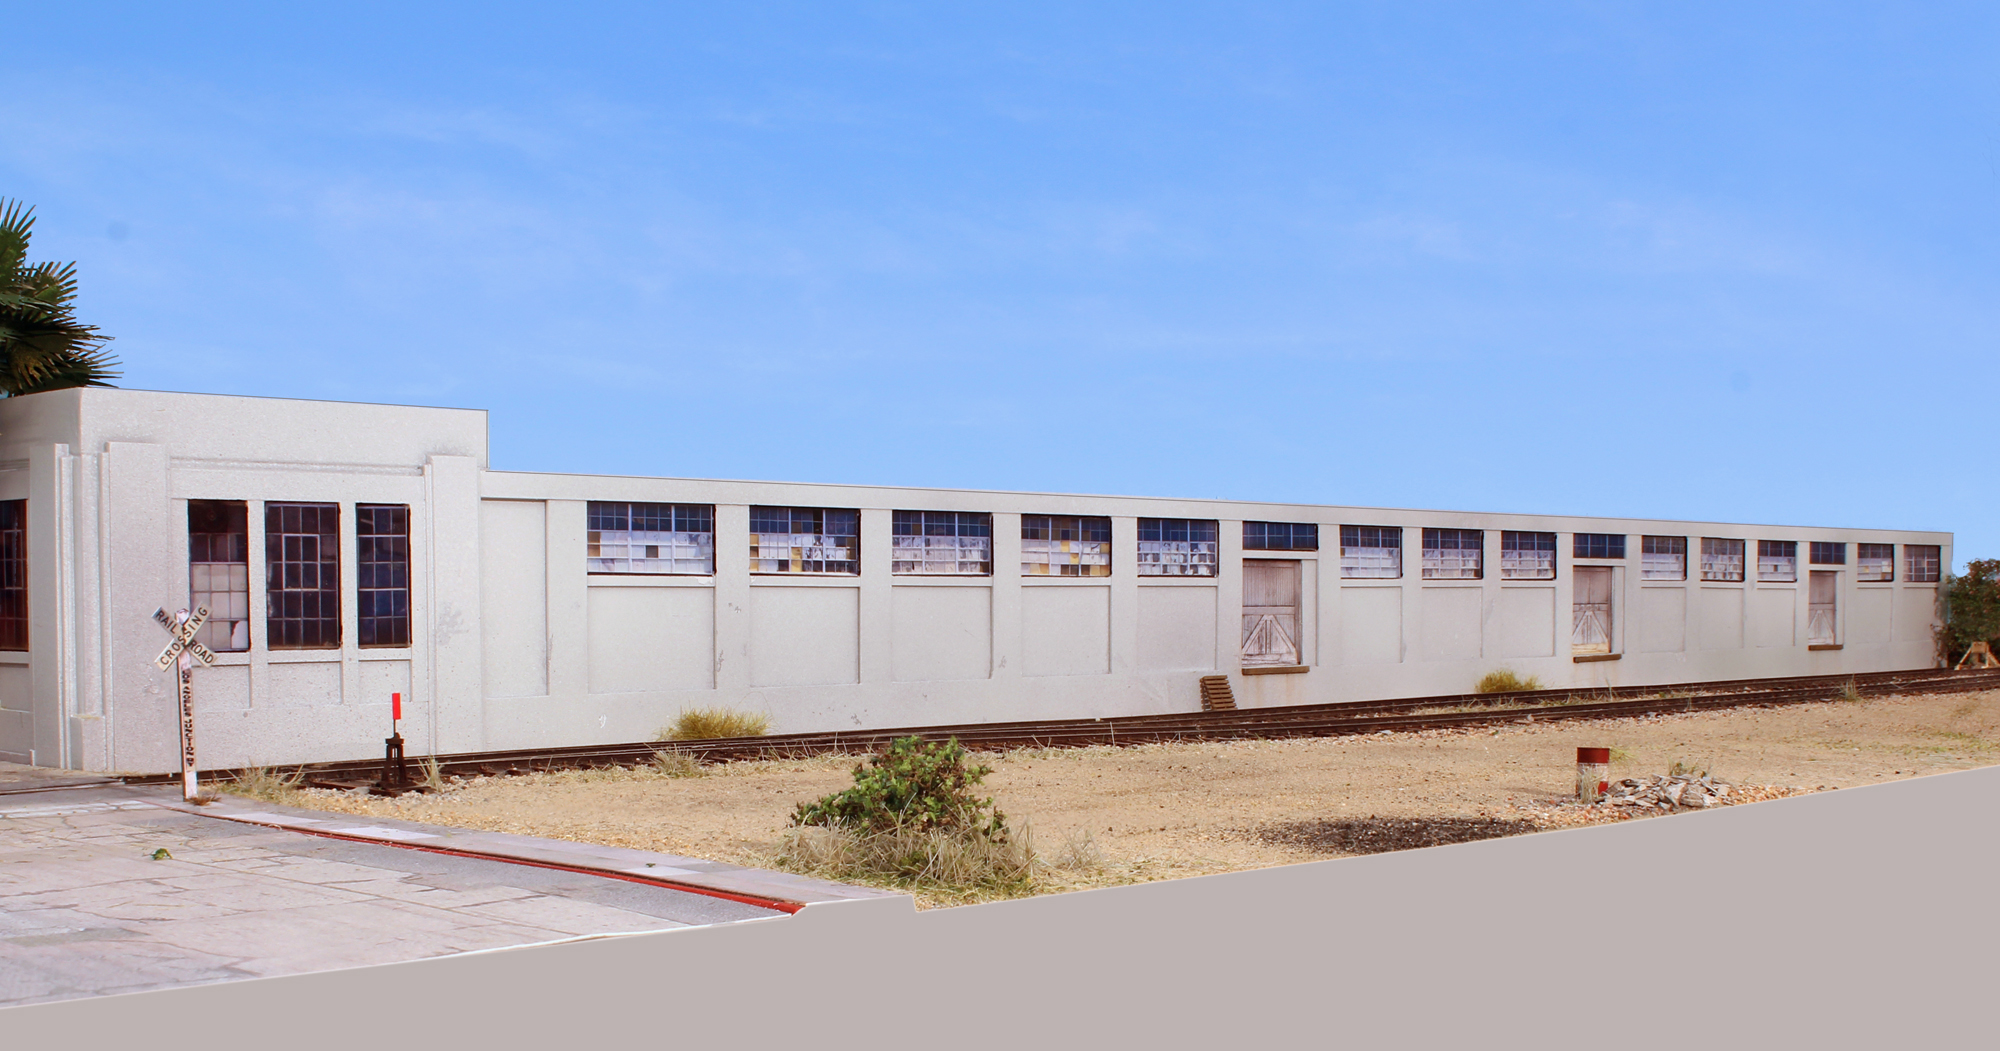
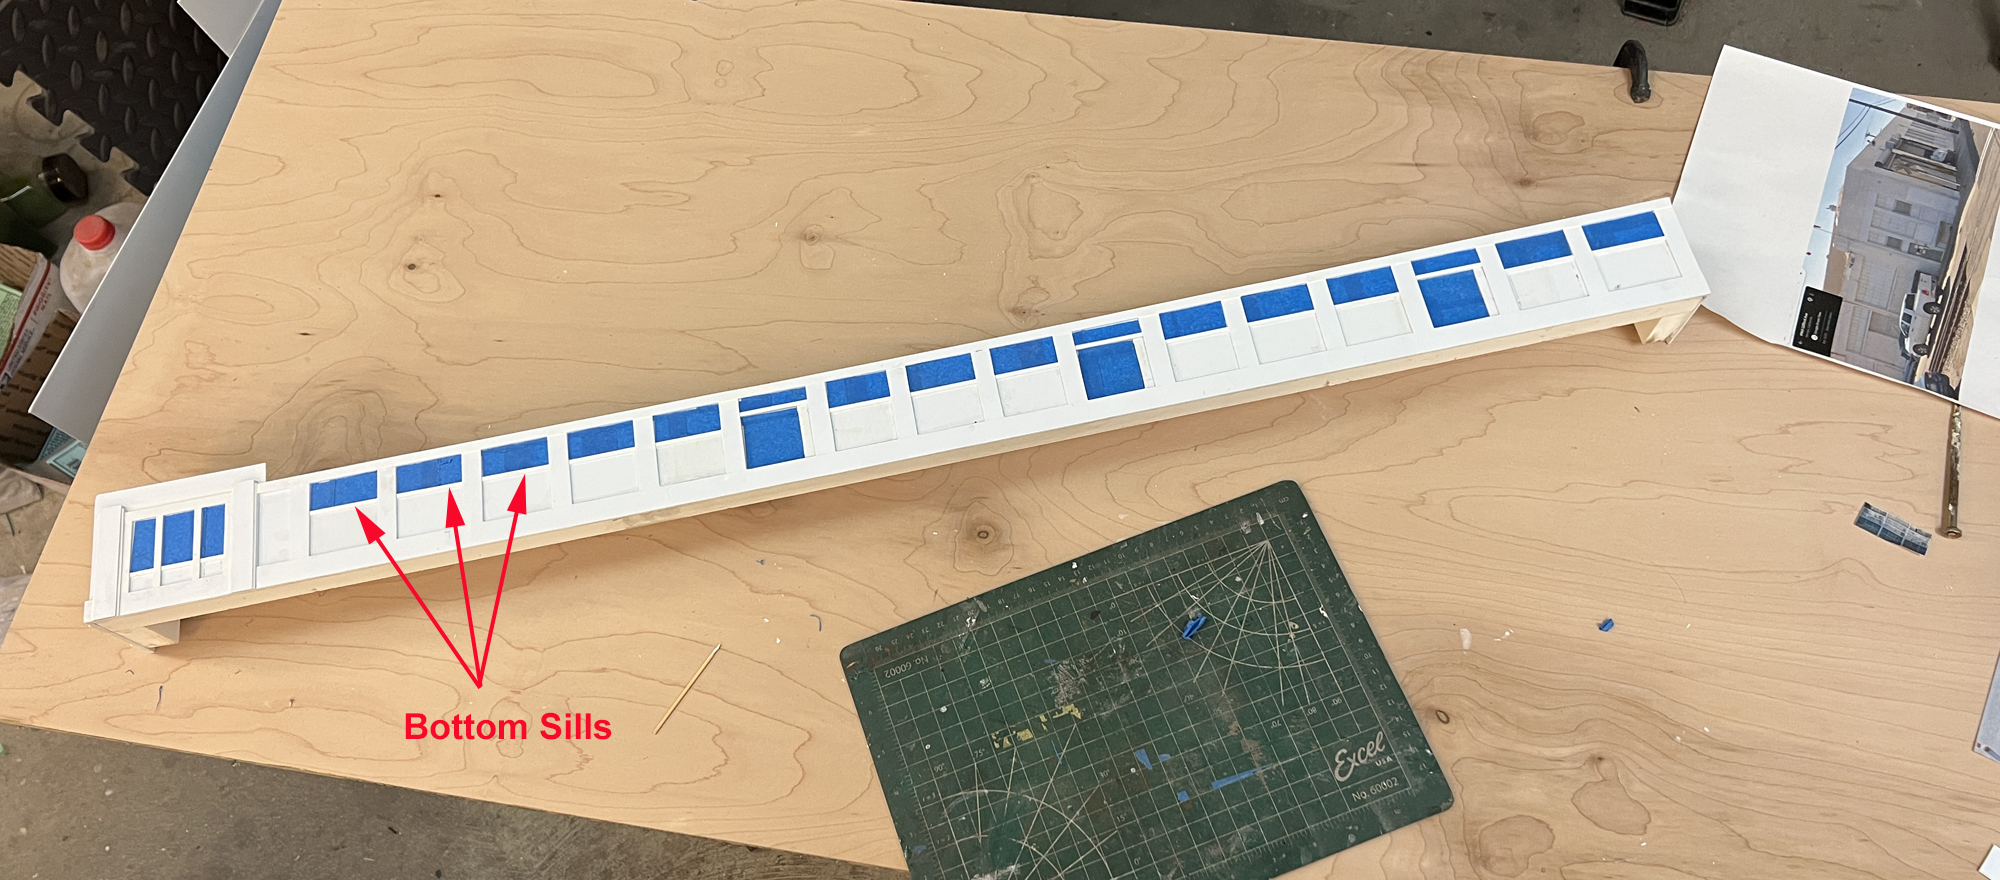
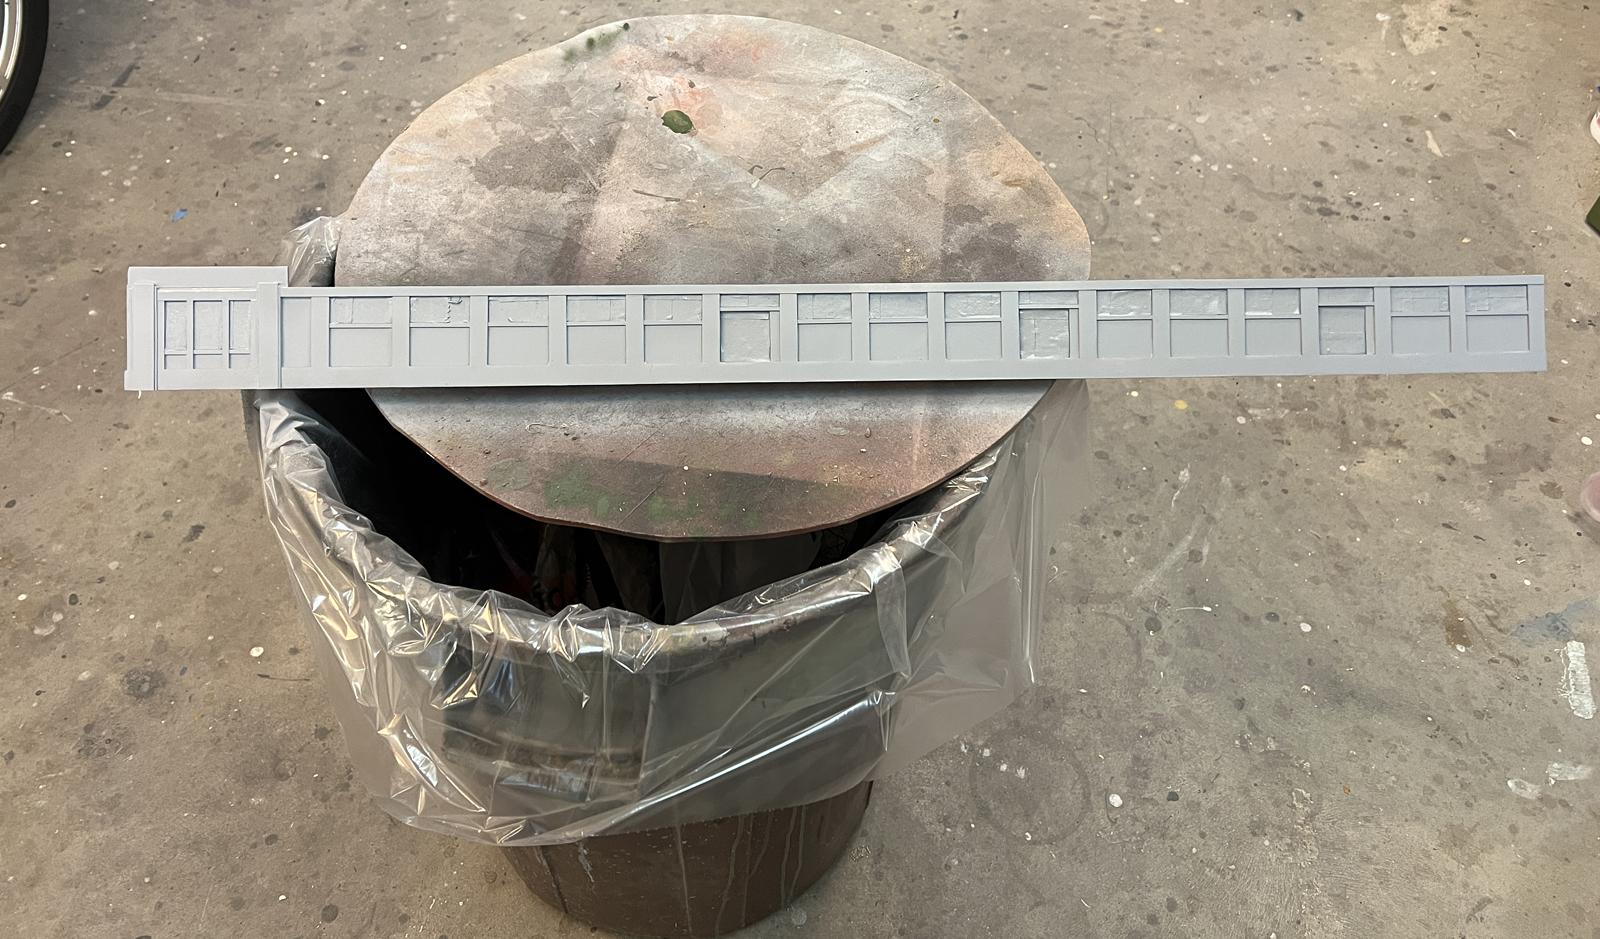
In some ways, many ways, rail fanning is like fishing. There’s no guarantee you’ll catch something on any given day. In fact, most of the time I don’t. I’m fine with that and enjoy the experience of simply being rail-side and taking in the environment just the same. That’s what I’m used to and like to reflect that in my model photos. The above image is an opposite end view of my newly completed warehouse for the LAJ extension. I intentionally did not include rolling stock. The crossbuck, windows, and loading doors are all prototype photos printed to scale and glued in place. I’ll address the core strategy and concepts I employed here in my upcoming book.
The iPhone 6 seems to do the best job of capturing the perspective of actually being there. I did some research and found that it’s comparable to a 28mm lens. I’m skeptical. At any rate, even if I went out and bought a 28mm lens for my Canon Rebel, I wouldn’t be able to get it into as many locations as the phone. It’s physically too large and the lens sits too high.
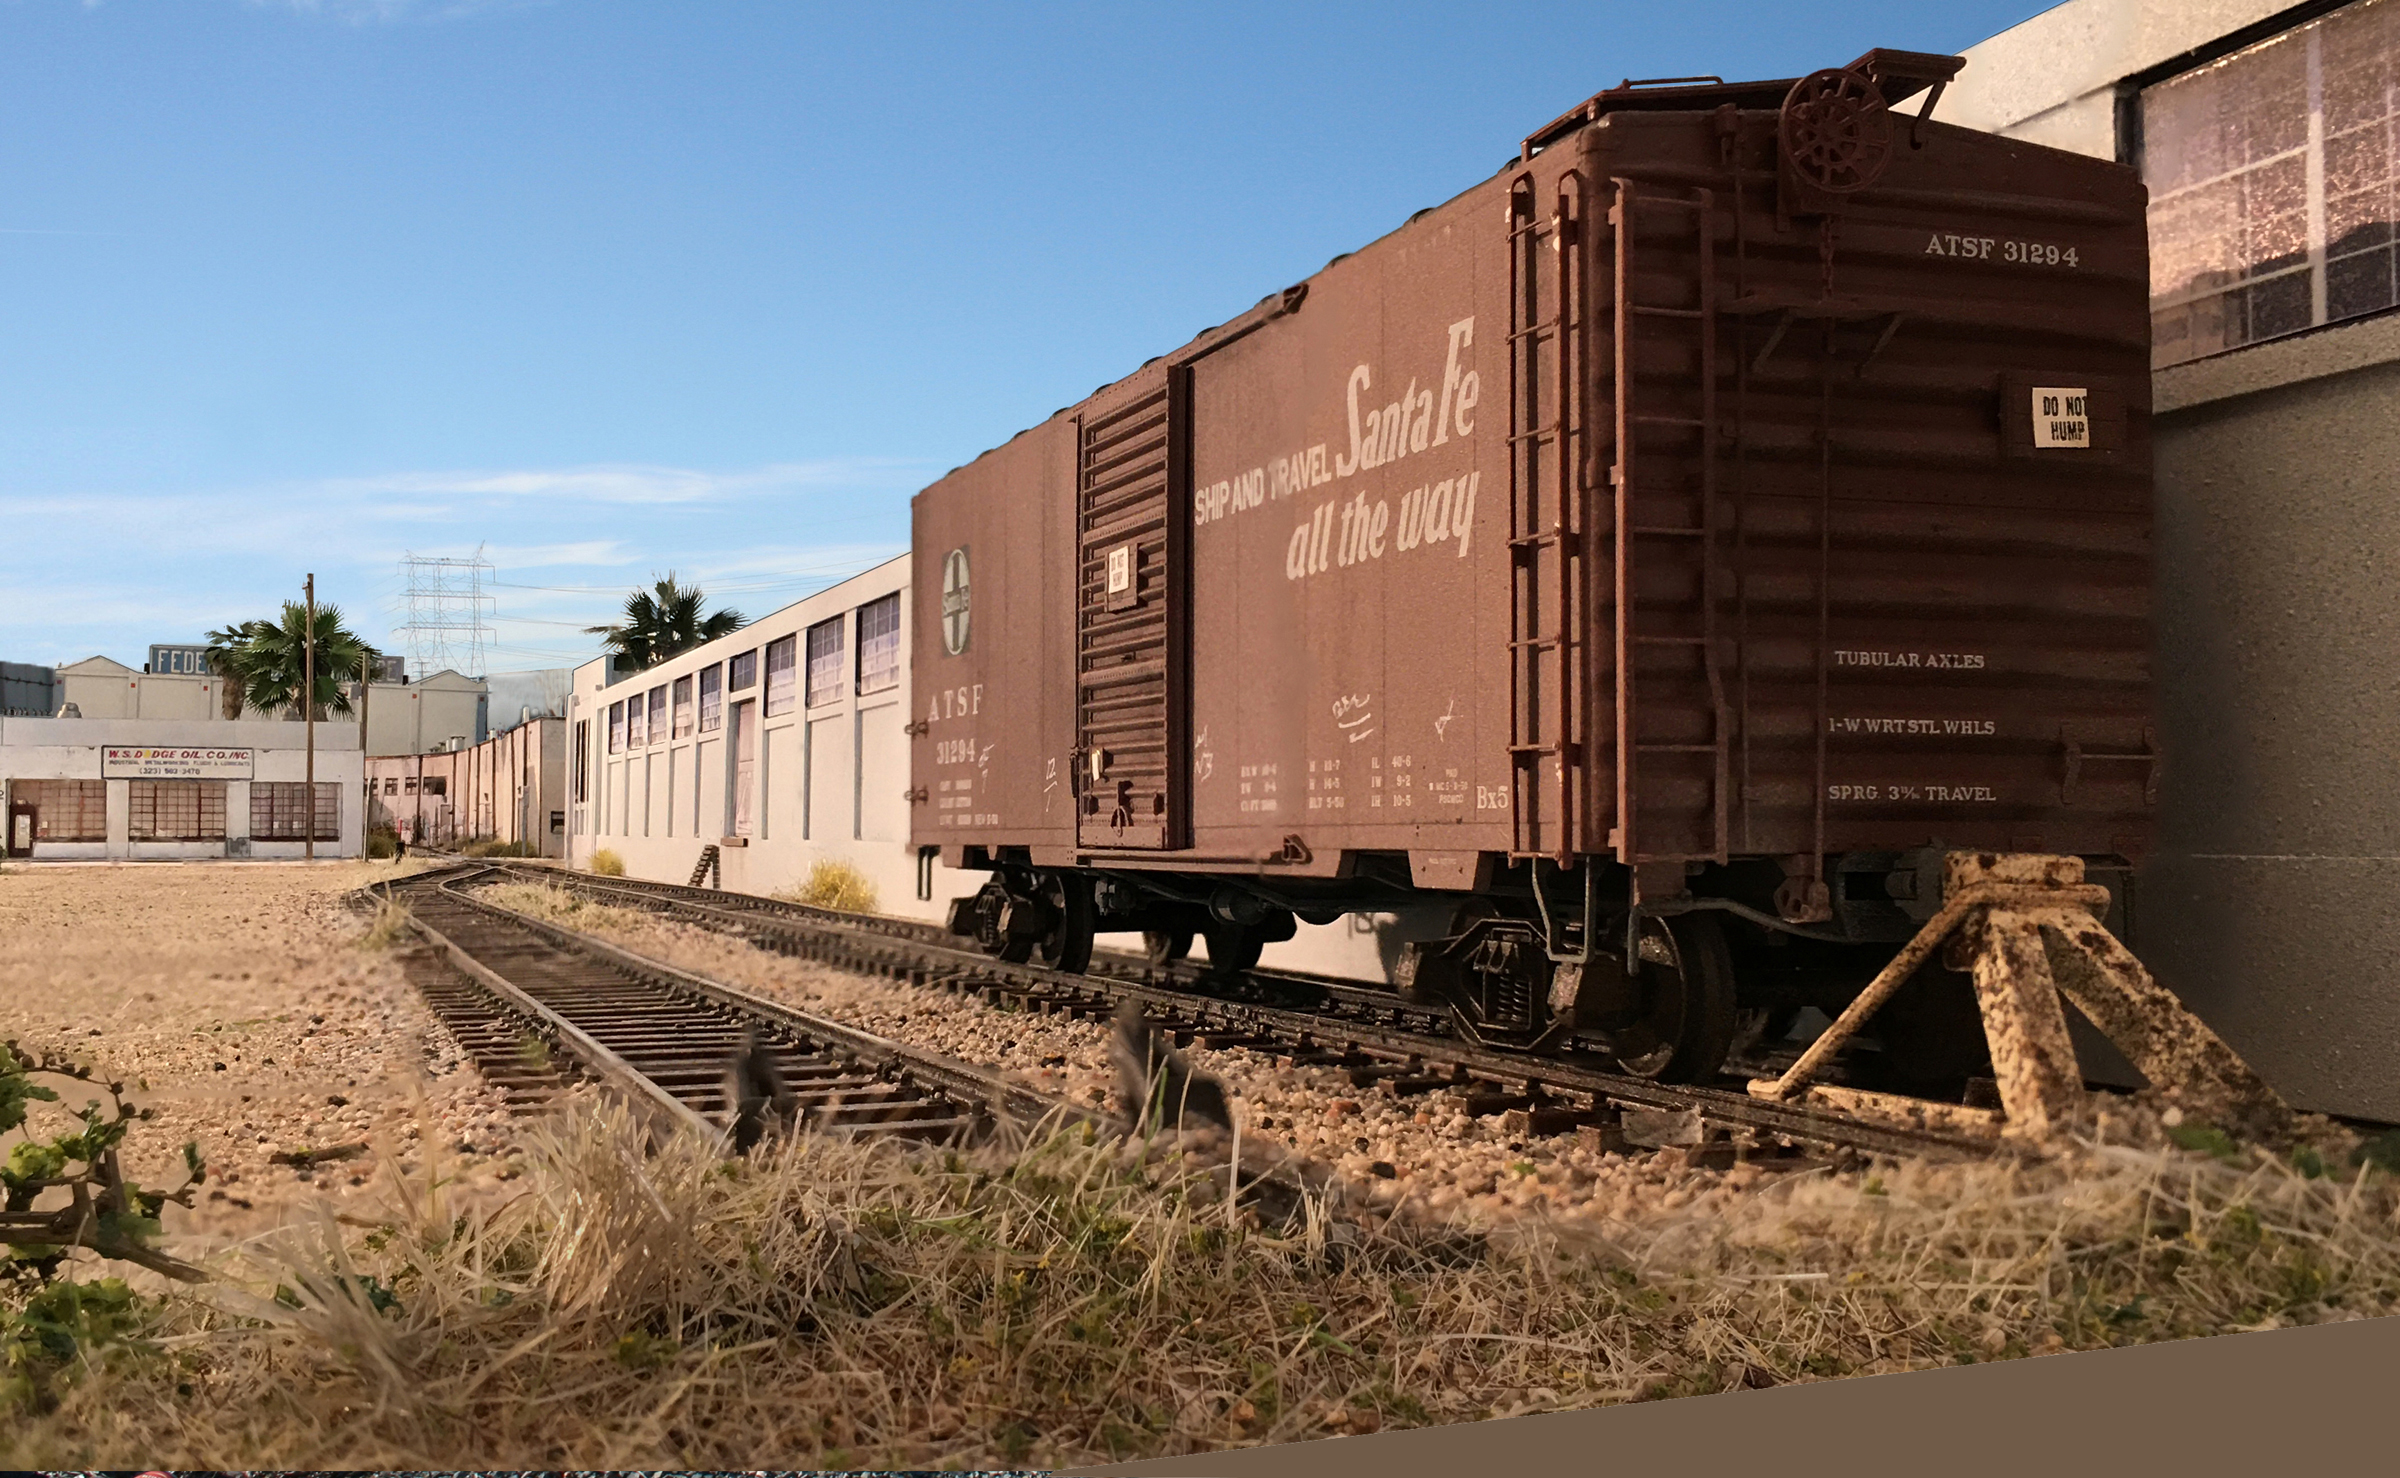
I’ve been increasingly aware of, and picky, with the sky/horizon images I crop into the model photos. I’m finding the best look is when you have a color gradient ranging from almost white at the horizon to a darker (but not too dark) blue the higher up you pan. No dramatic or puffy clouds. I’m also noticing that the images look better if you have just the edge of horizon on the sky photo you use. Just a little. Note the electrical towers in this case. It could also be a tree line.
I had been putting off using Google Streetview to capture sky photos, but have done a 180 on that. The screen captures of Streetview aren’t as vivid and crisp as what you’d get with your camera. That may be a good thing, a better look. Having a slightly hazy diffuse appearance actually looks better I think.
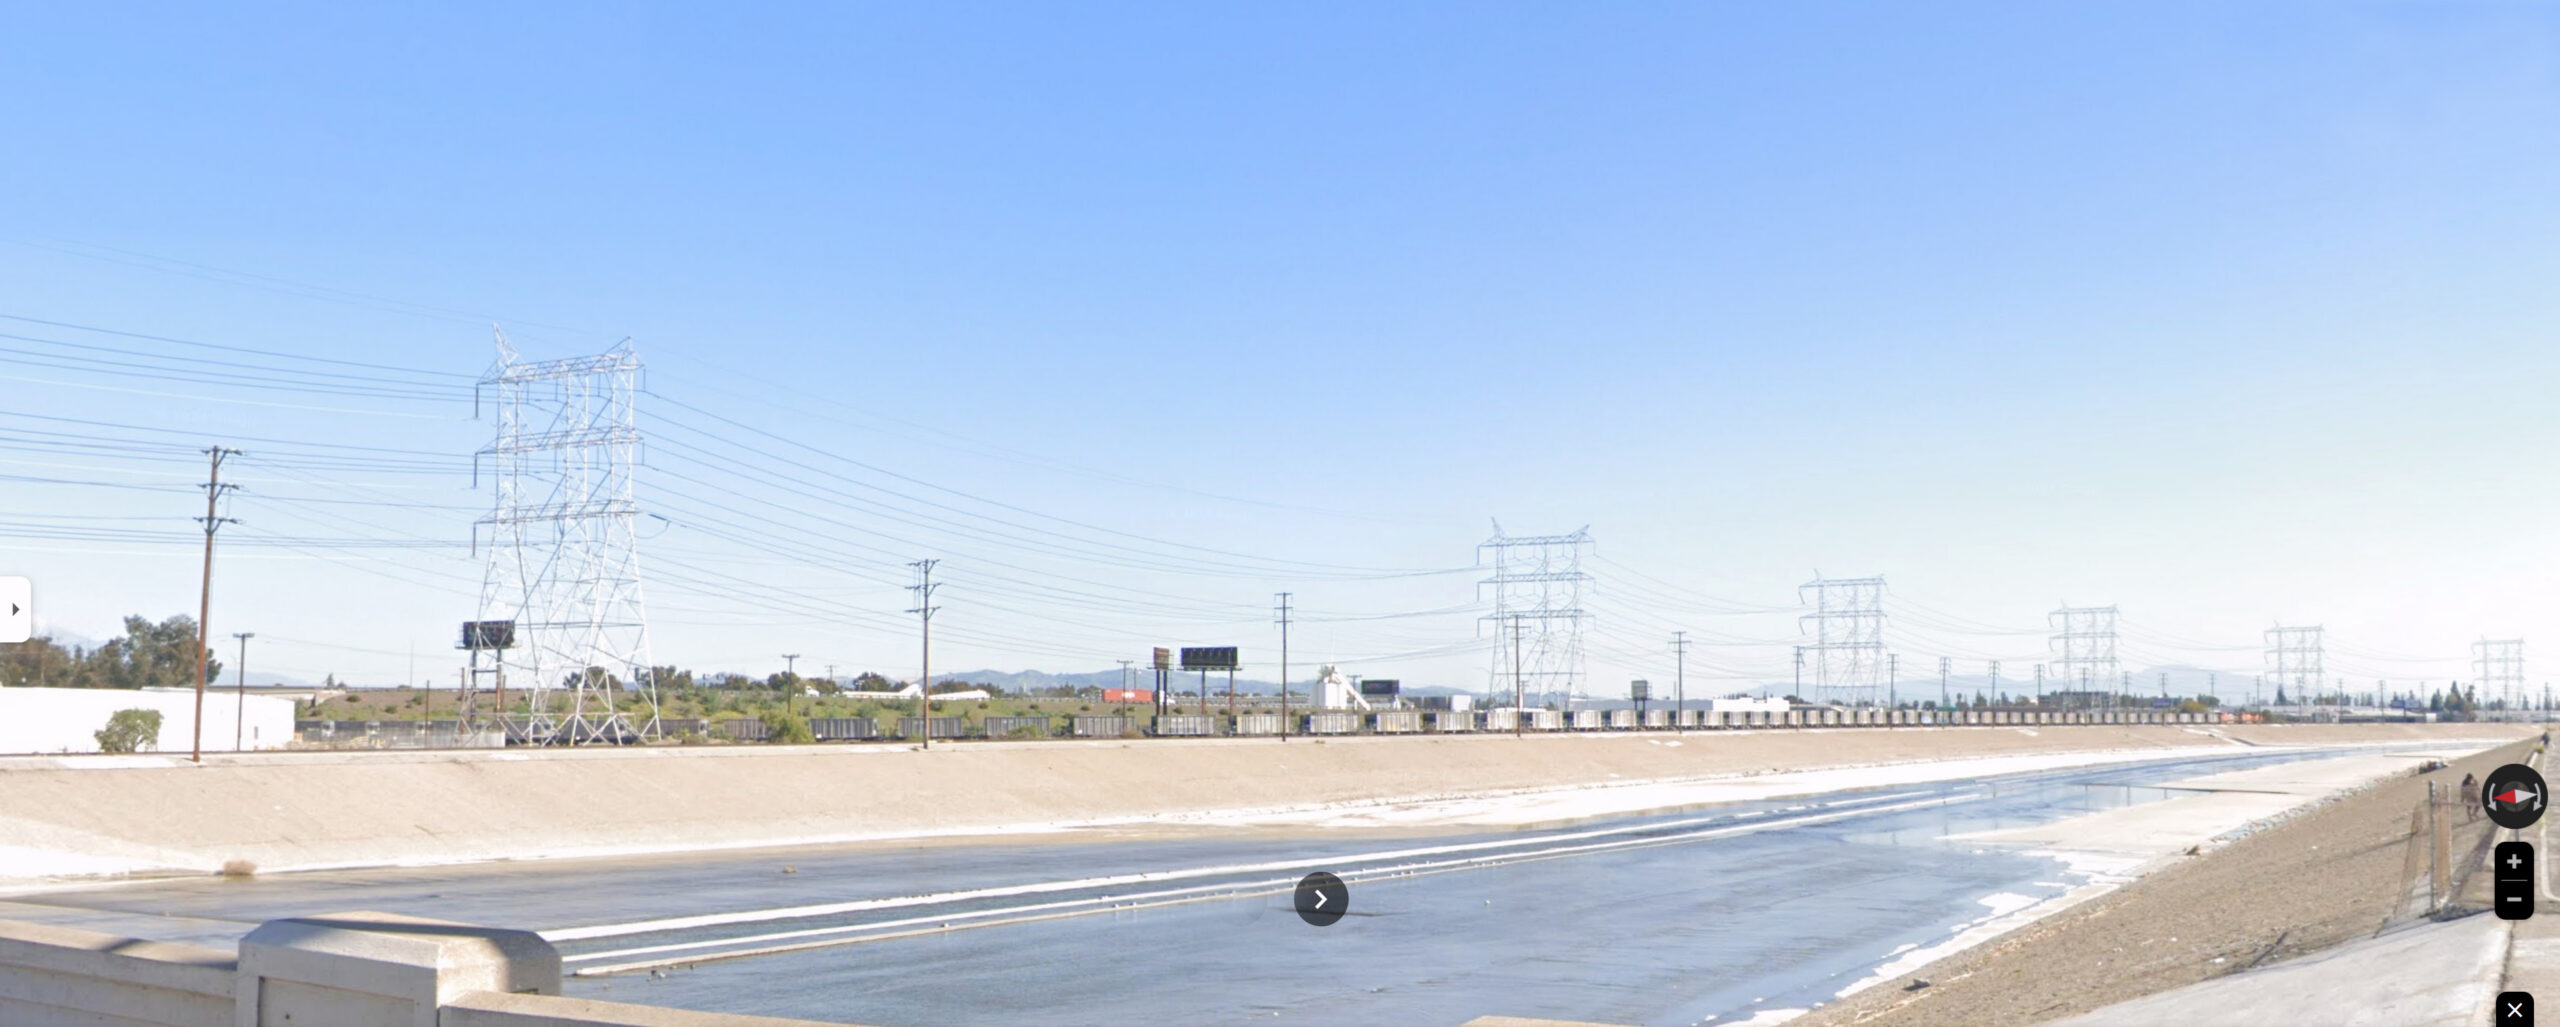
Here’s the screen capture I used taken from a bridge across the LA River. I did some light editing but not much. Feel free to download and use it if you want to.