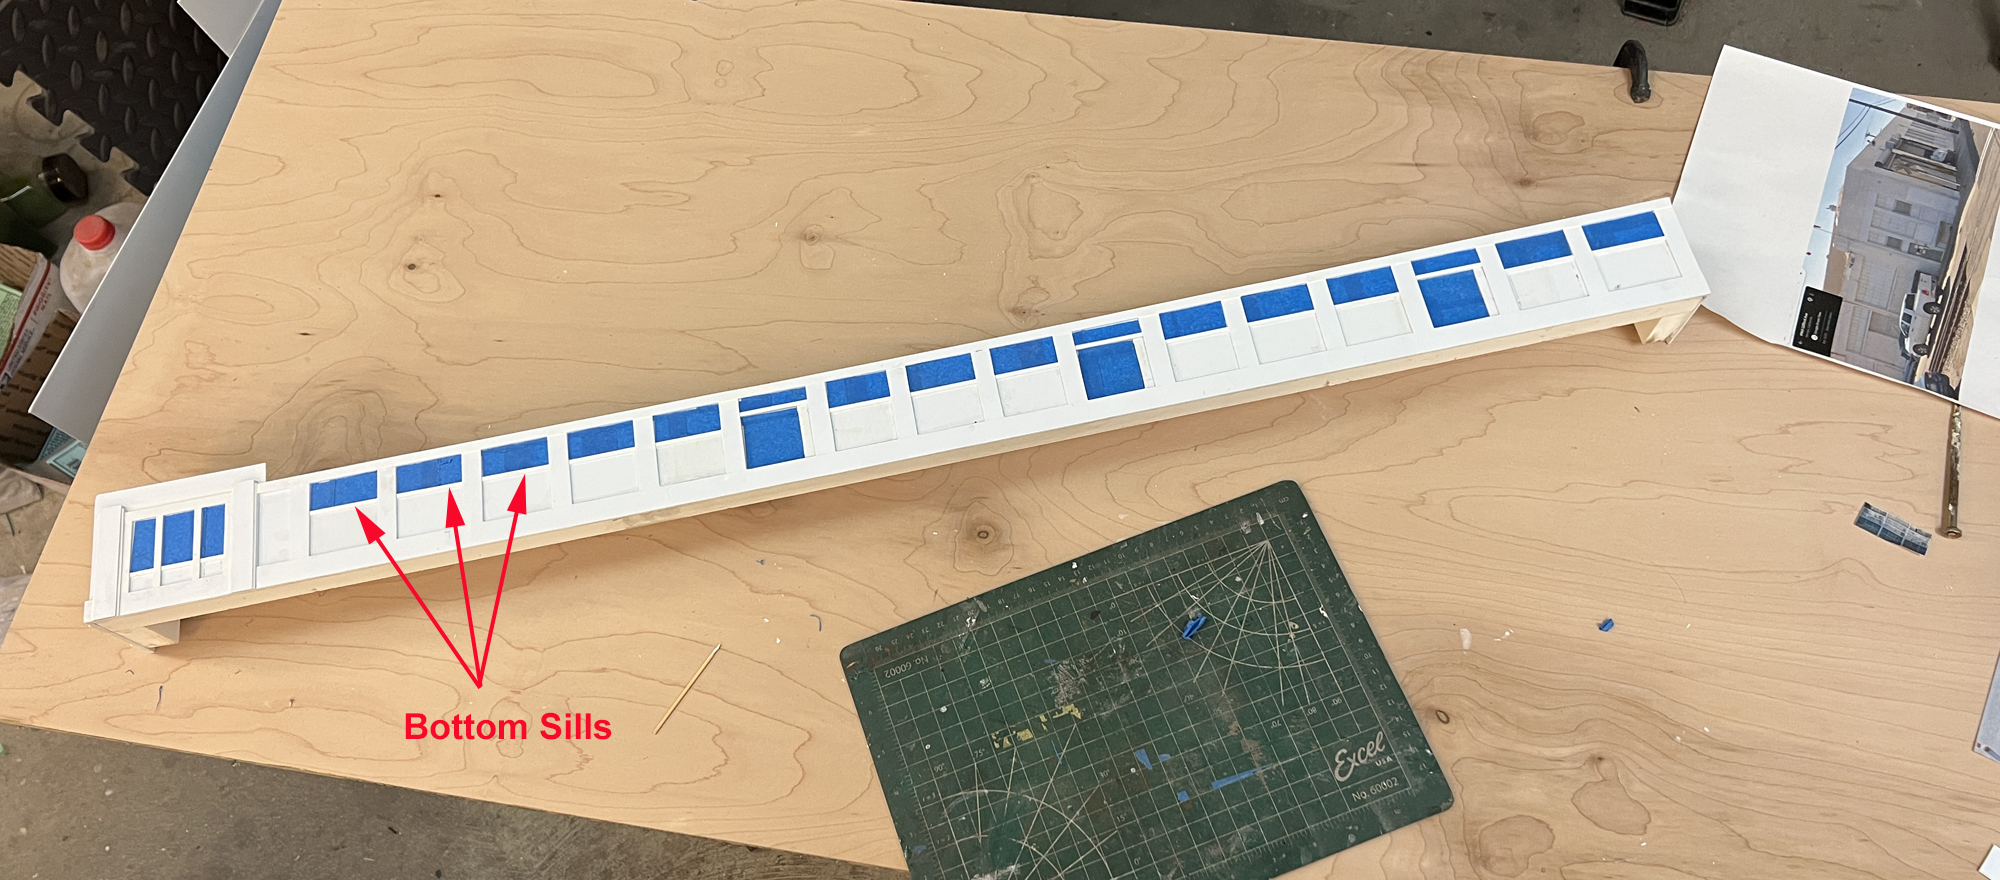
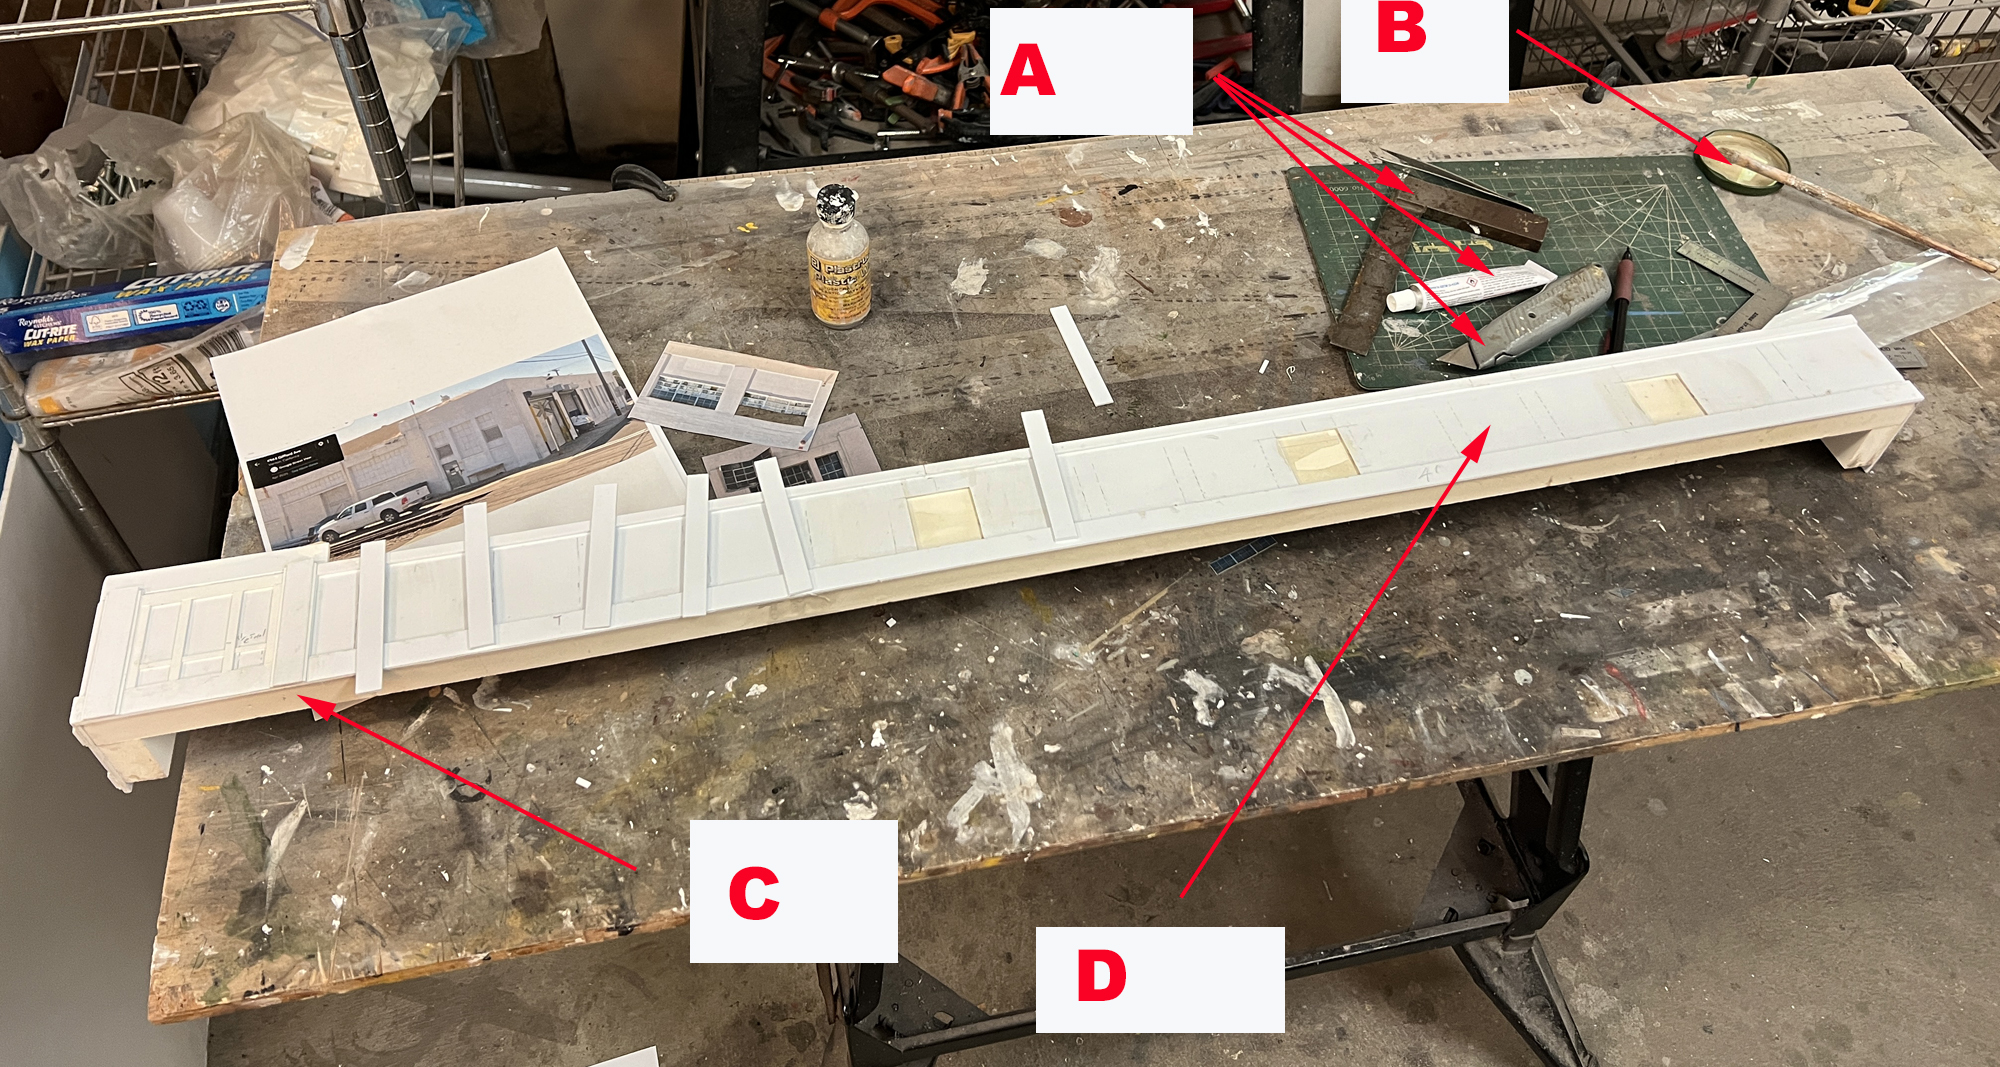
Work continues on the warehouse for the LAJ extension. This weekend I added bottom sills for the windows (made from .040″ x .1 inch strip styrene). The windows and doors will be photos glued into place with 3M Super77 as the adhesive. My sense is I “might” get better adhesion if I’m applying the windows to an unpainted surface so I masked these areas off.
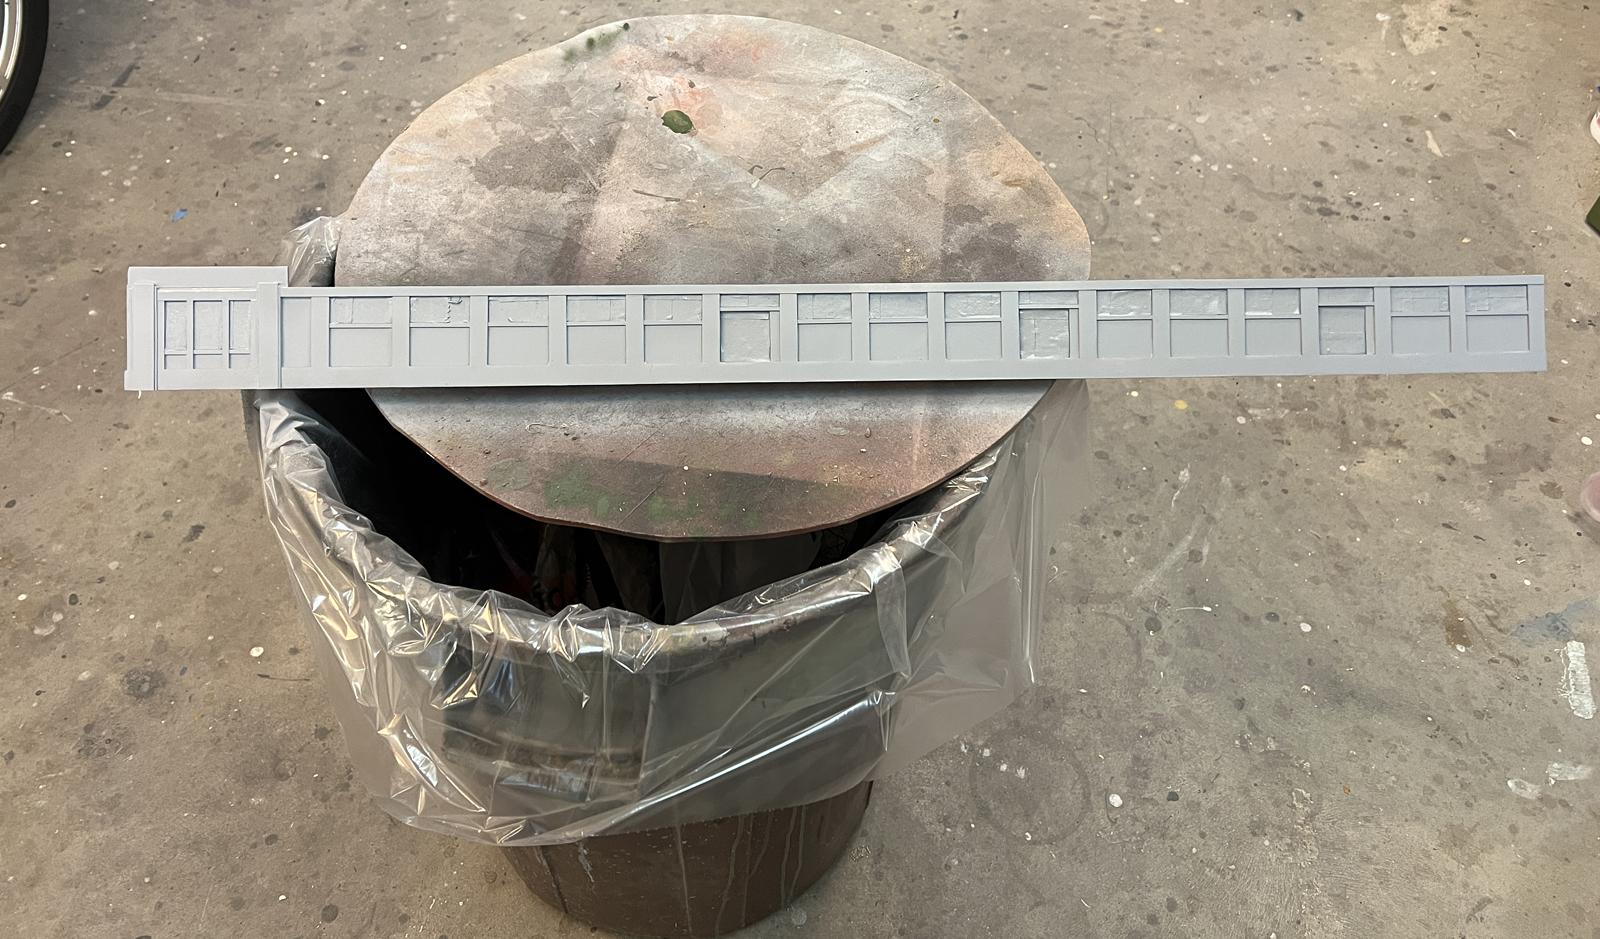
I’ve also spent a fair amount of time carefully filling in gaps with Tamiya spot putty. This wouldn’t really show up in a photo but the cracks are very obvious in person.
It’s hard to tell if you’ve successfully filled in all the gaps when you’re looking at a white styrene surface. By painting everything with light gray primer it’s a lot easier to see if you missed a spot or two. After the primer application I can check everything and go back and fill in any areas I missed.
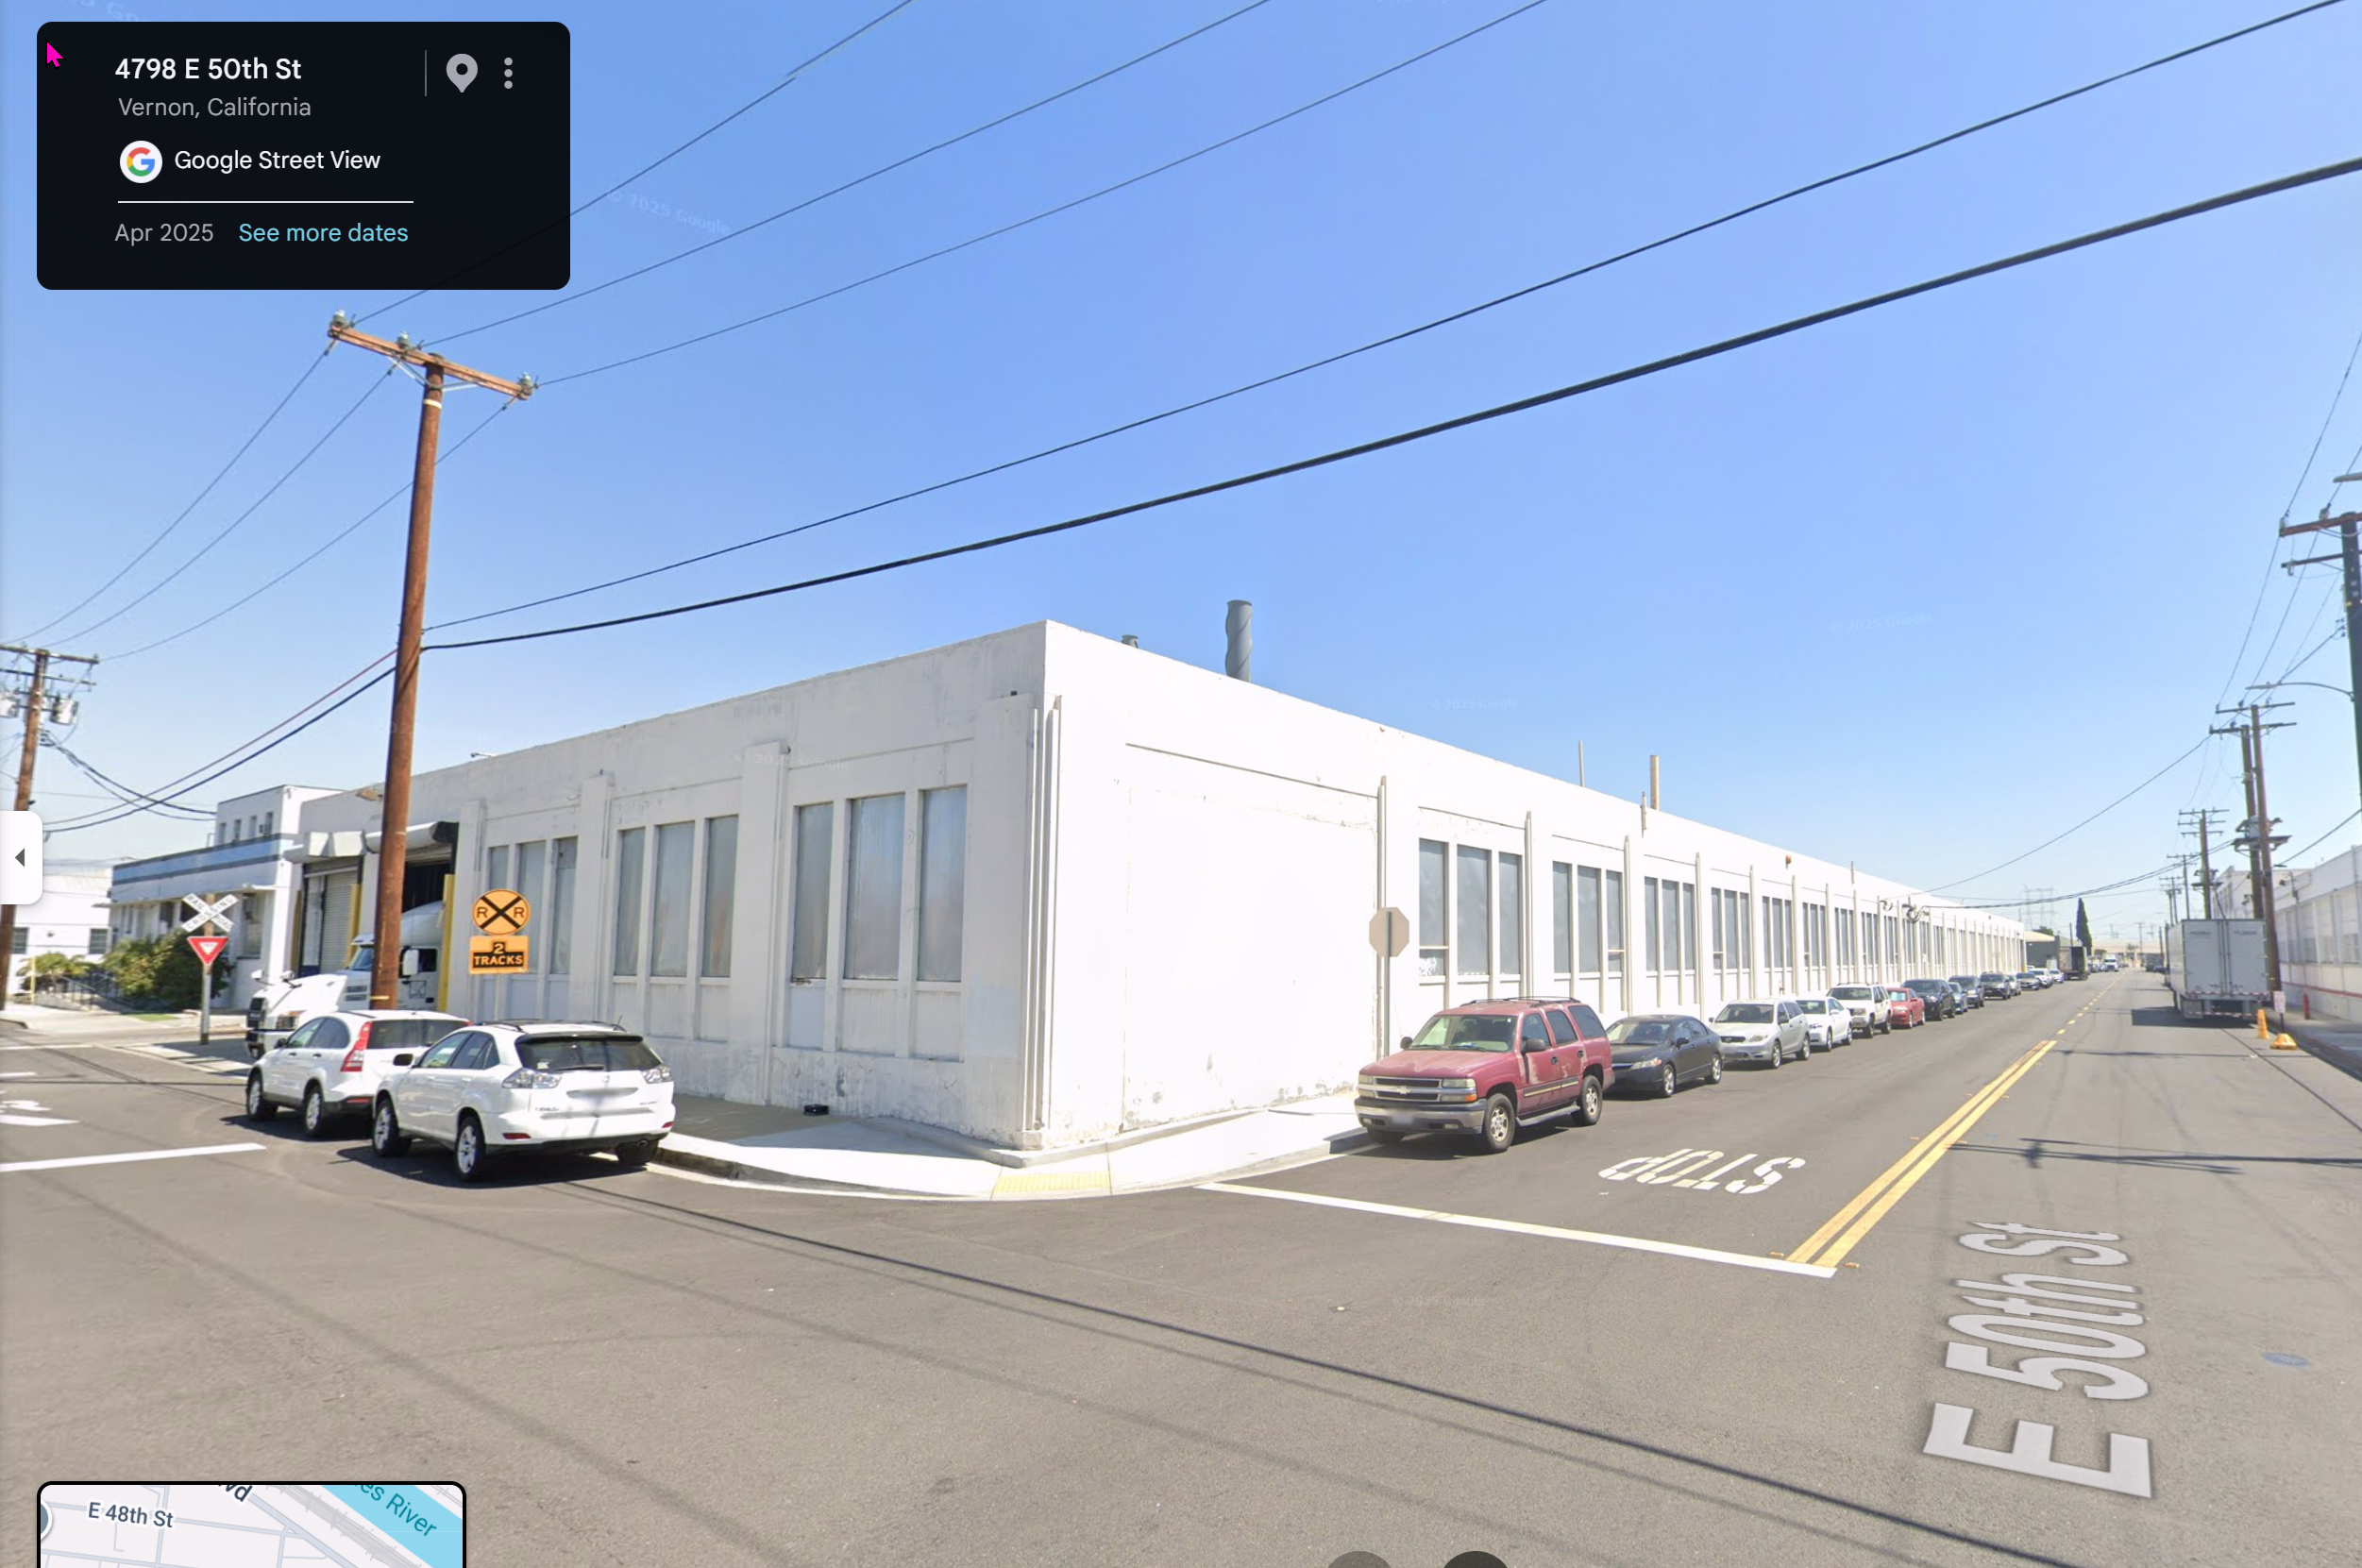
On the workbench now is the primary structure for the LAJ extension. To be specific, the warehouse. My primary goal was to pick a subject that was representative of the Central Manufacturing District. I wanted it to be what you’d expect to see. I wanted typical and ordinary. After some online surfing and research, I settled on the subject above, located at the intersection of 50th Street and Gifford Avenue. Adding to the experience is that fact that I’ve been there. I’ve stood on the exact corner this Google image was taken.
If you want to move beyond being a casual recreationalist, you need to develop a comfort level with scratch-building. Doing so drops your hobby costs immensely and it’s the only way to create the prototype subjects you need. If you model the modern era, the structures are fairly simple.
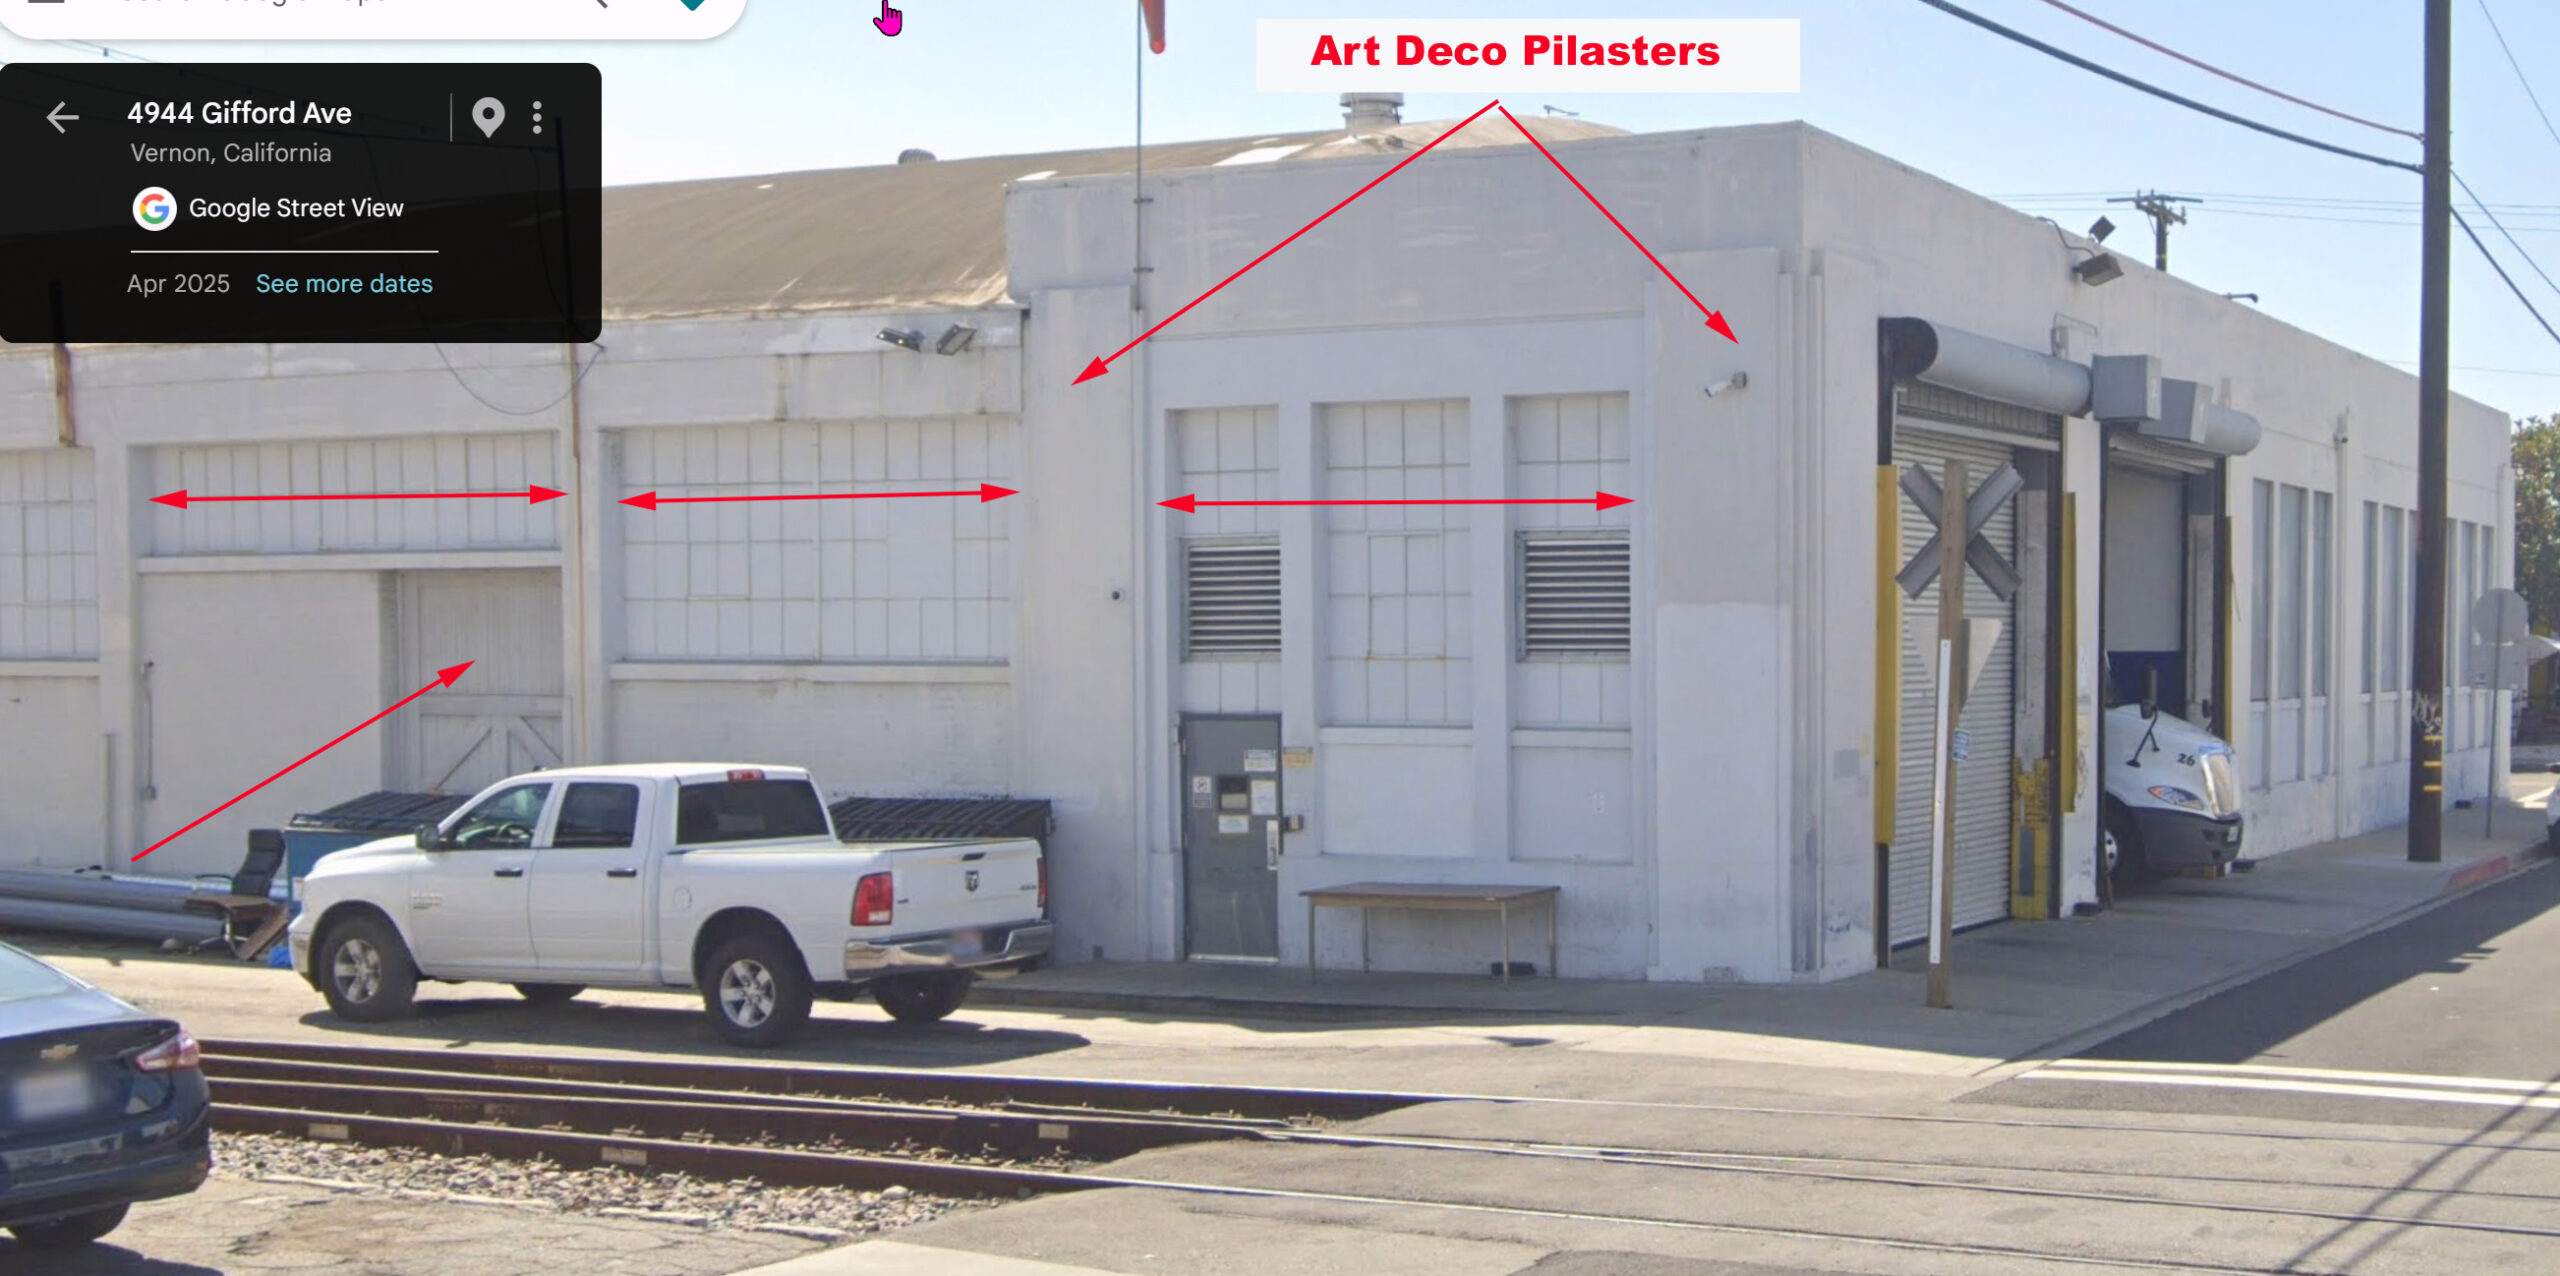
I like the understated elegance of this building. Yes, it’s “just” a warehouse but back in the day they sprinkled on a bit of art deco ornamentation. It’s not just a box. Getting actual dimensions is easy. We know the personnel door is 82 inches tall. We know the freight door is 4 feet off the ground. We can prorate everything else from there and be good enough for government work.
Here’s a real time photo taken earlier today in the midst of contruction. A: The primary tools you’ll need are a heavy blade. I use box cutters. You’ll need an angle and Tamiya white putty to fill gaps. B: I use MEK for adhesive, pour it in an old lid and apply it with a ratty brush. C. The core of the structure is 1×3 PVC dimensional lumber picked up in the lumber aisle of The Home Depot. The structure facing is .060″ styrene glued to the PVC core with MEK. D: I buy the styrene facing in 24″ x 48″ sheets on Amazon. Most of the features were cut with the heavy blade from styrene sheet. The smaller pieces around the windows are Evergreen styrene strips.
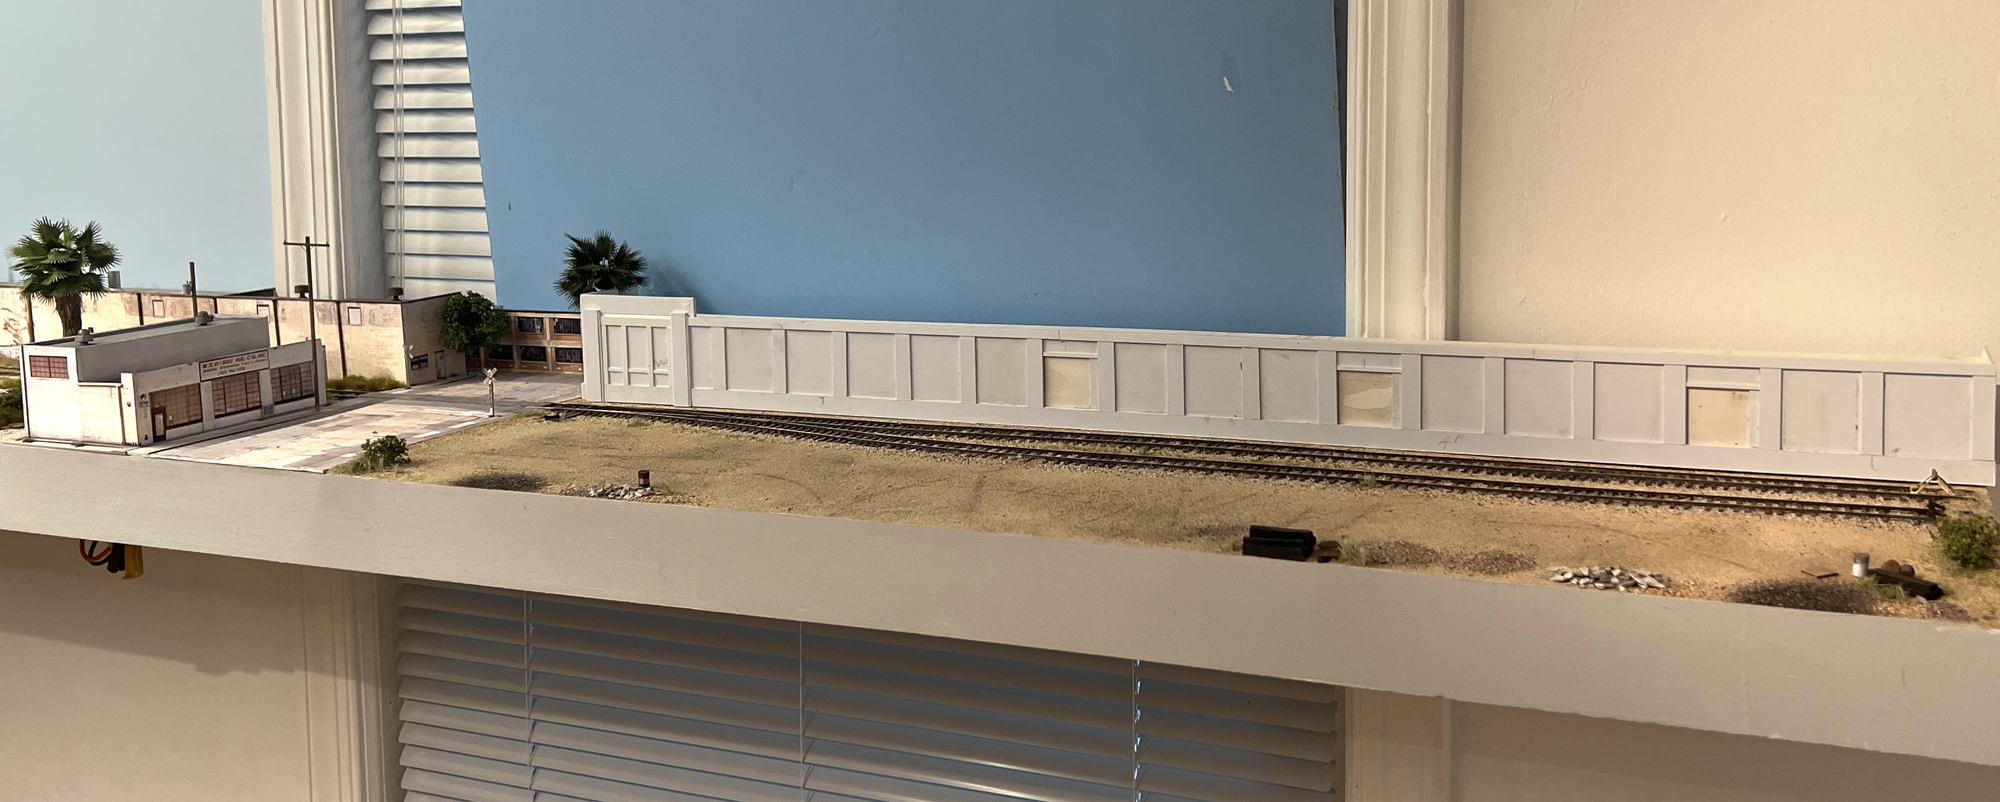
Here it is sitting loosely in place on the layout. Note how the art deco elements on the far left add so much to the look.
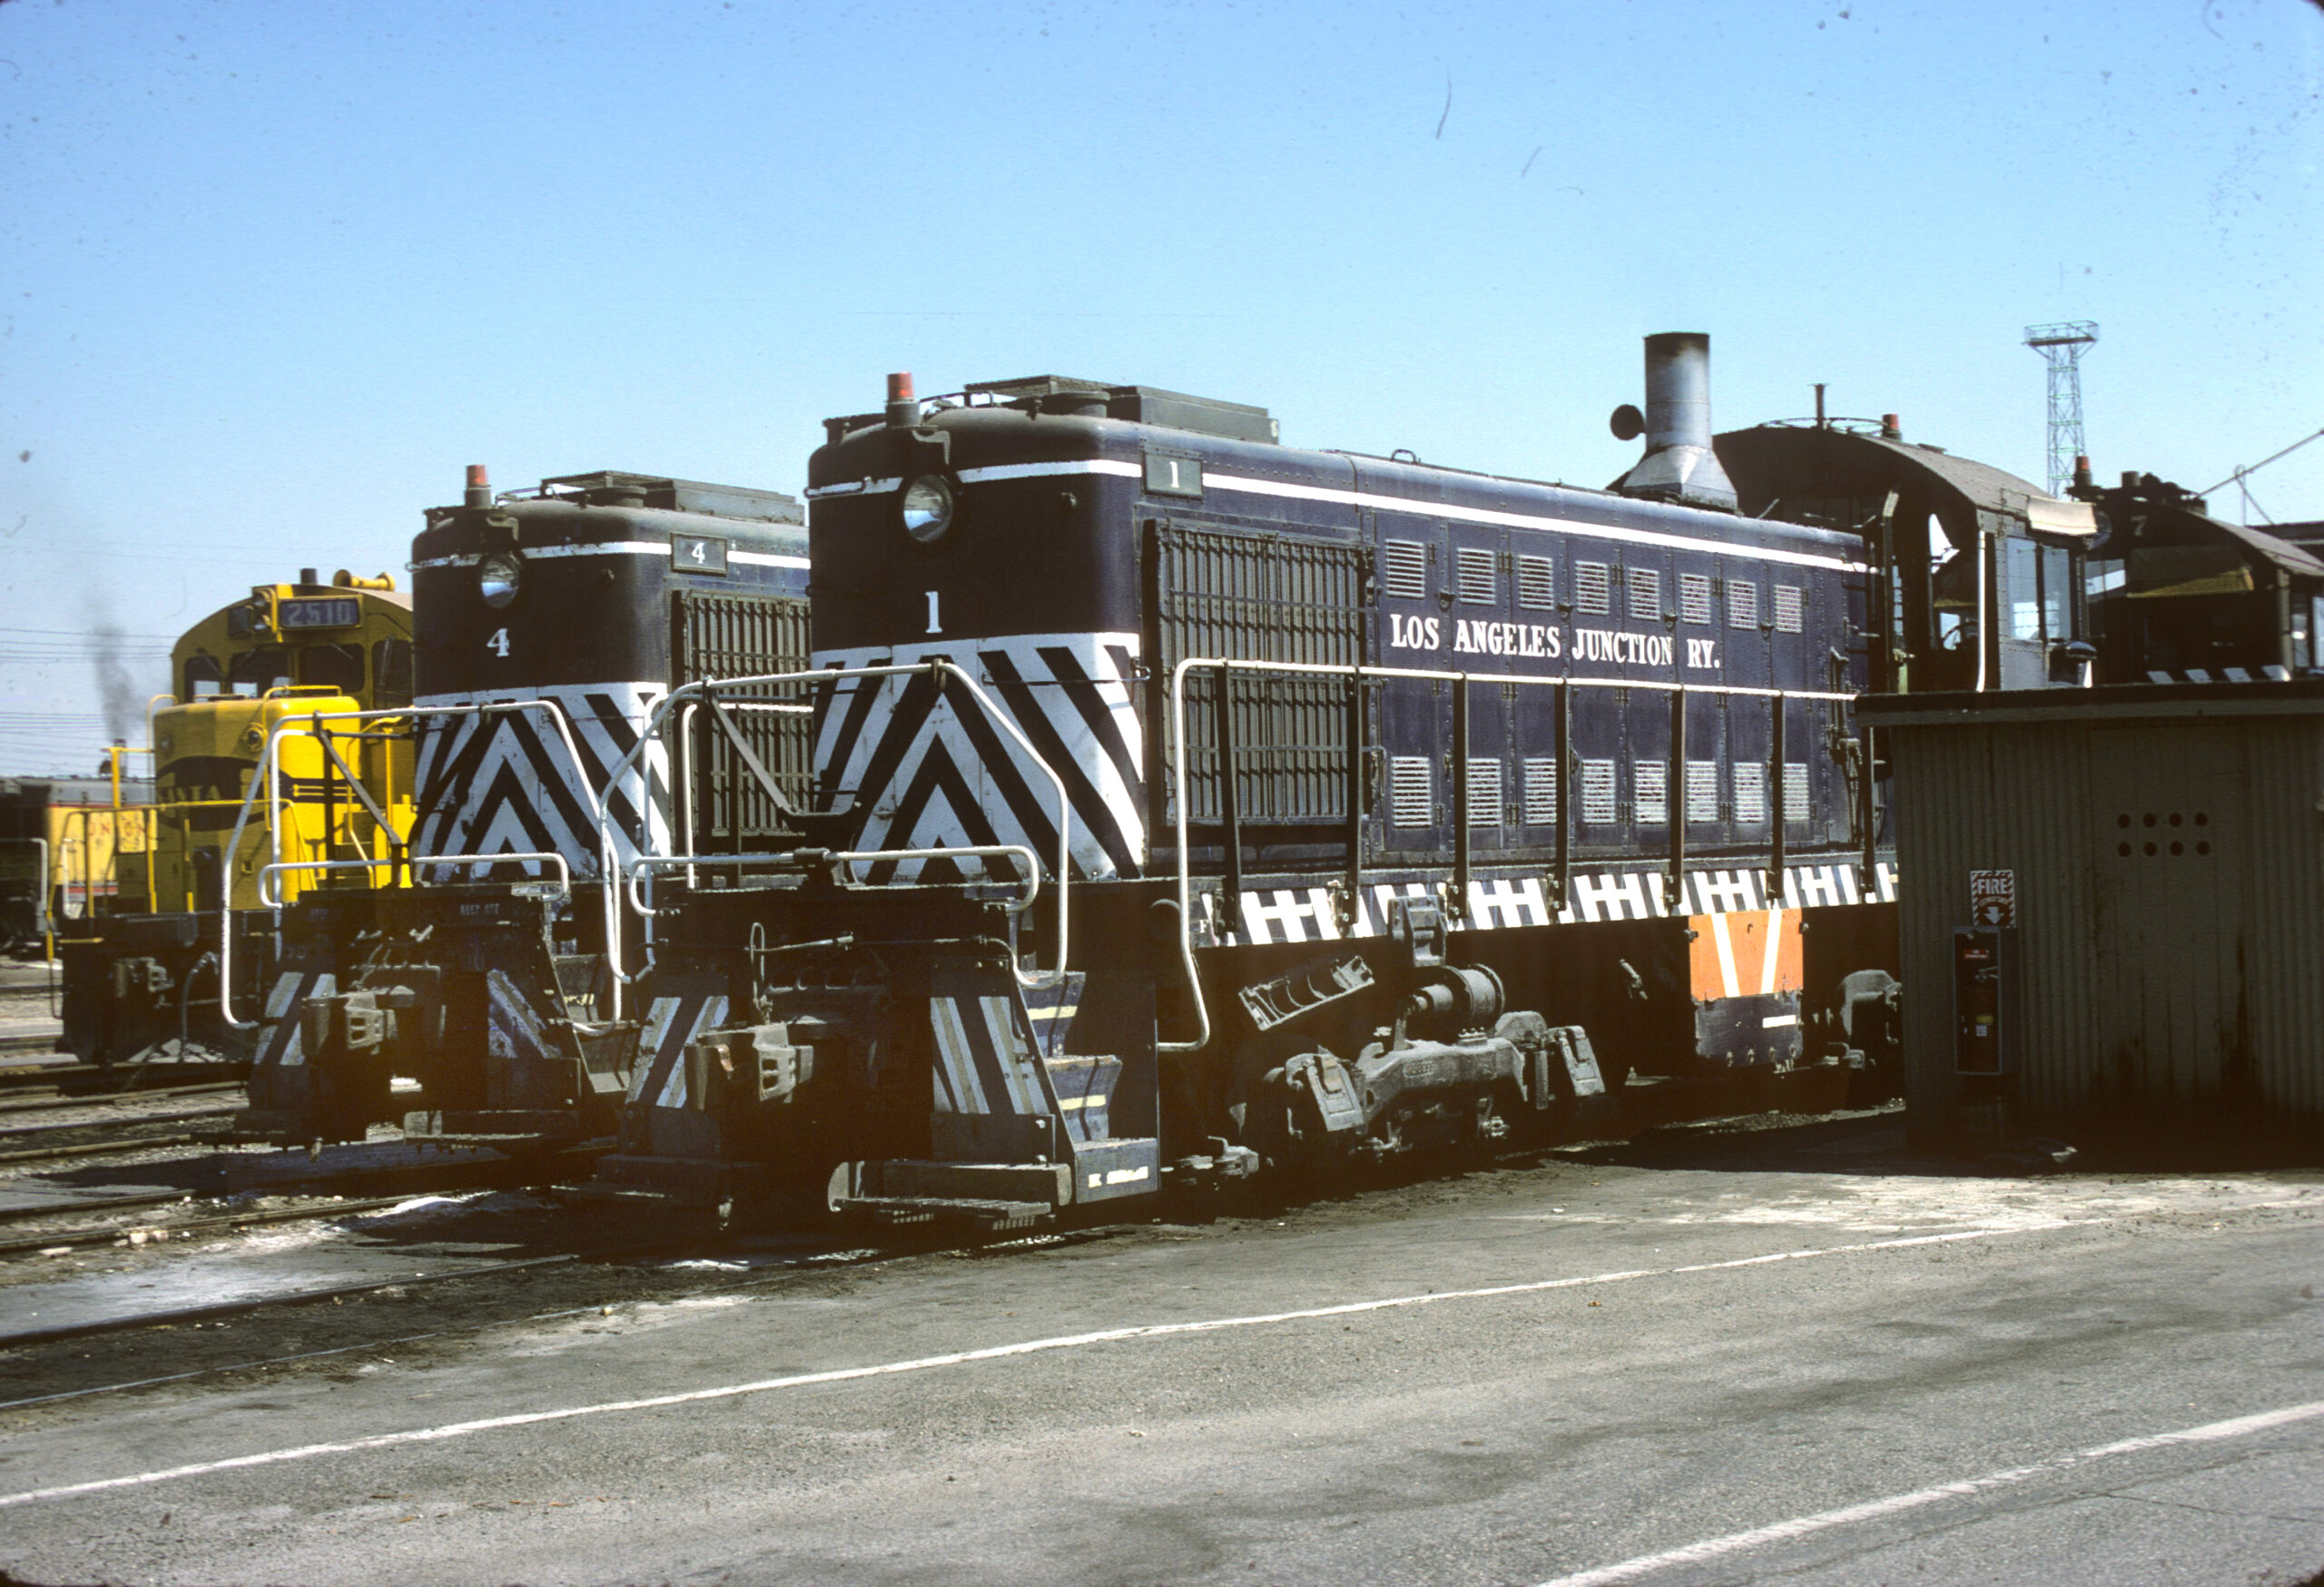
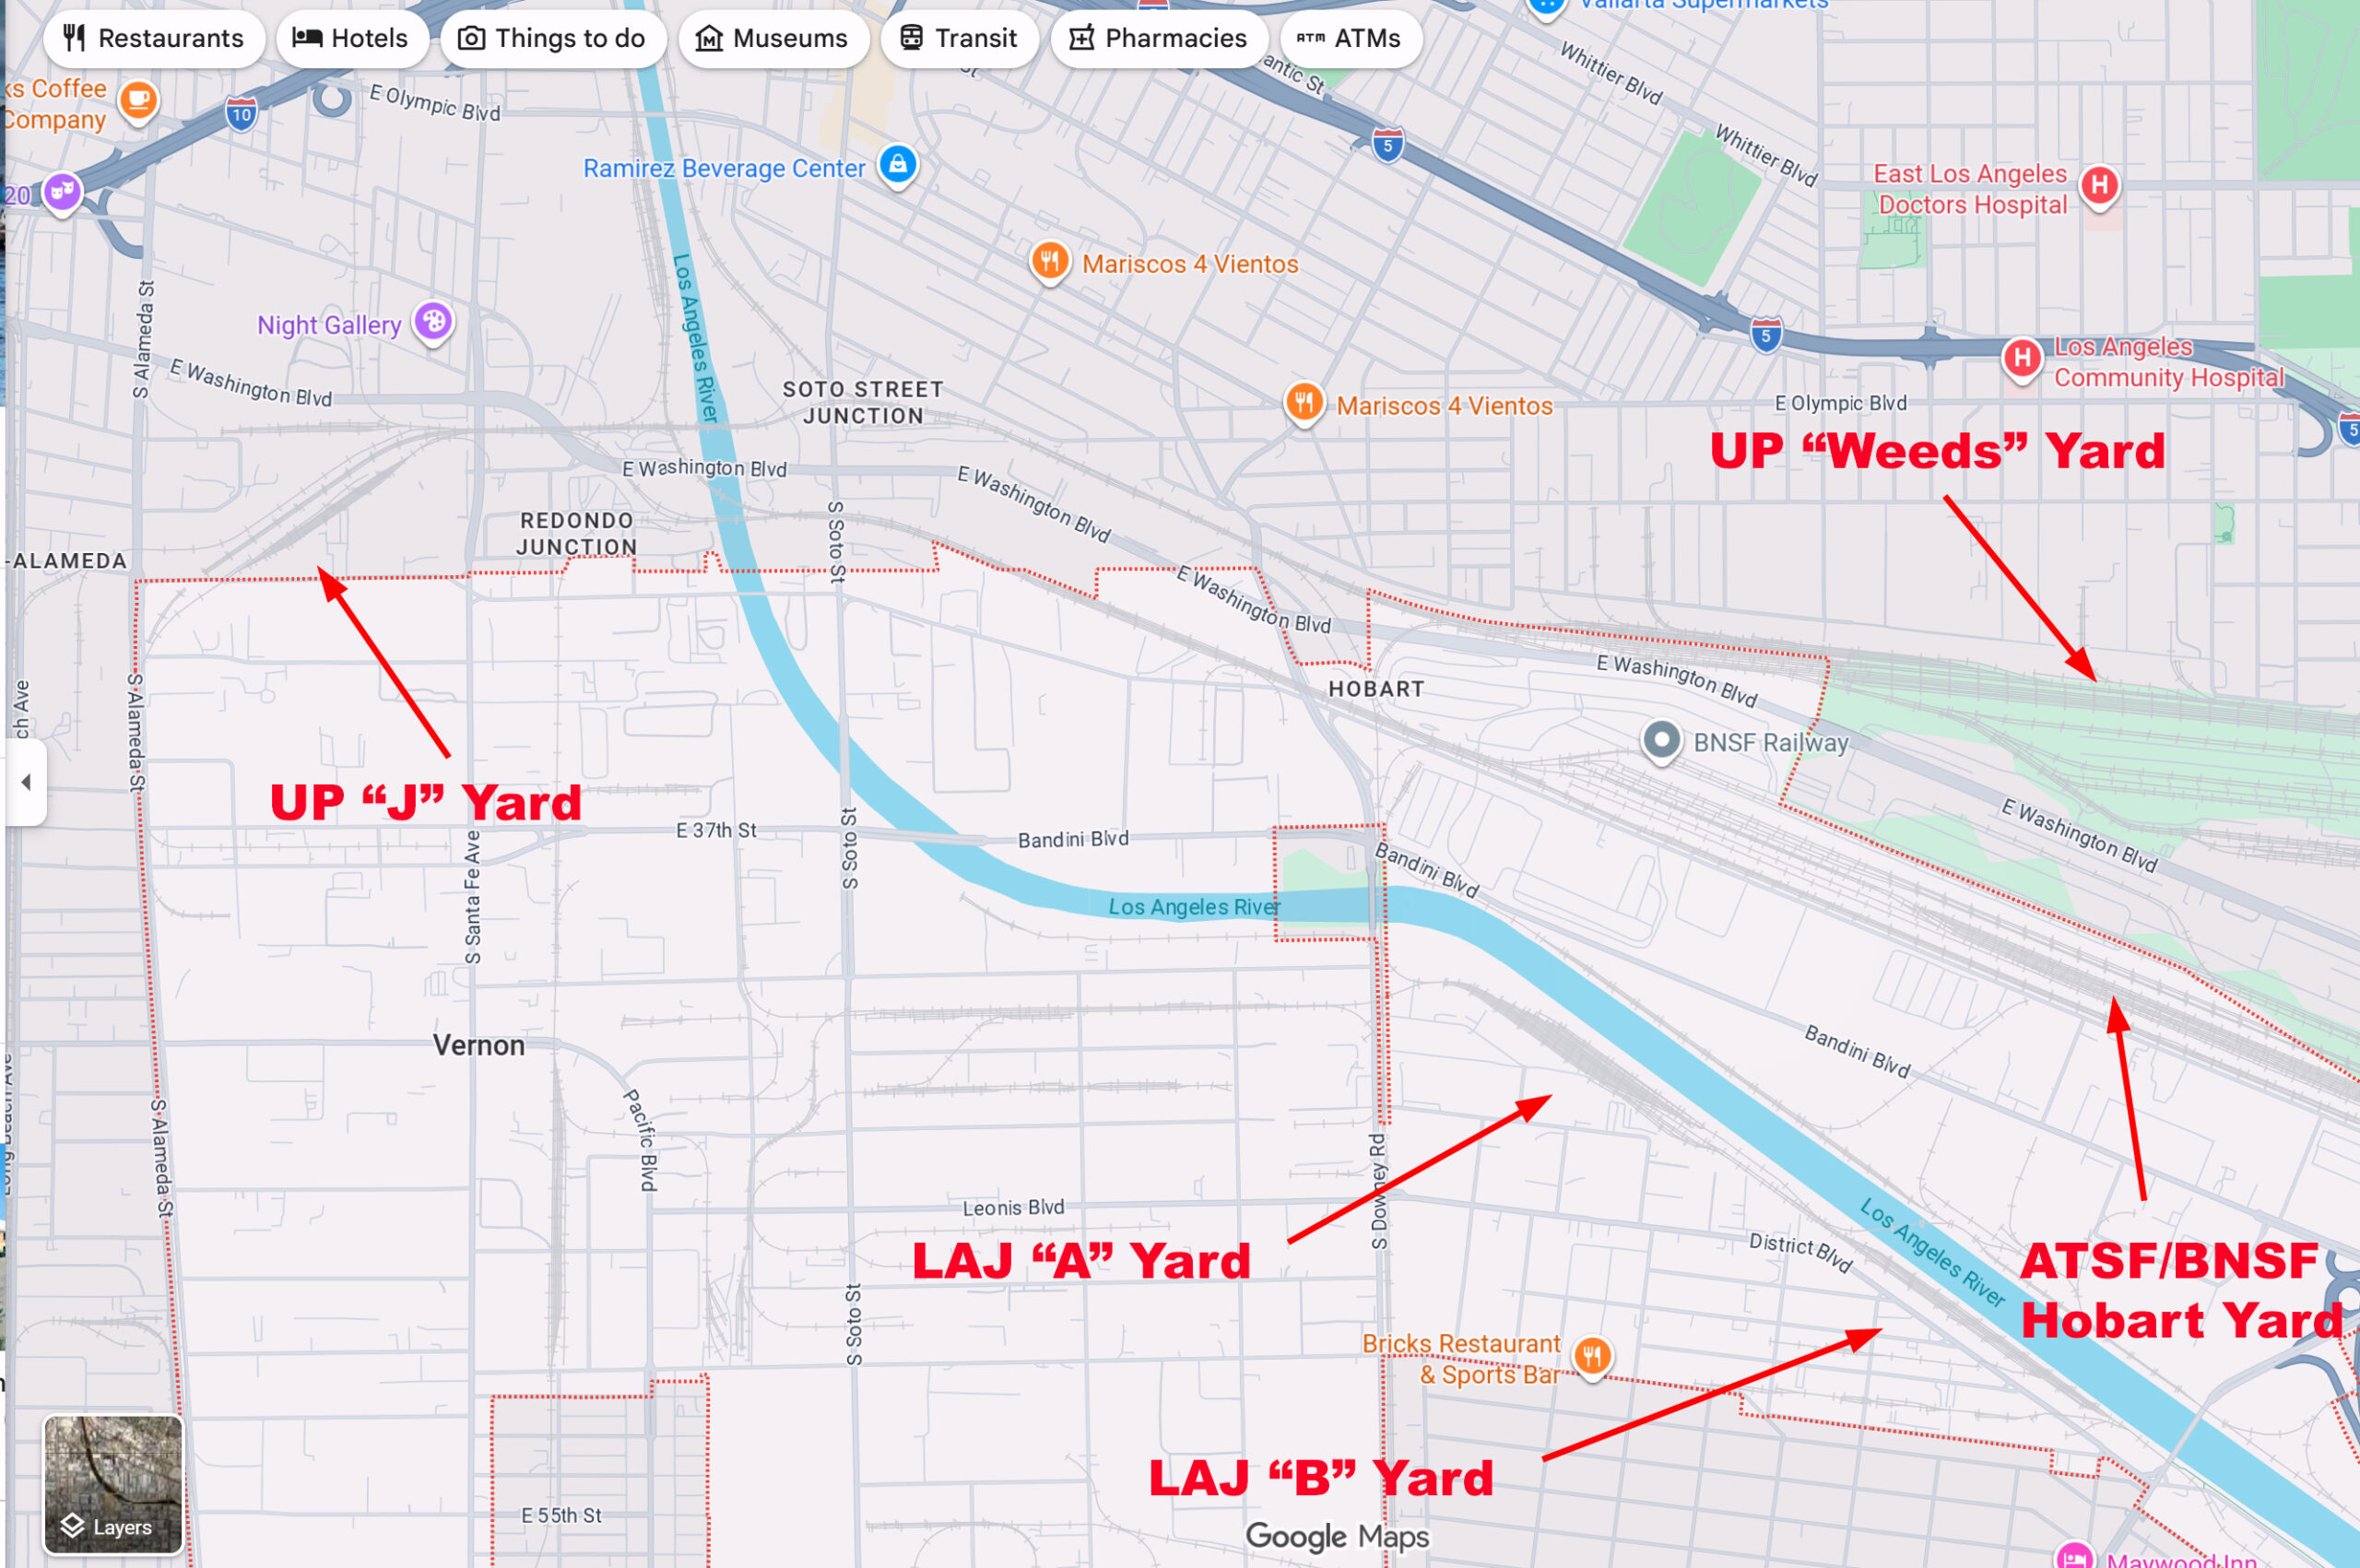
Perfect subjects. Perfect lighting. Captured with the best film of all time, Kodachrome. A trio of Los Angeles Junction Alcos sit in front of the engine house at “A” Yard. In the distance we can see power from the Santa Fe and UP. Both roads made frequent interchange runs to the LAJ, the UP out of “J” Yard, the Santa Fe out of Hobart. I recently purchased this slide and had it scanned by my local MotoFoto. Date: 1974. Photographer unknown.
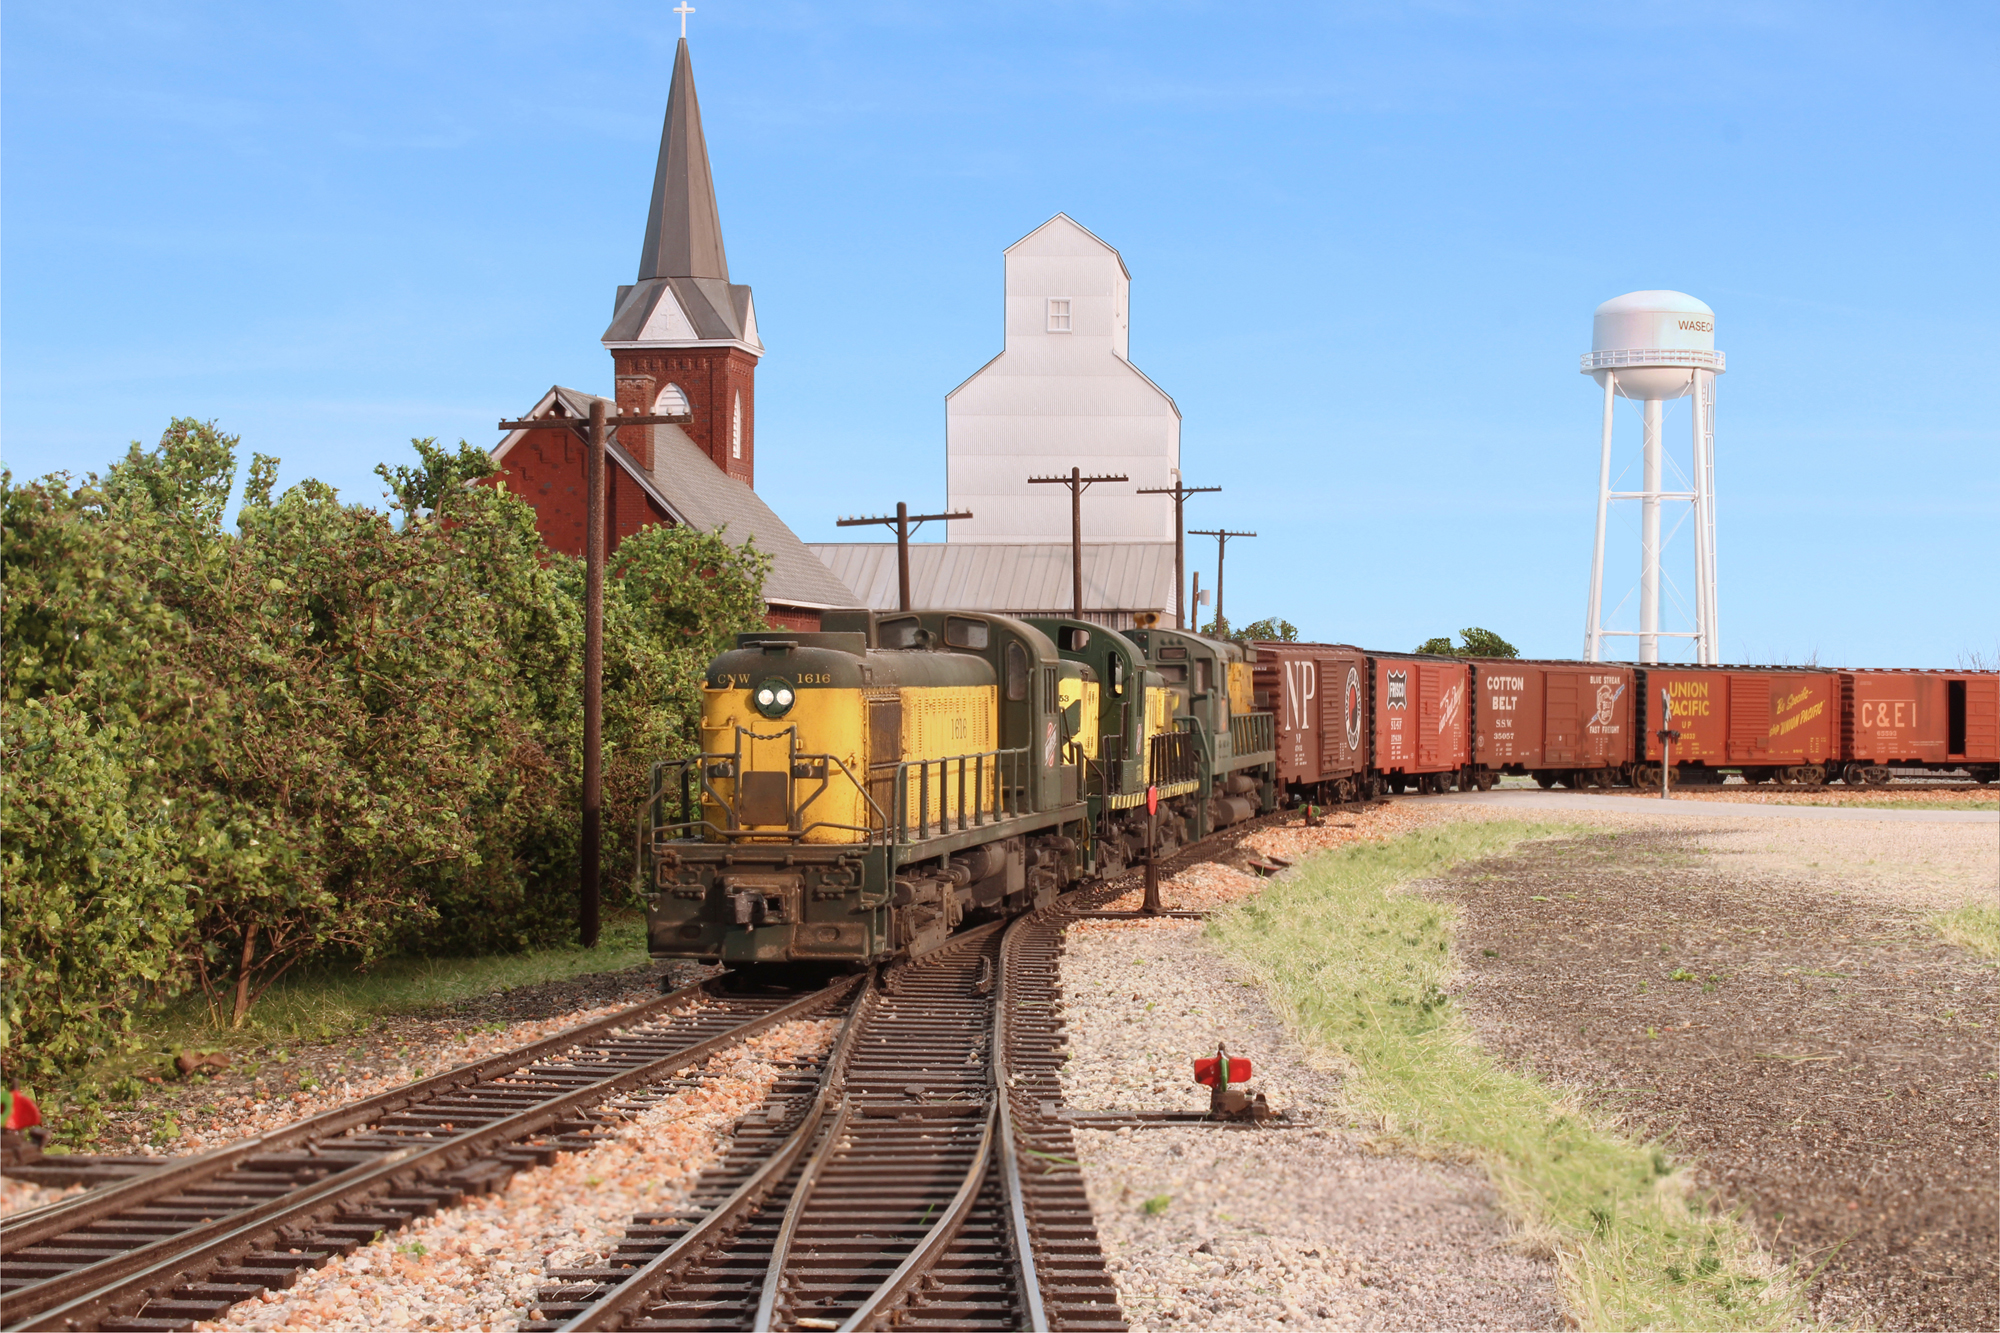
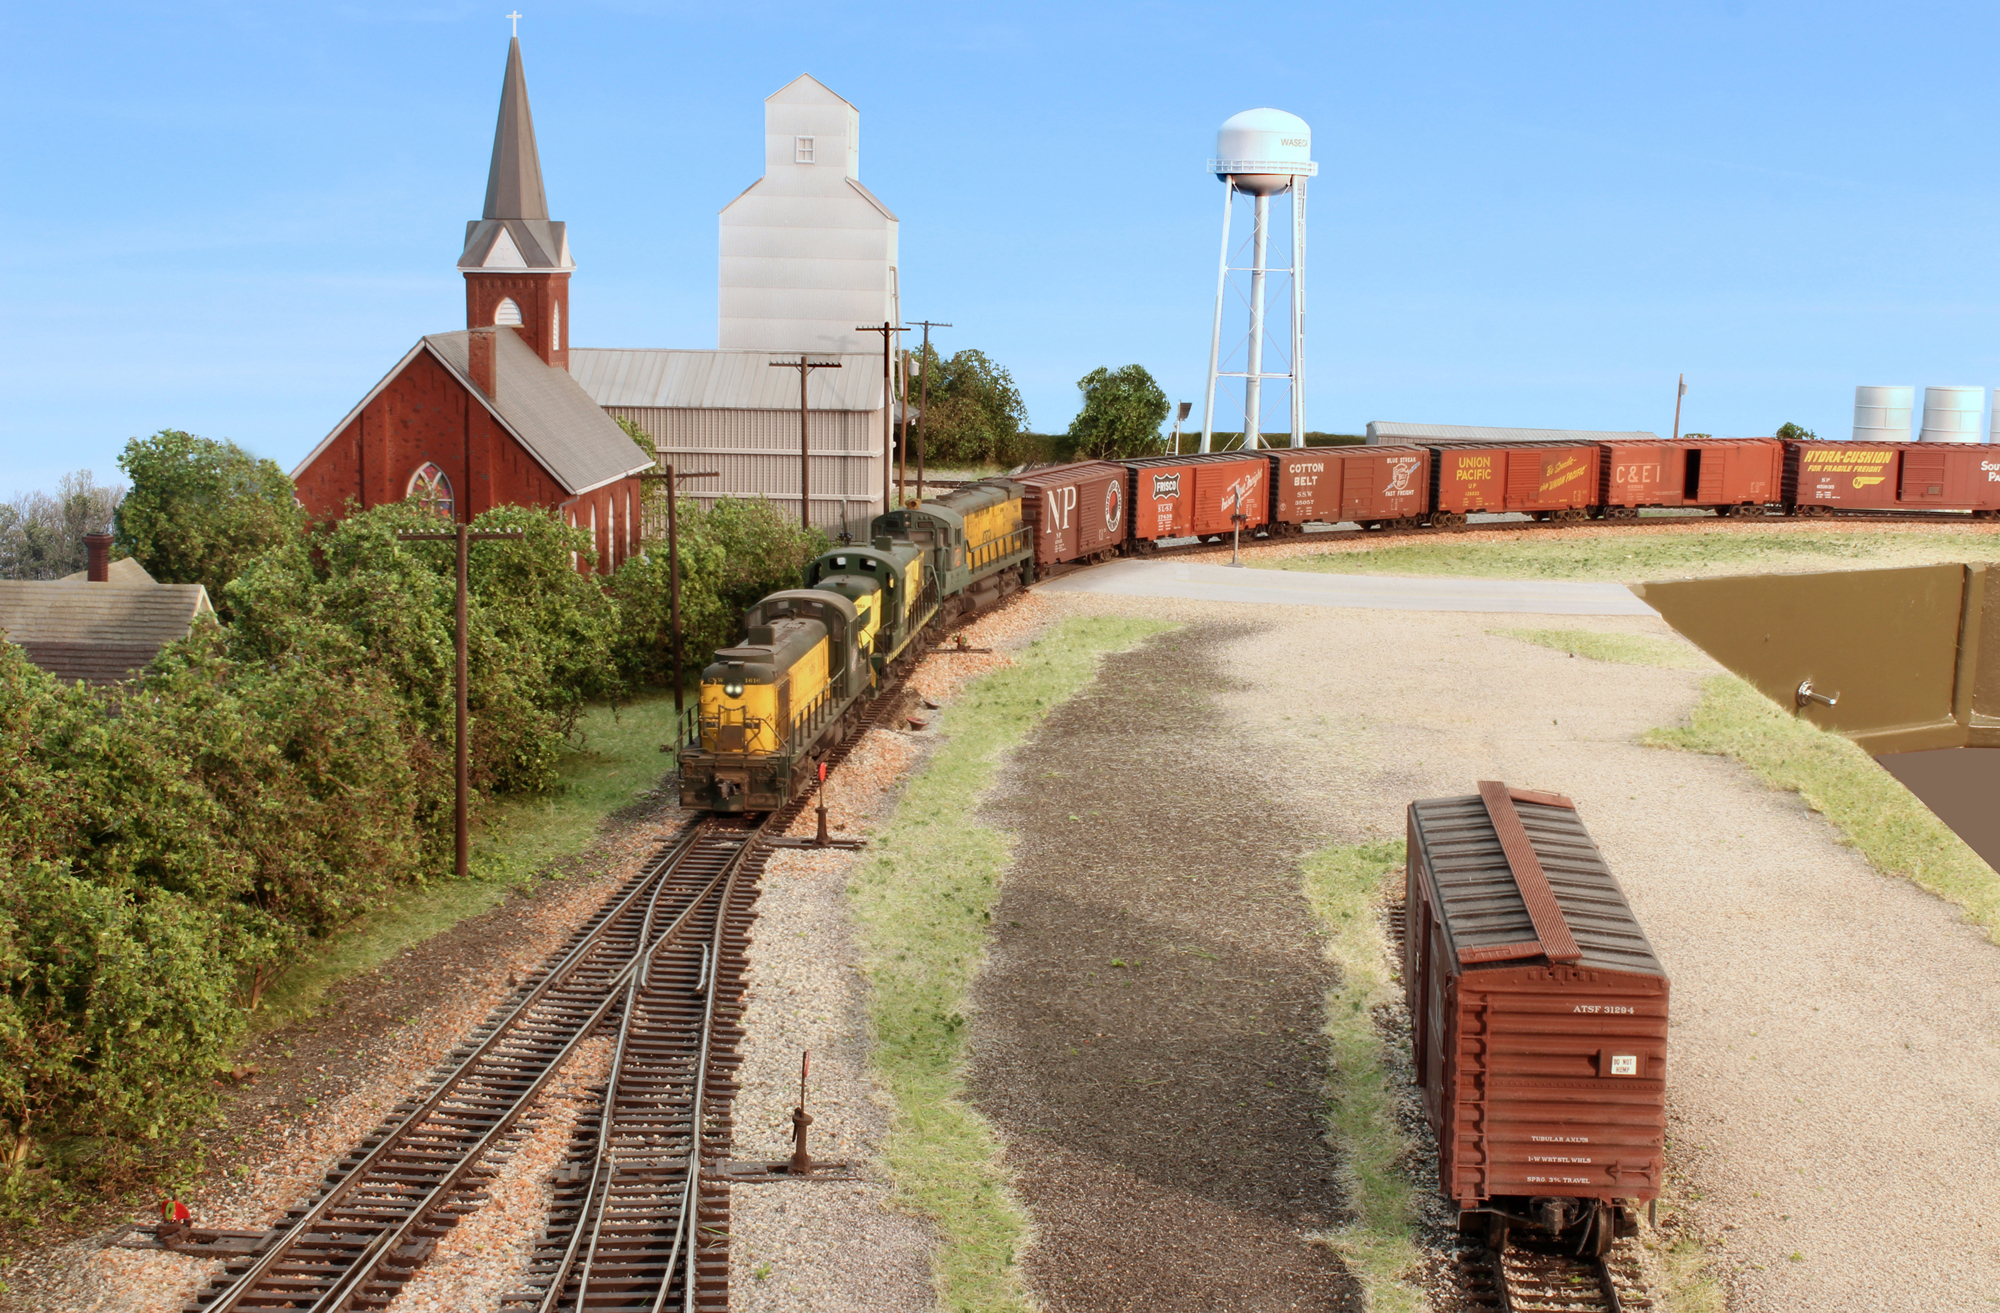
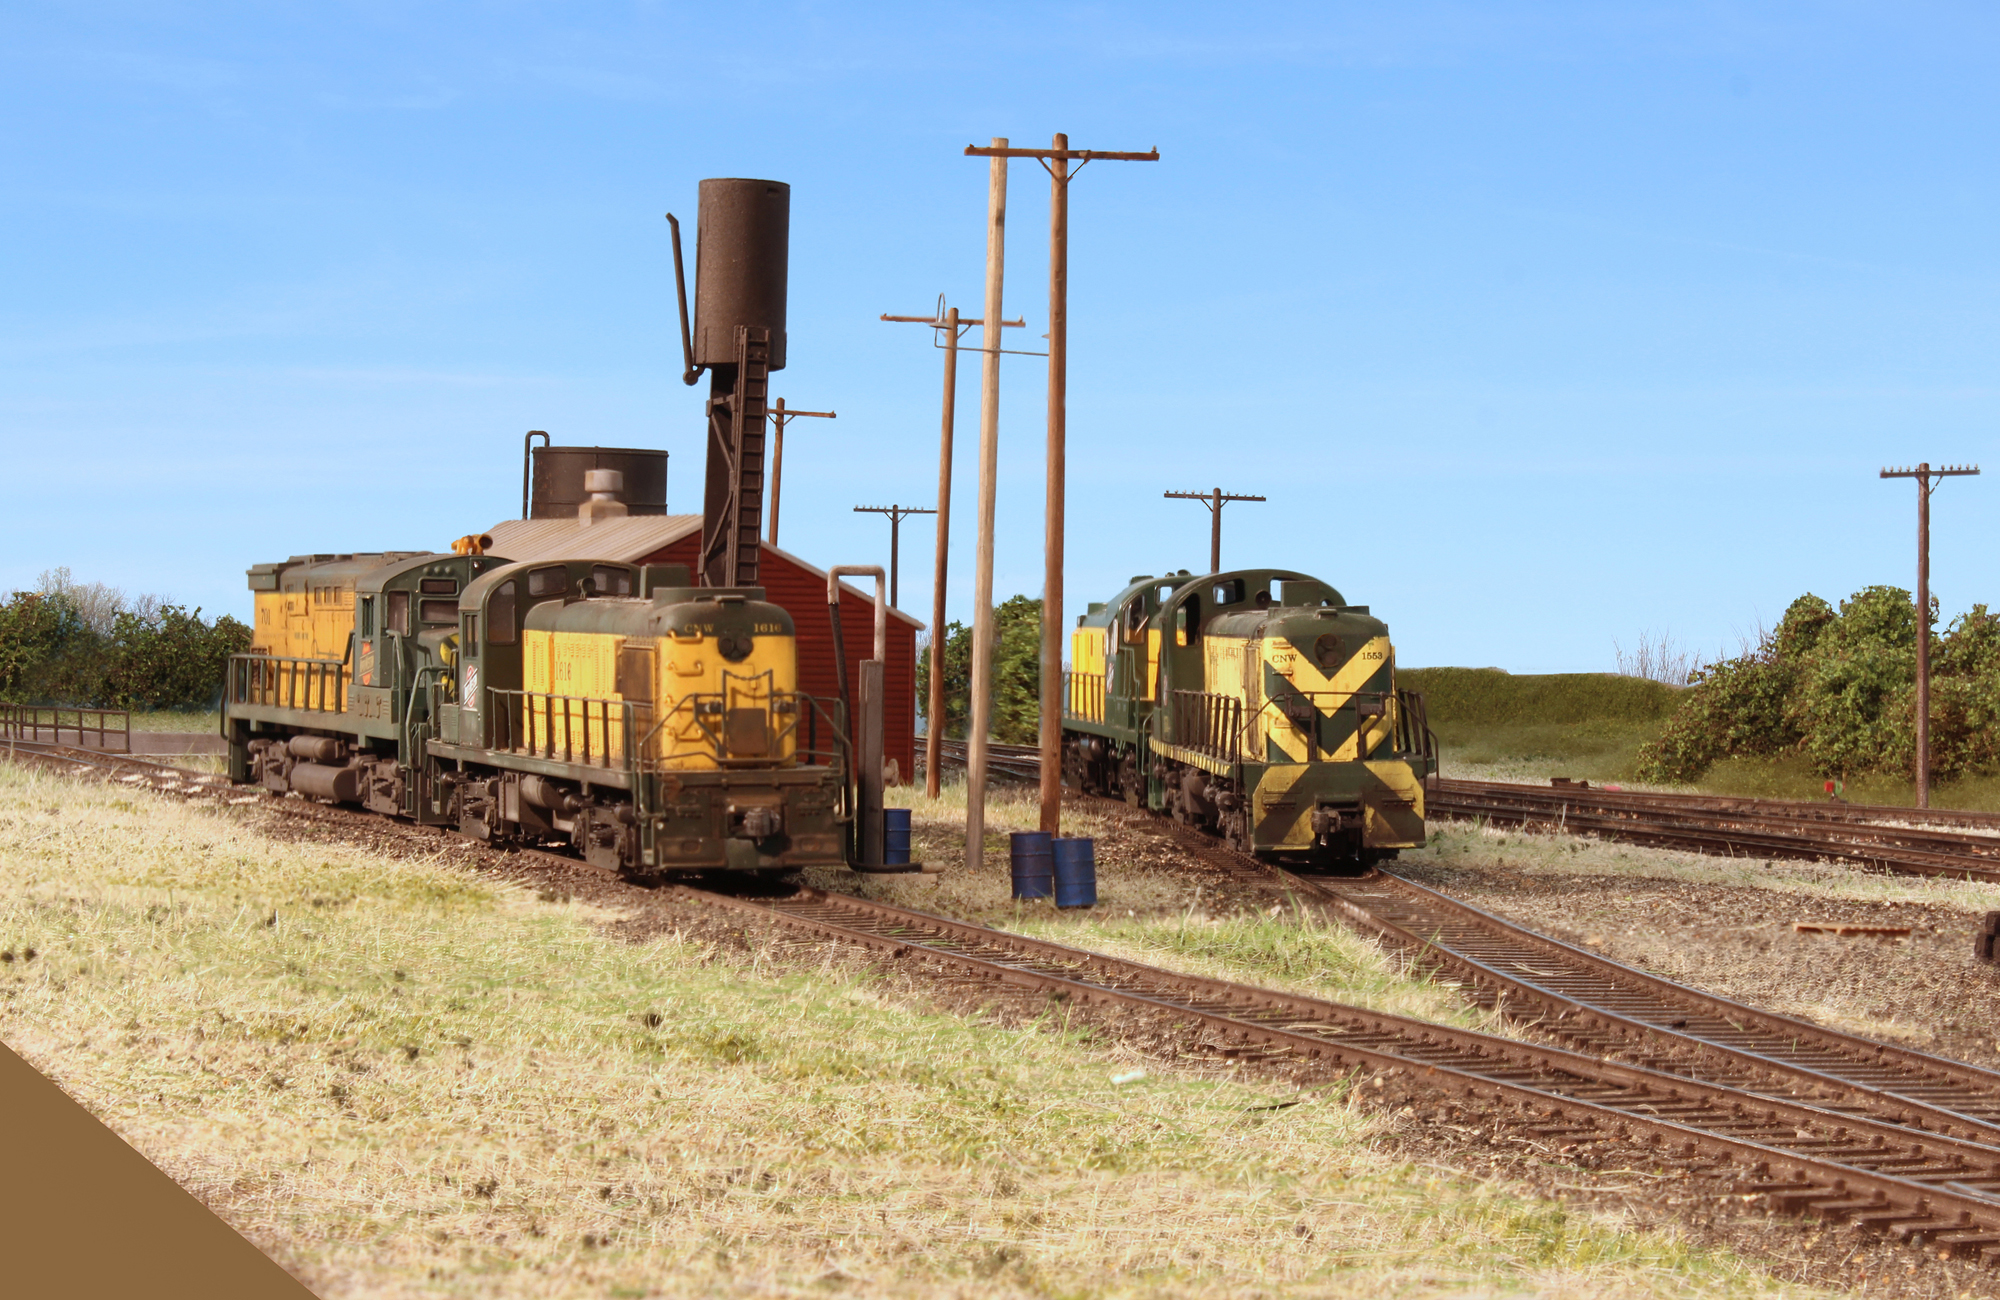
A trio of Alco’s rounds the big bend and heads westward into the yard at Waseca on the Alco Line project I’m custom building in my shop.
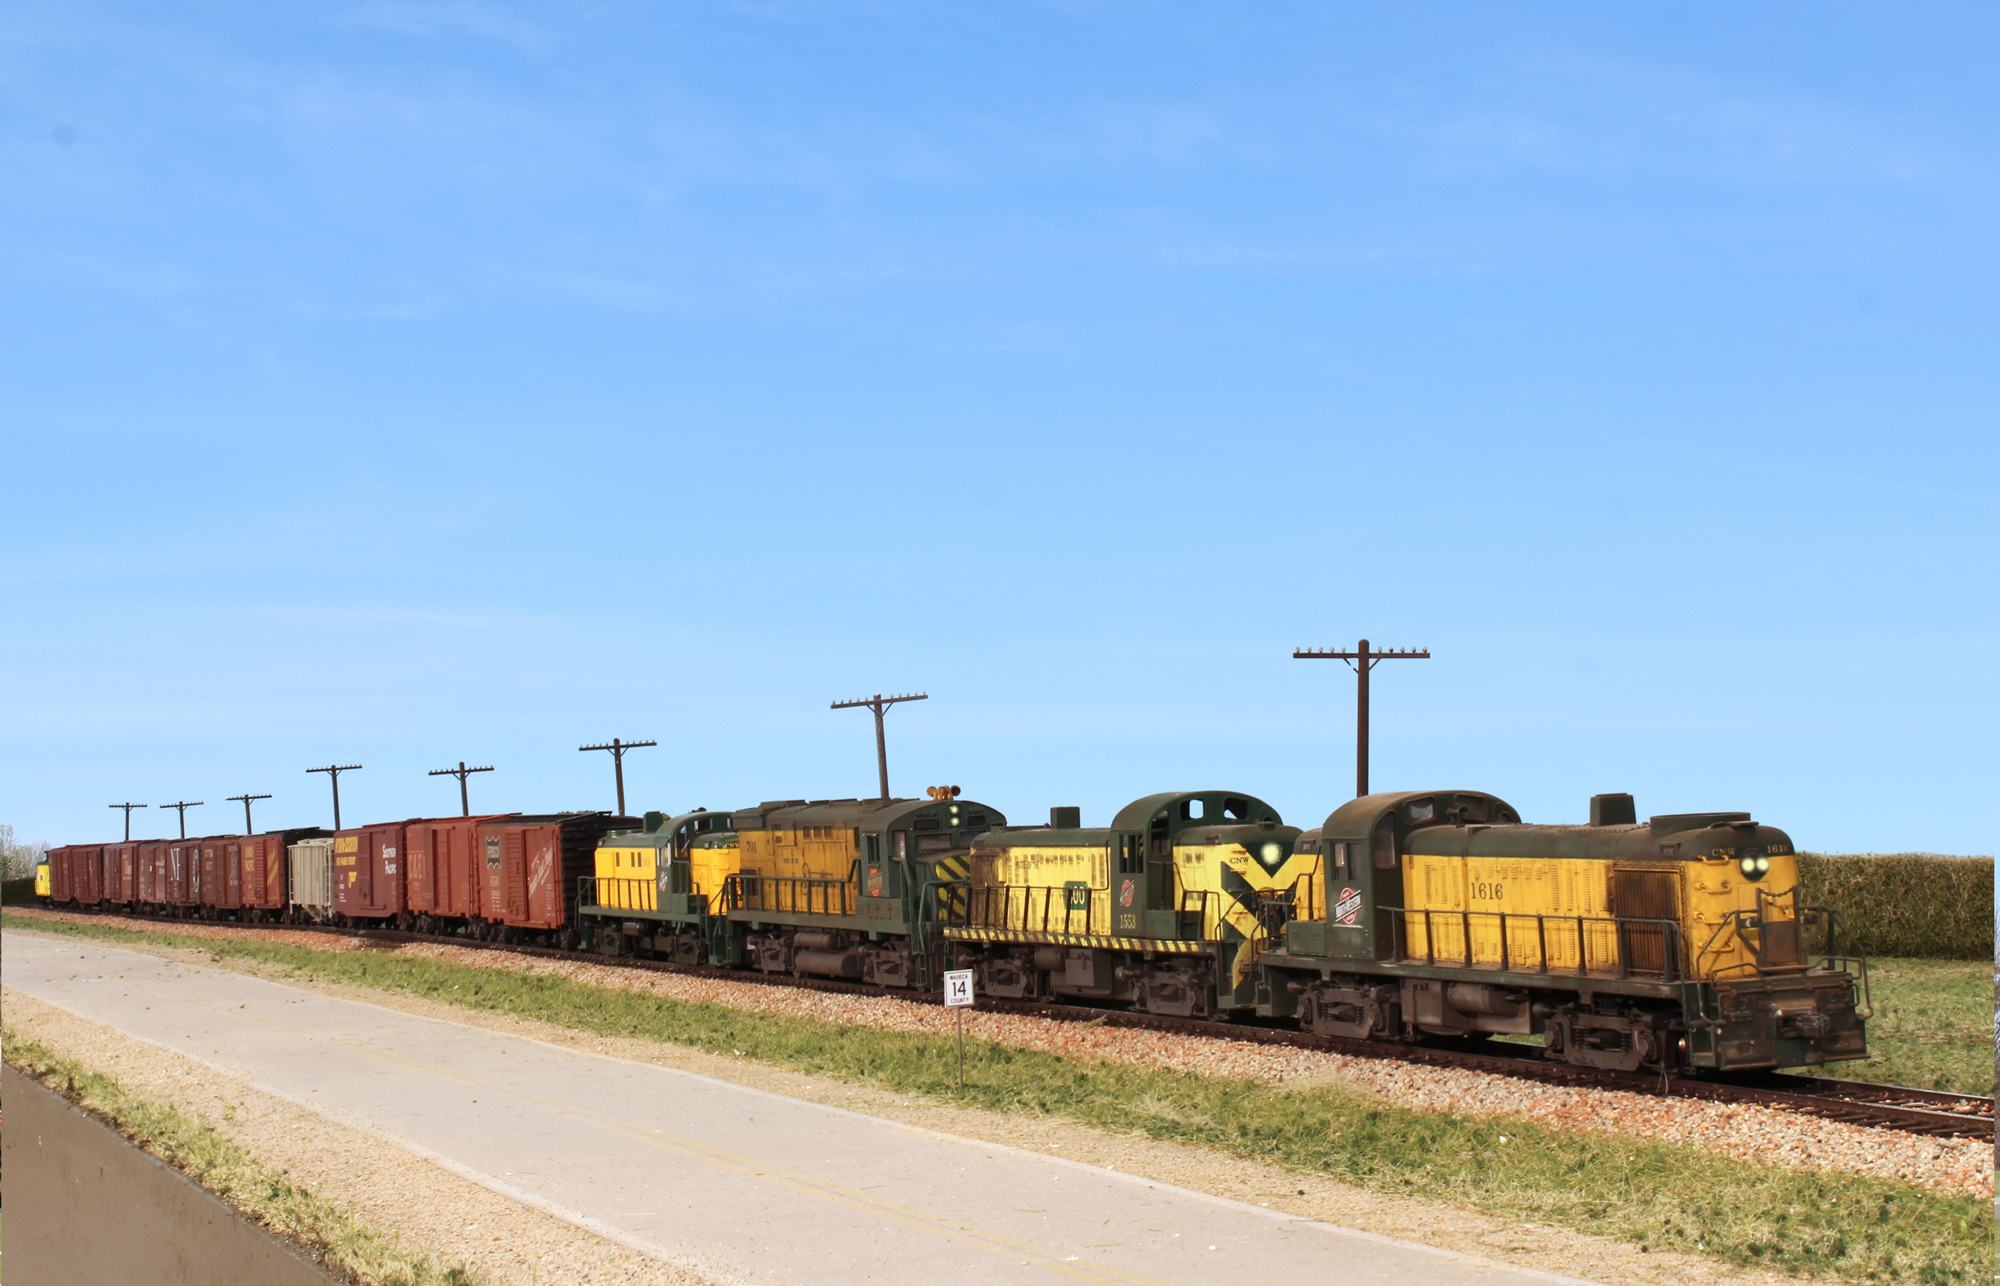
For the last eighteen months I’ve been building a custom layout based on CNW’s Alco Line in Southern Minnesota. Because of the project size, we’ve handled it in phases. The first two phases have been installed and appeared as the cover story in the November issue of RMC.
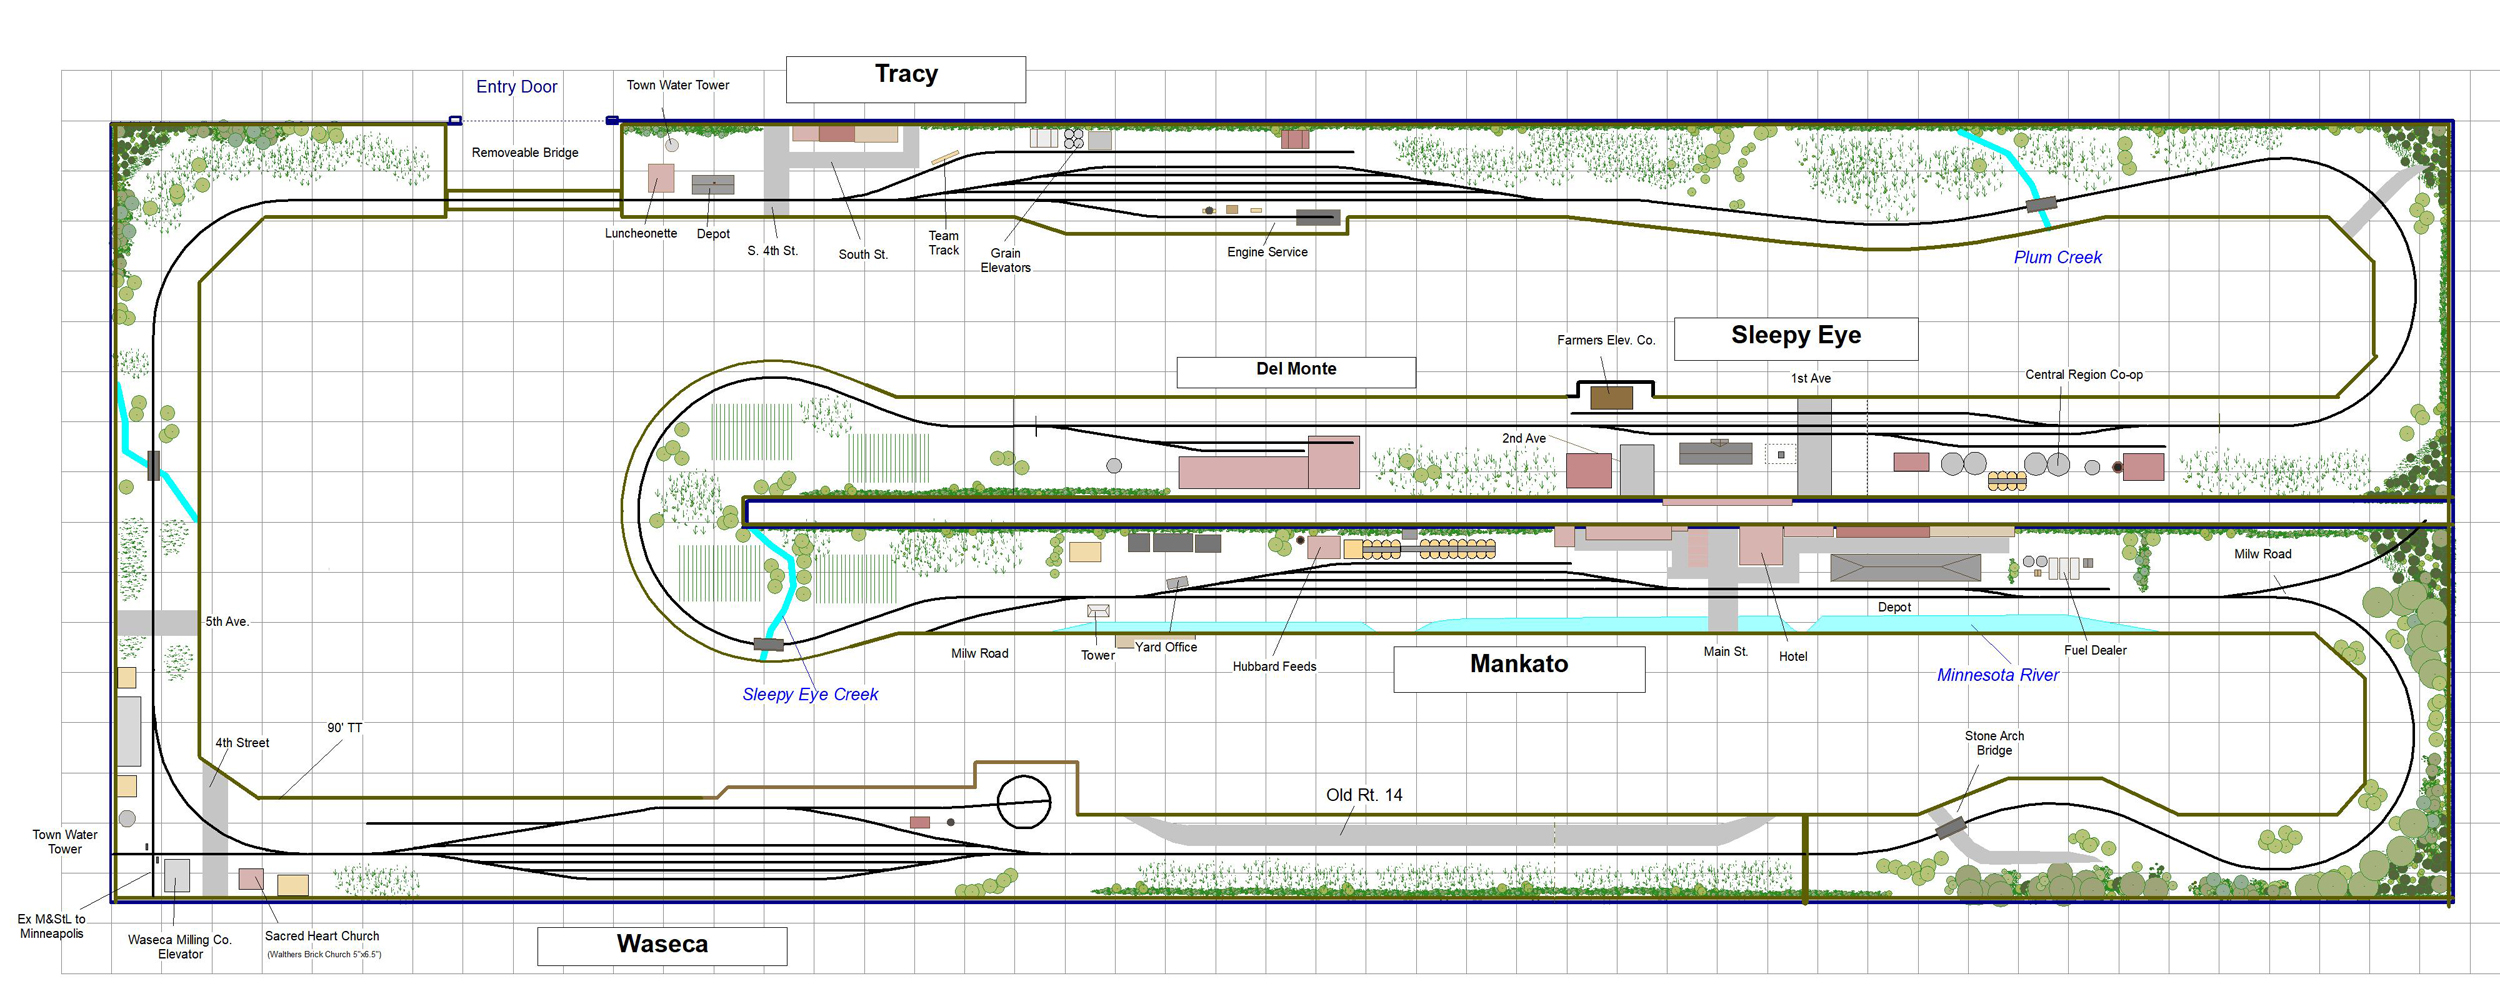
The final phase, centered on the region around Waseca, is now complete and will be installed next week. Shown below are images of that last phase as well as the trackplan.
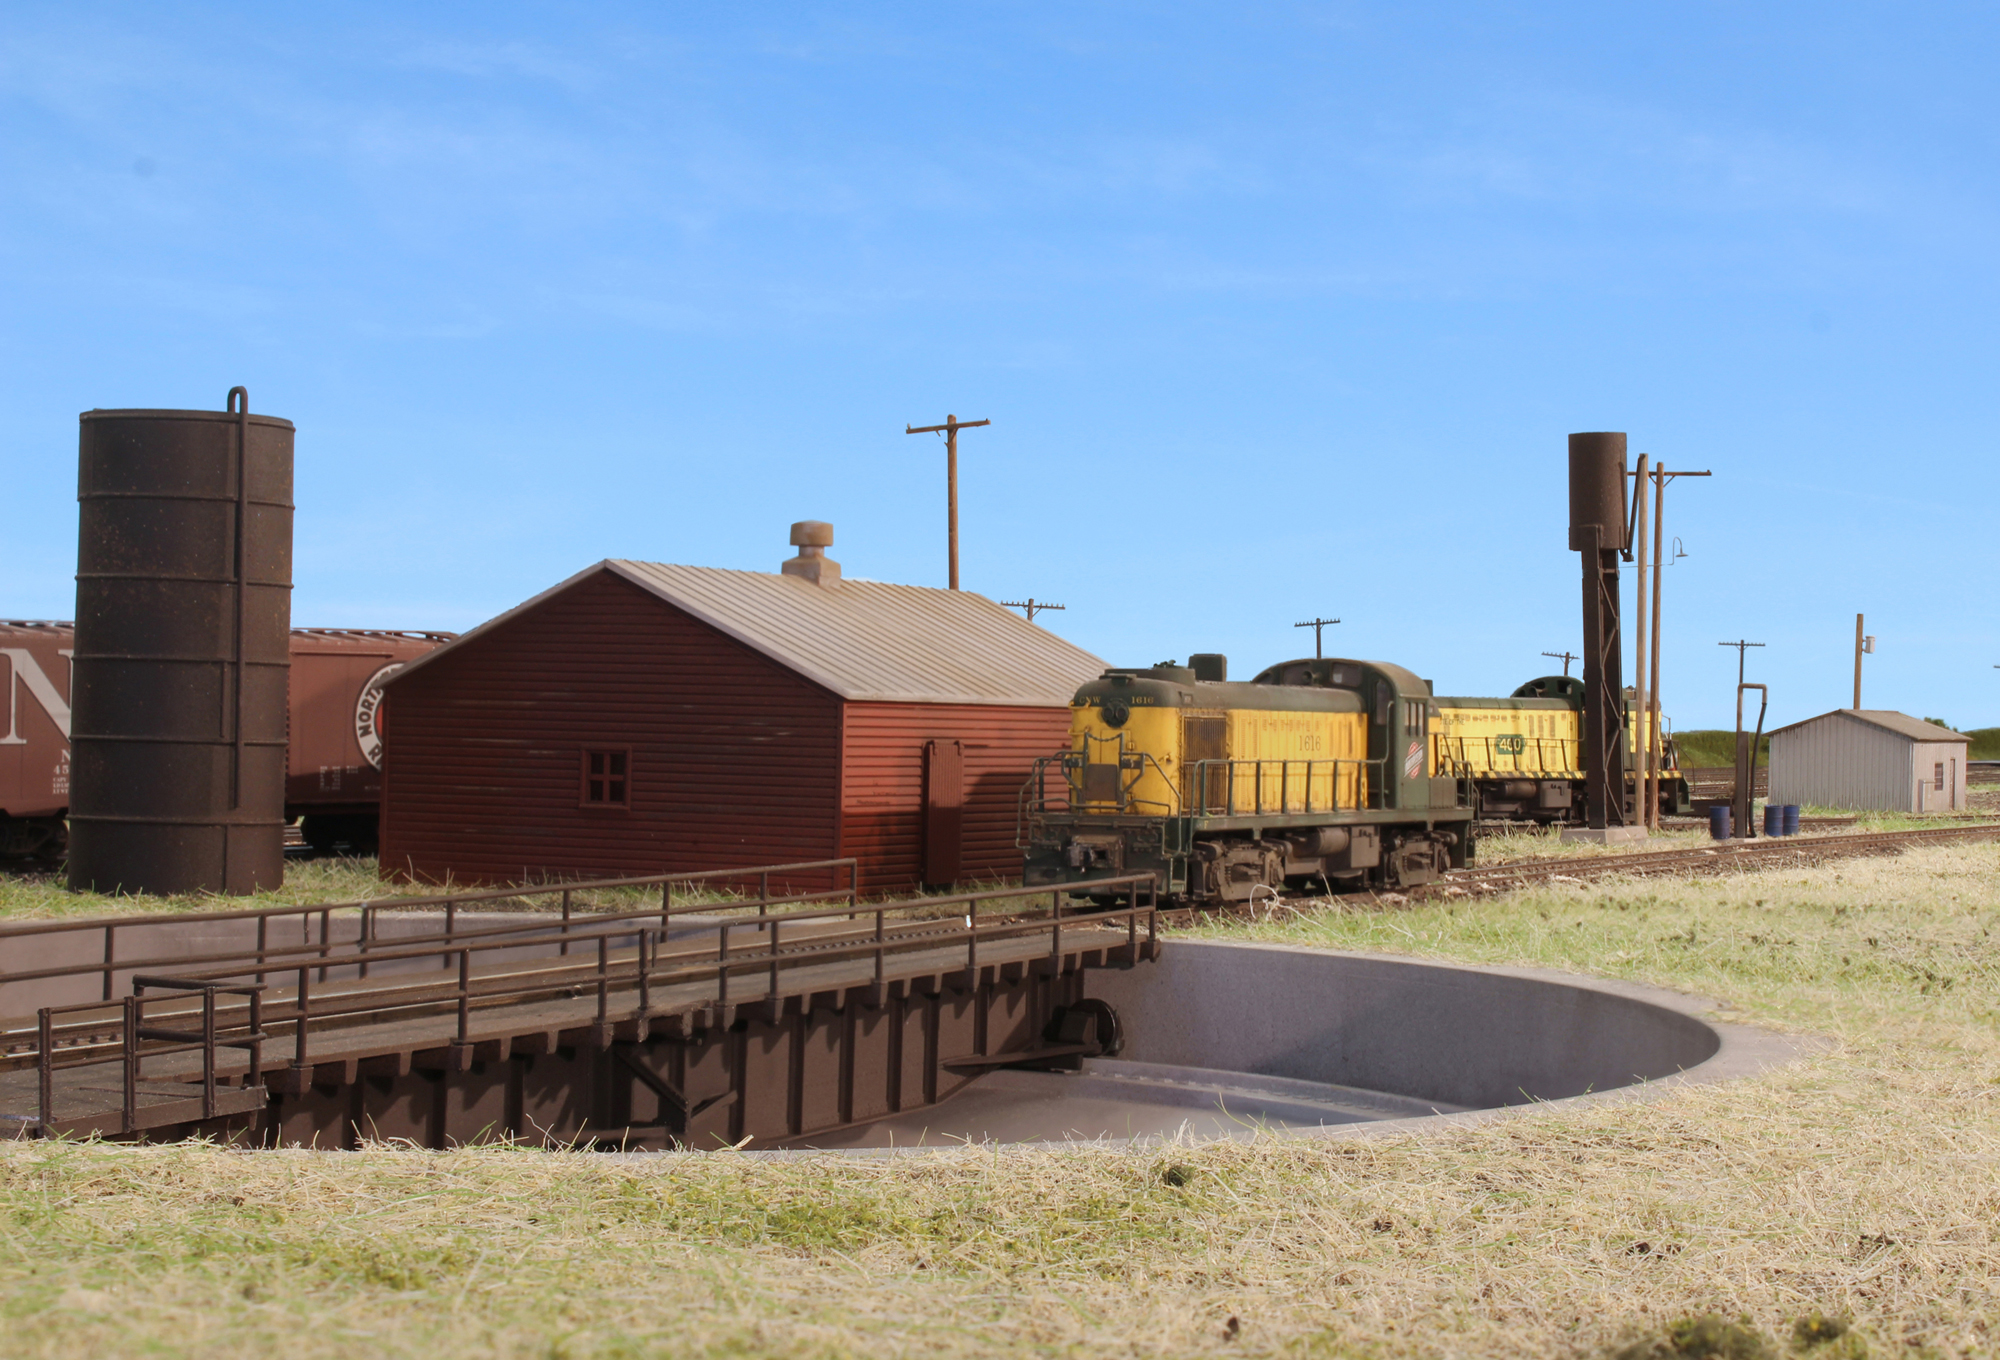
Running through the prairies west of Waseca. Route 14 is in the foreground.
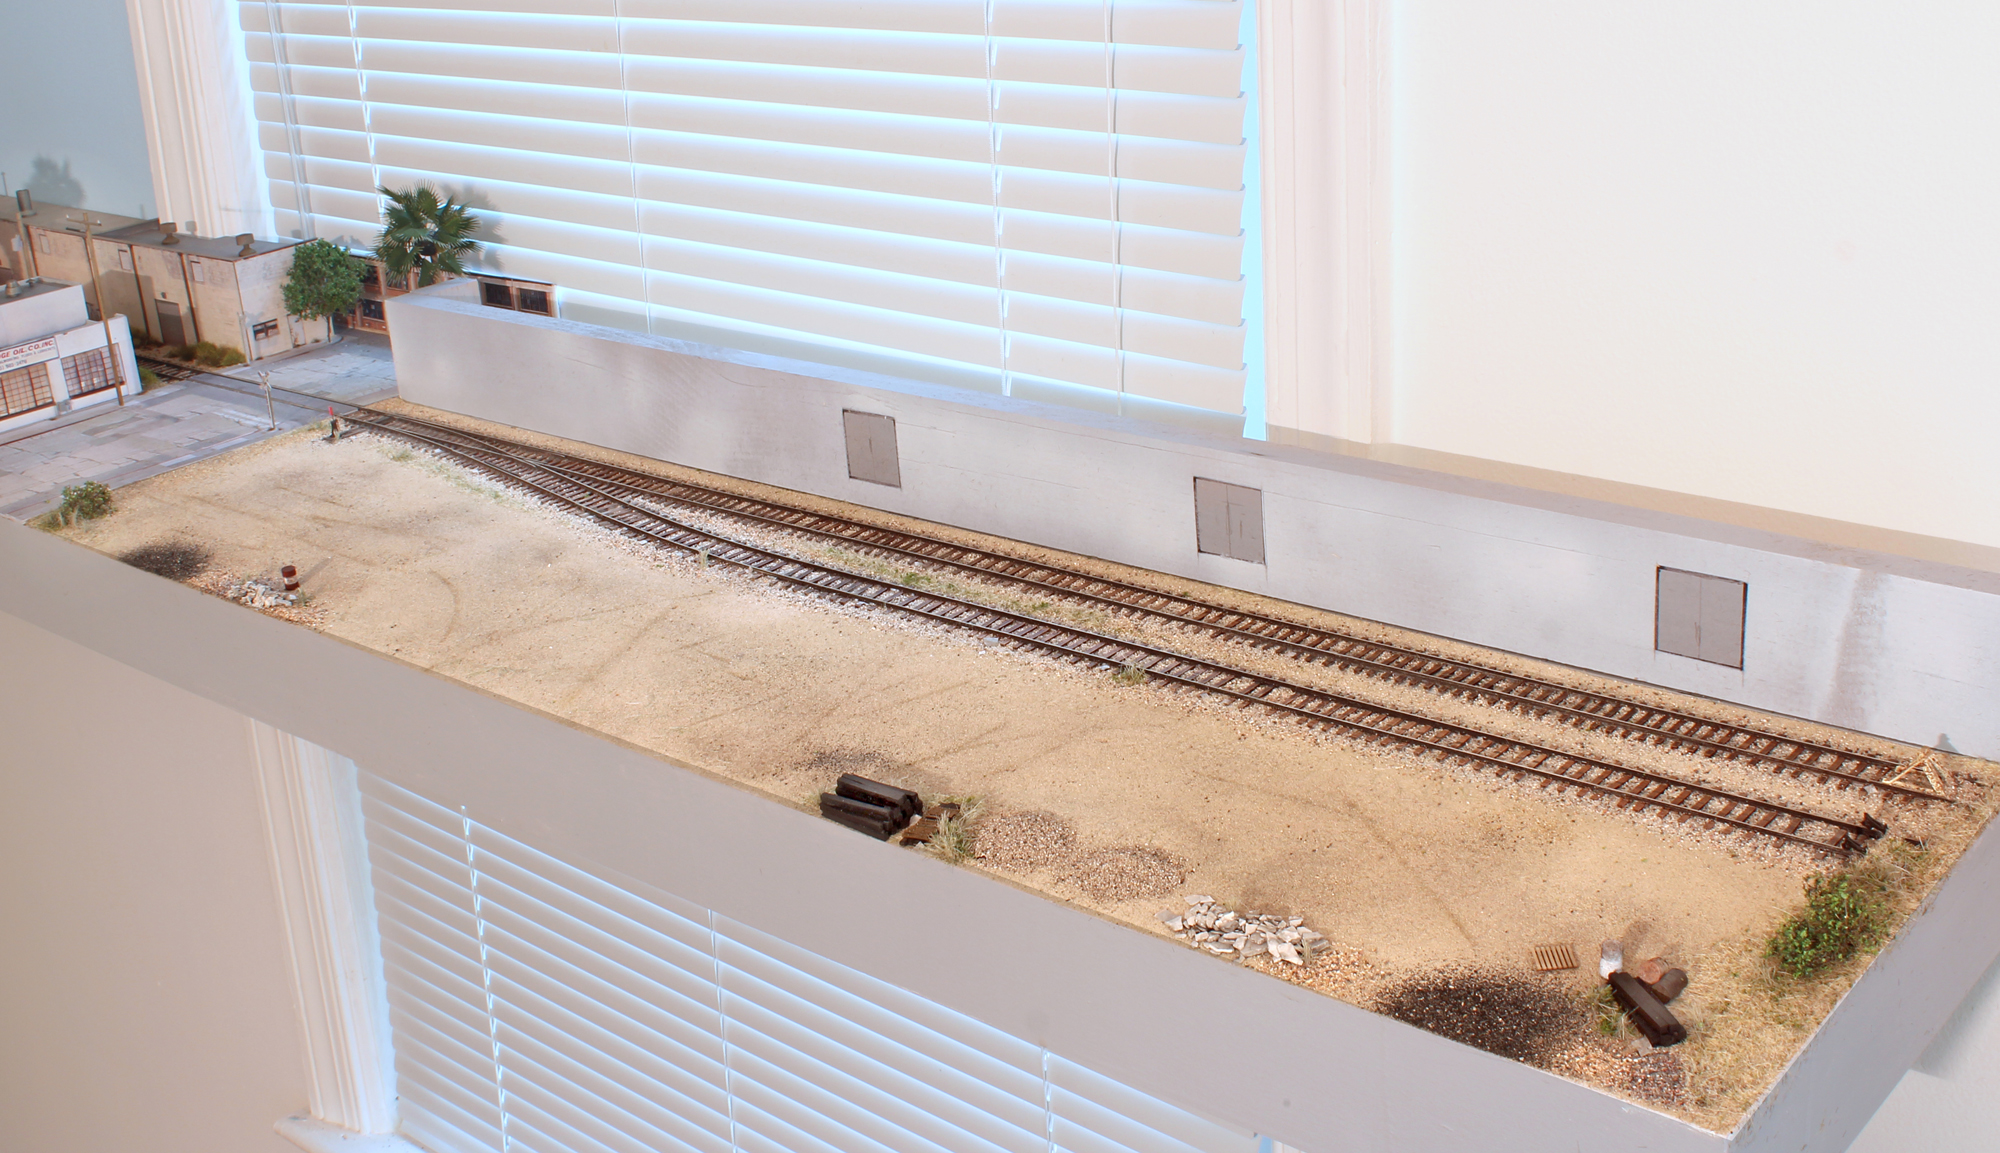
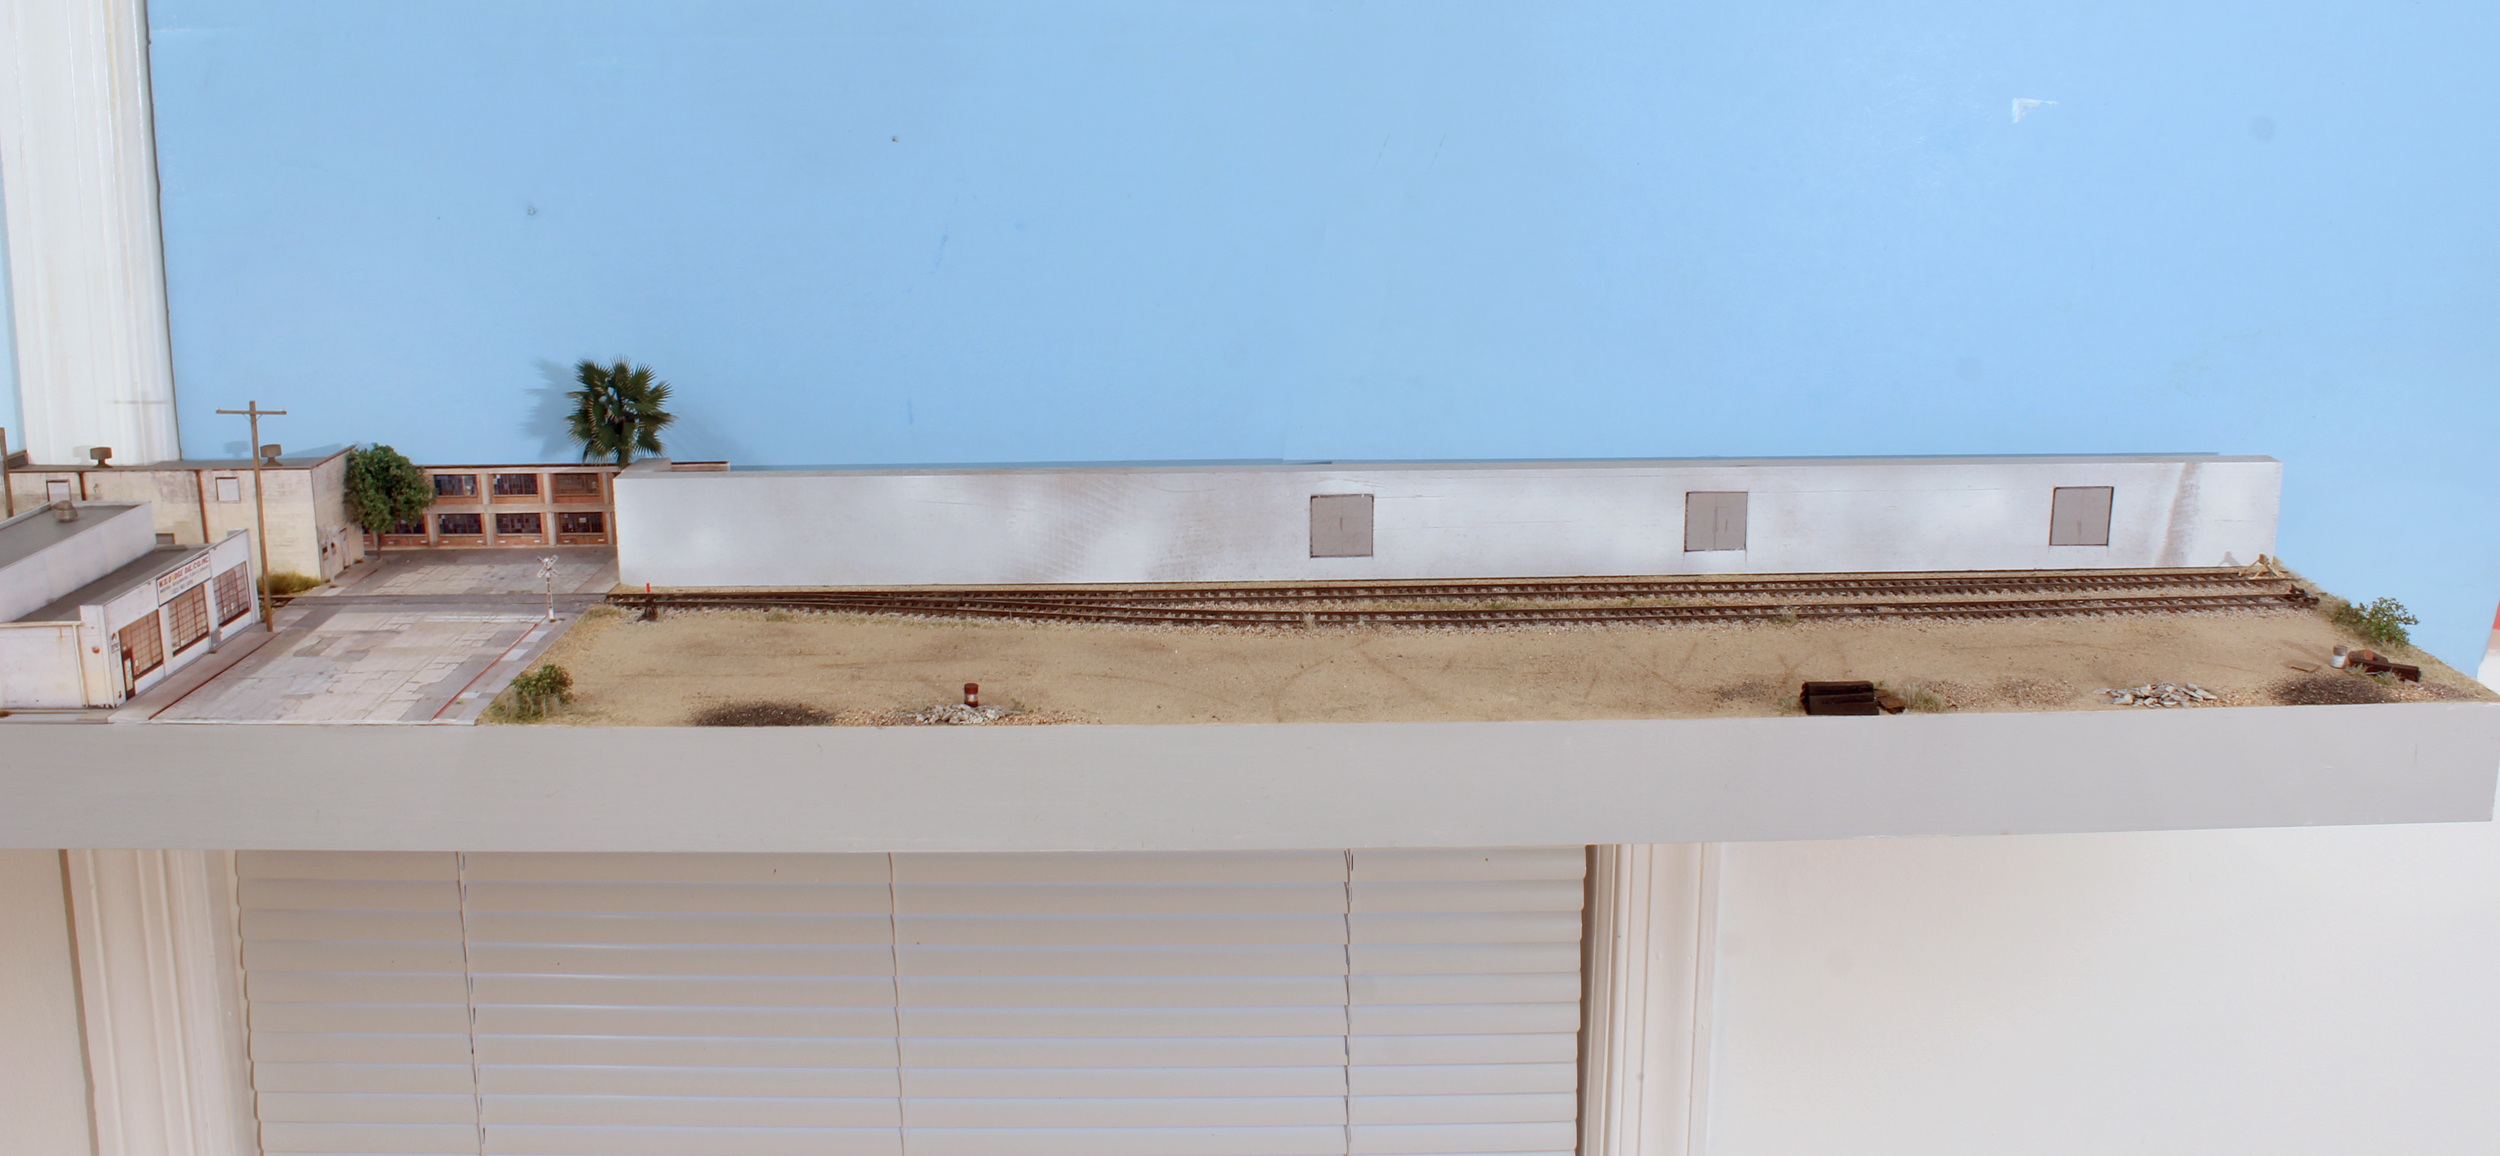
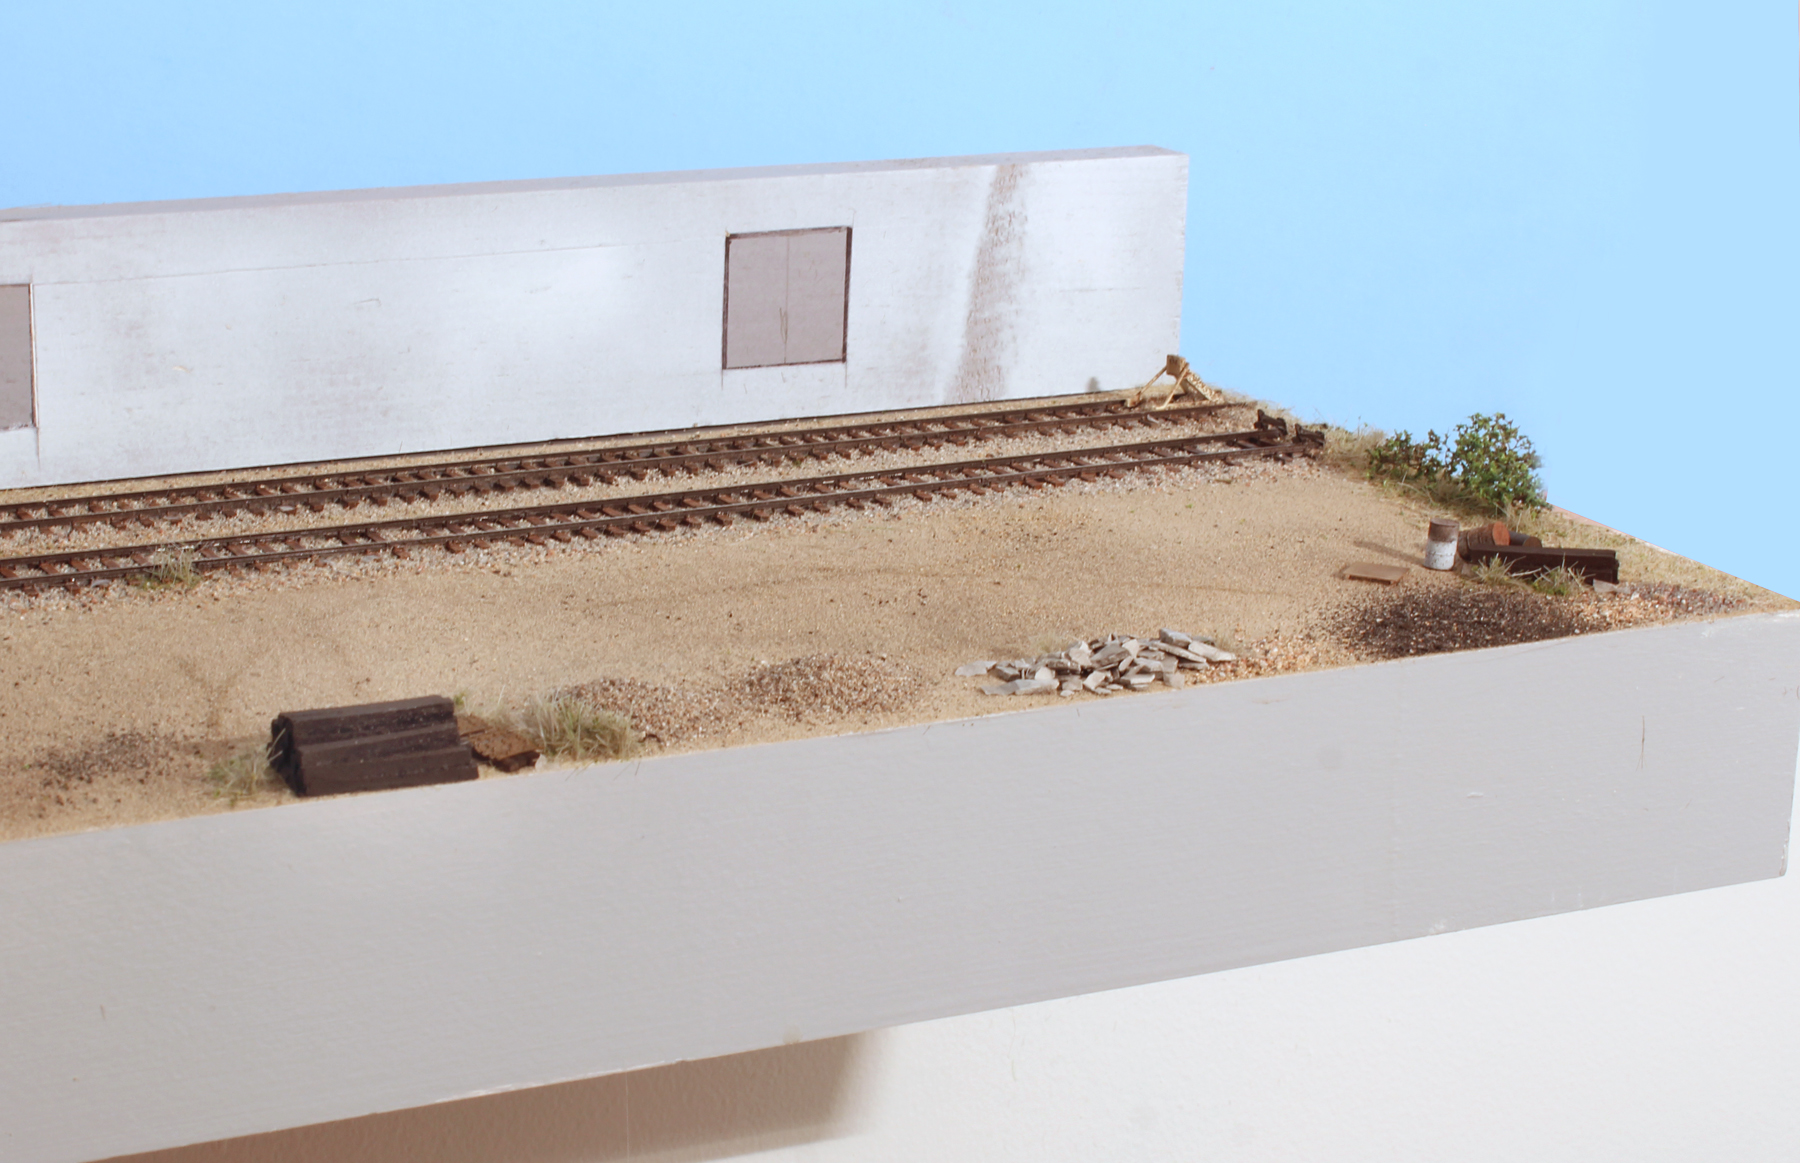
Vacant lots are a signature element of many industrial scenes. Including them on your layout can heighten realism. They have a certain, “looks like they should be there” aspect to them. The aren’t as easy to model as you might think. About five years ago I started putting a lot more thought into how I approach them. The challenge is you have a lot of colors that are close in hue but just a hair different and the color transitions feather gradually. You have different textures. The base layer is very fine, finer than many ballast products. You have tire marks which aren’t that easy to represent. Looking back on my efforts on my early Miami layouts the color and textures were too uniform.
For the base layer I mix up a few similar shades of grout (sanded or unsanded is ok) and apply it with a sifter. I then sift on some N scale ballast and soil products here and there. (I use Arizona Rock and Mineral for these. To be specific, CSX, Pennsy, NP, and Yard Mix). The fine sifter is the key tool needed to make this all work. Having a super soft “fan” brush helps too.
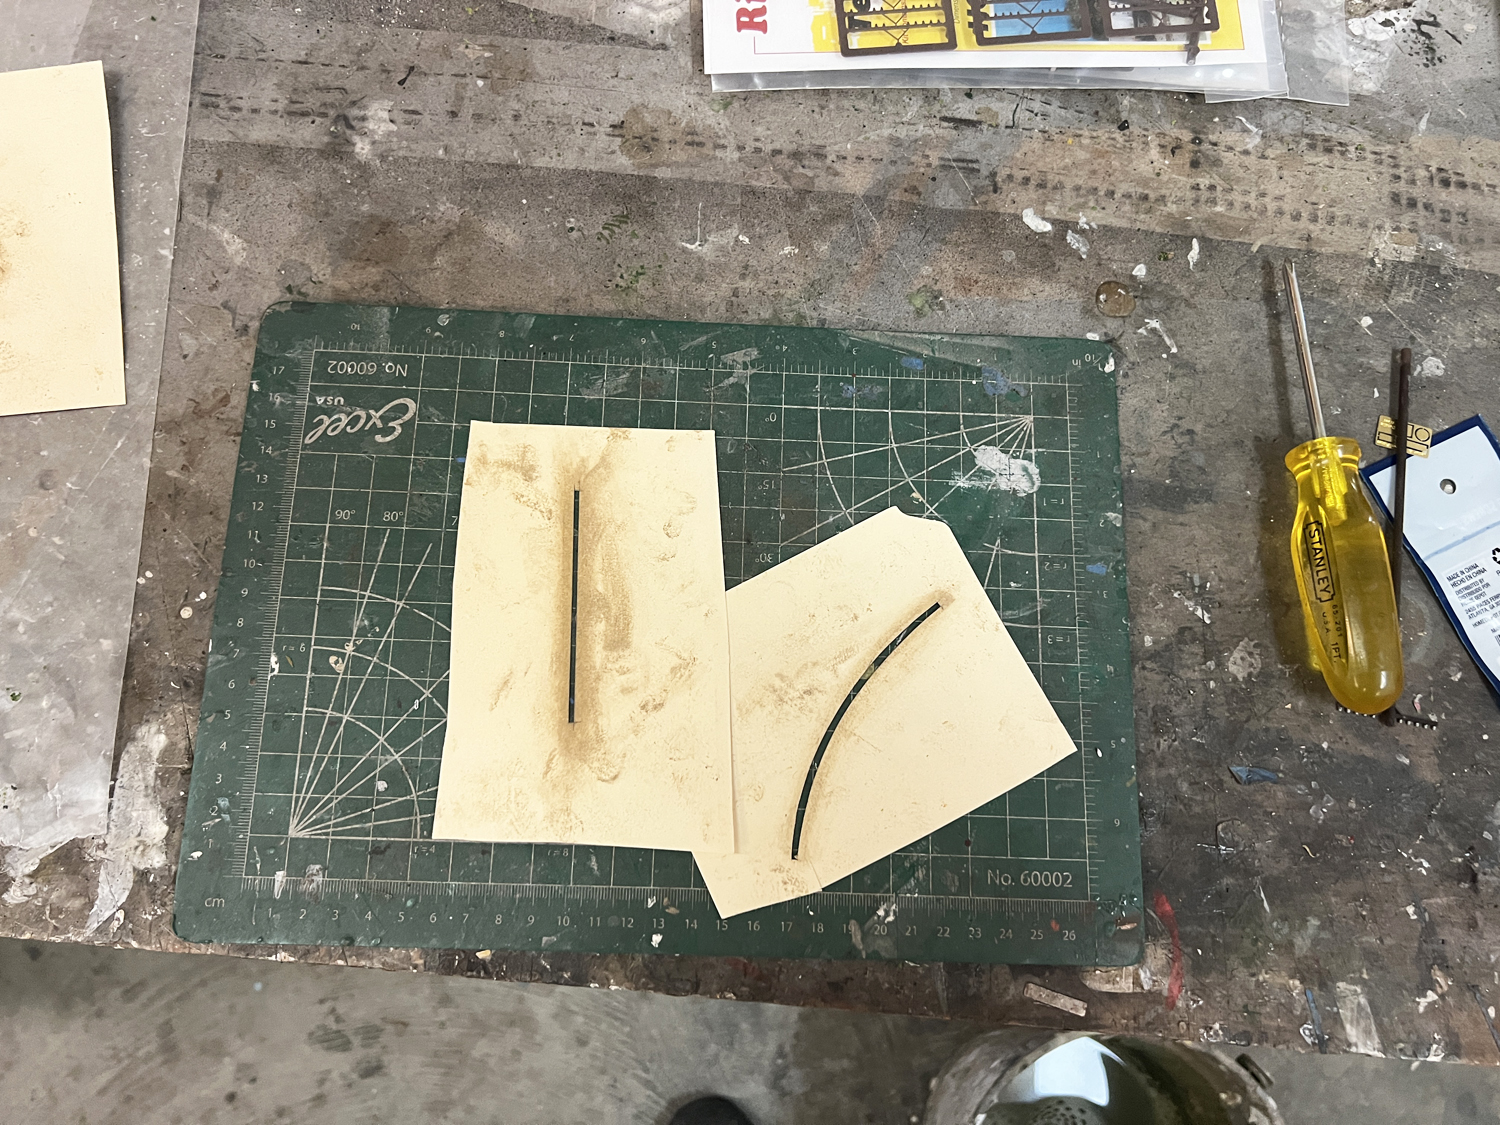
For the tire marks I make masks by cutting thin slots in a manila folder. I then grind a slightly darker grout color over the mask. If you don’t use a mask, the tread marks will be too wide. After my first application, the marks were too dark. I toned them down by applying a light second sprinkling of my base soil/gravel layer.
Details
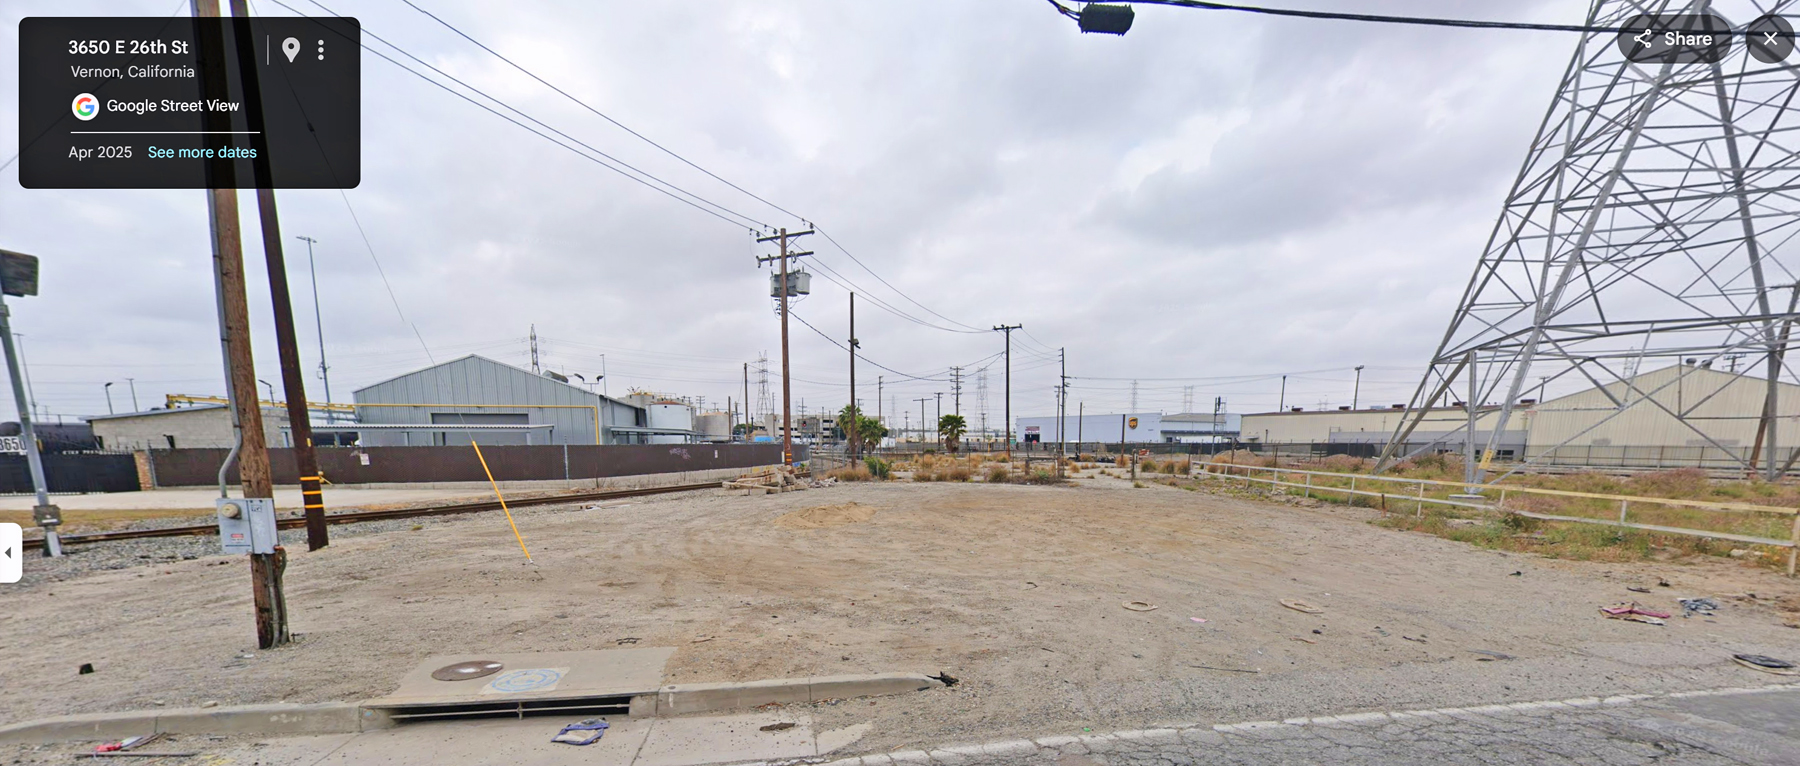
Details add a lot ….but…they need to be the right details. The best way to get everything right is to study photos and just copy what you see in them. This prevents you from drifting into that caricaturish “model railroady” look.
These are two of the photos I worked off of. Note the very subtle color variations. Note how subtle the tire marks are.
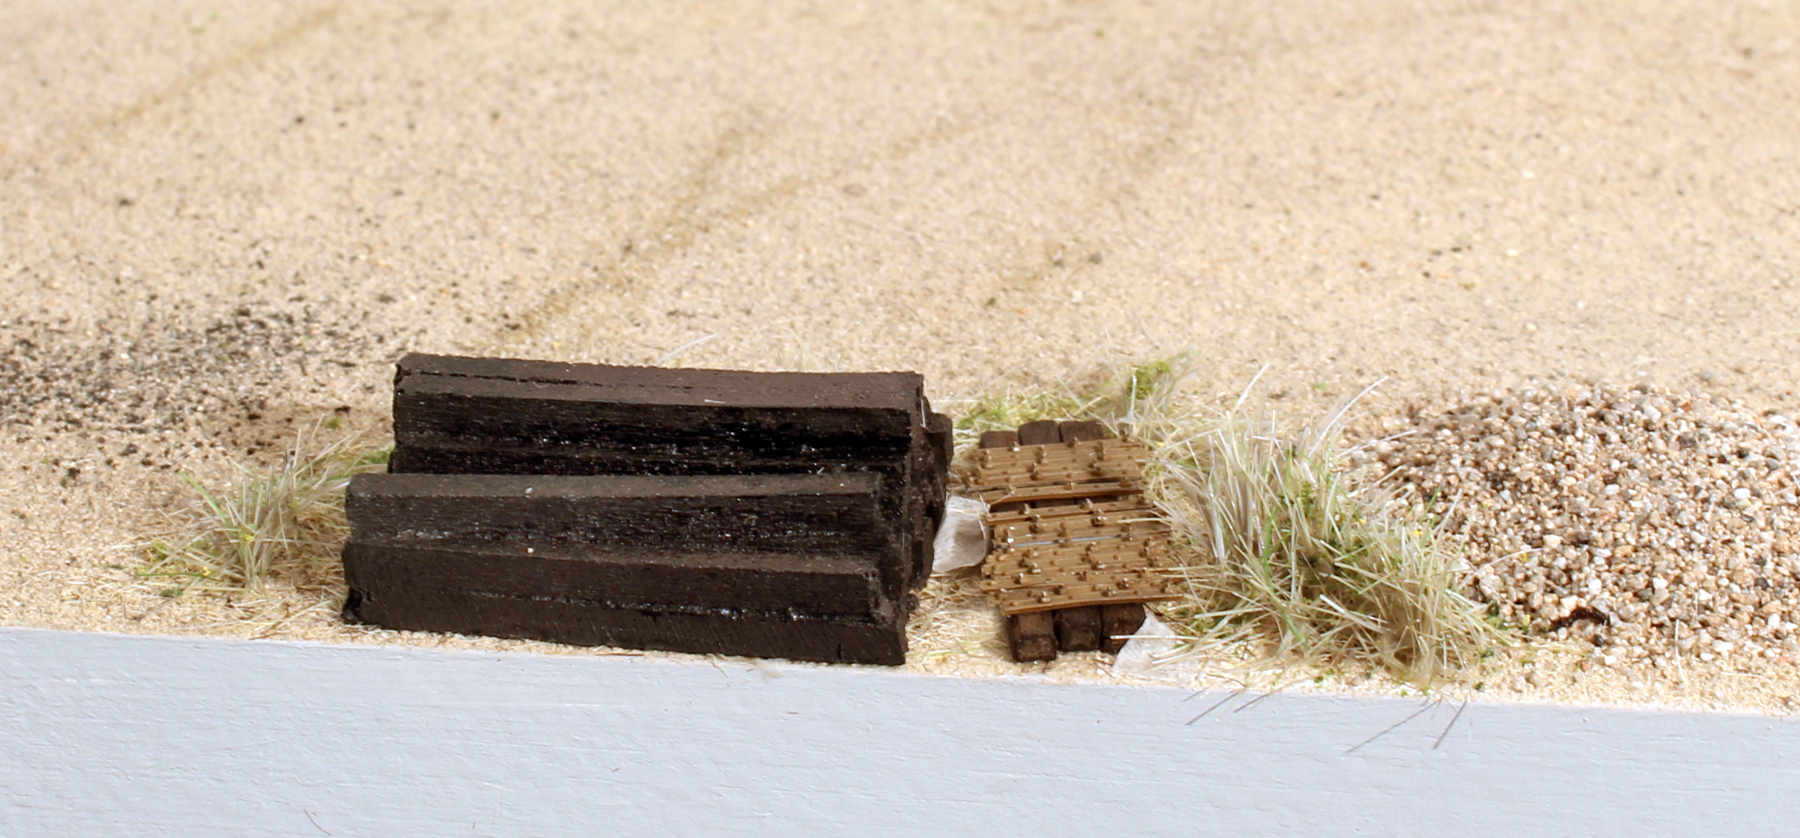
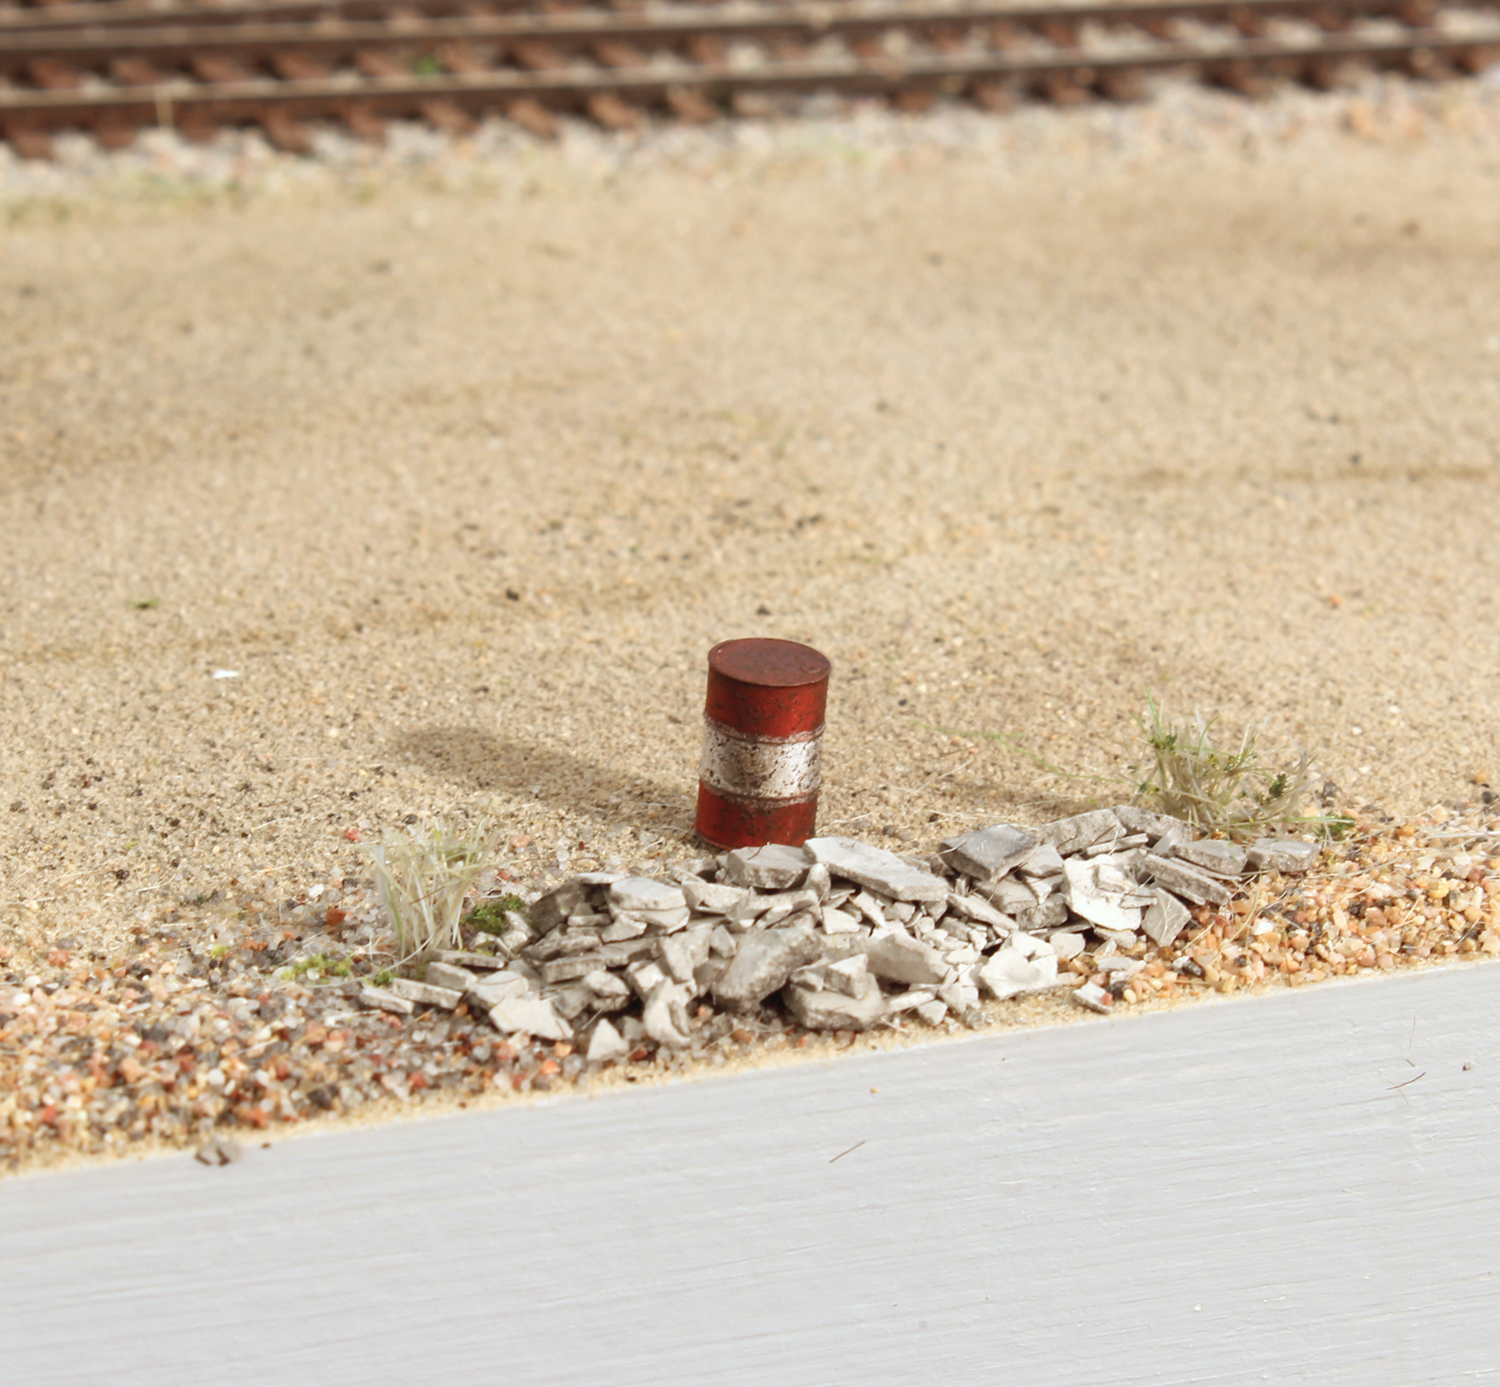
Details added were: gravel piles, piles of old pavement, barrels, fresh tie stacks, stacks of rail bars, some white specs of white paper waste, and pallets.
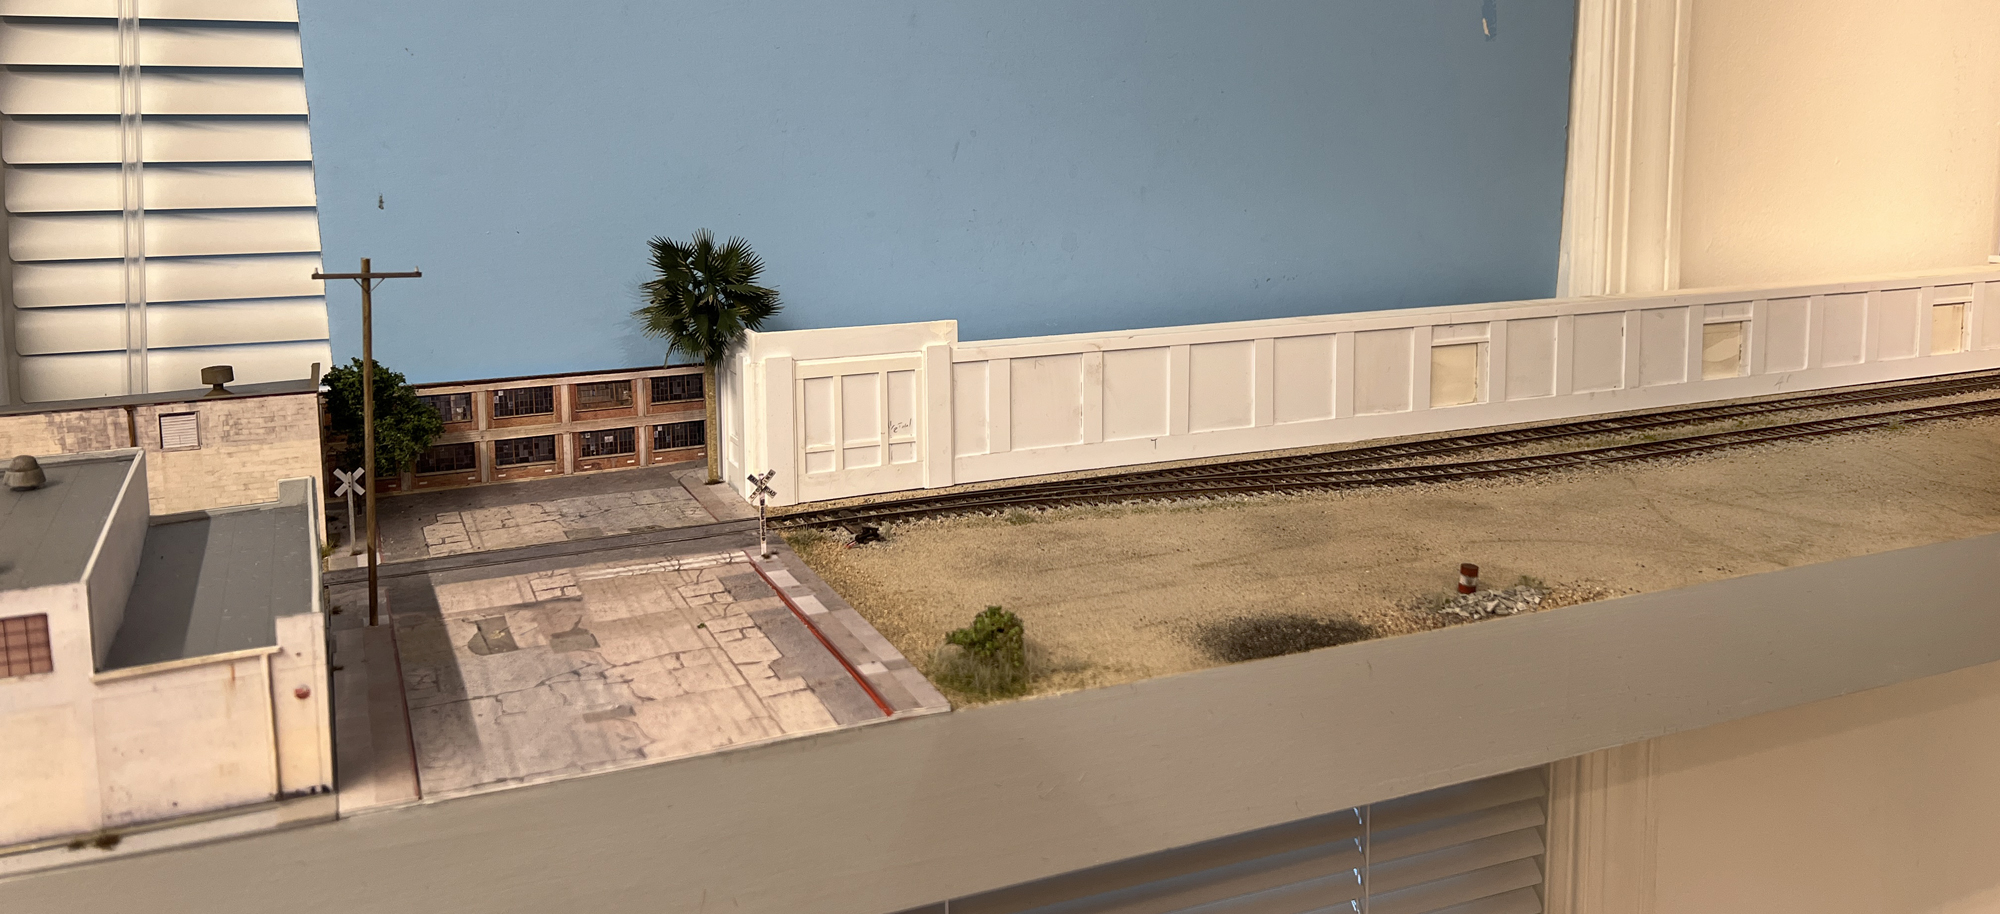
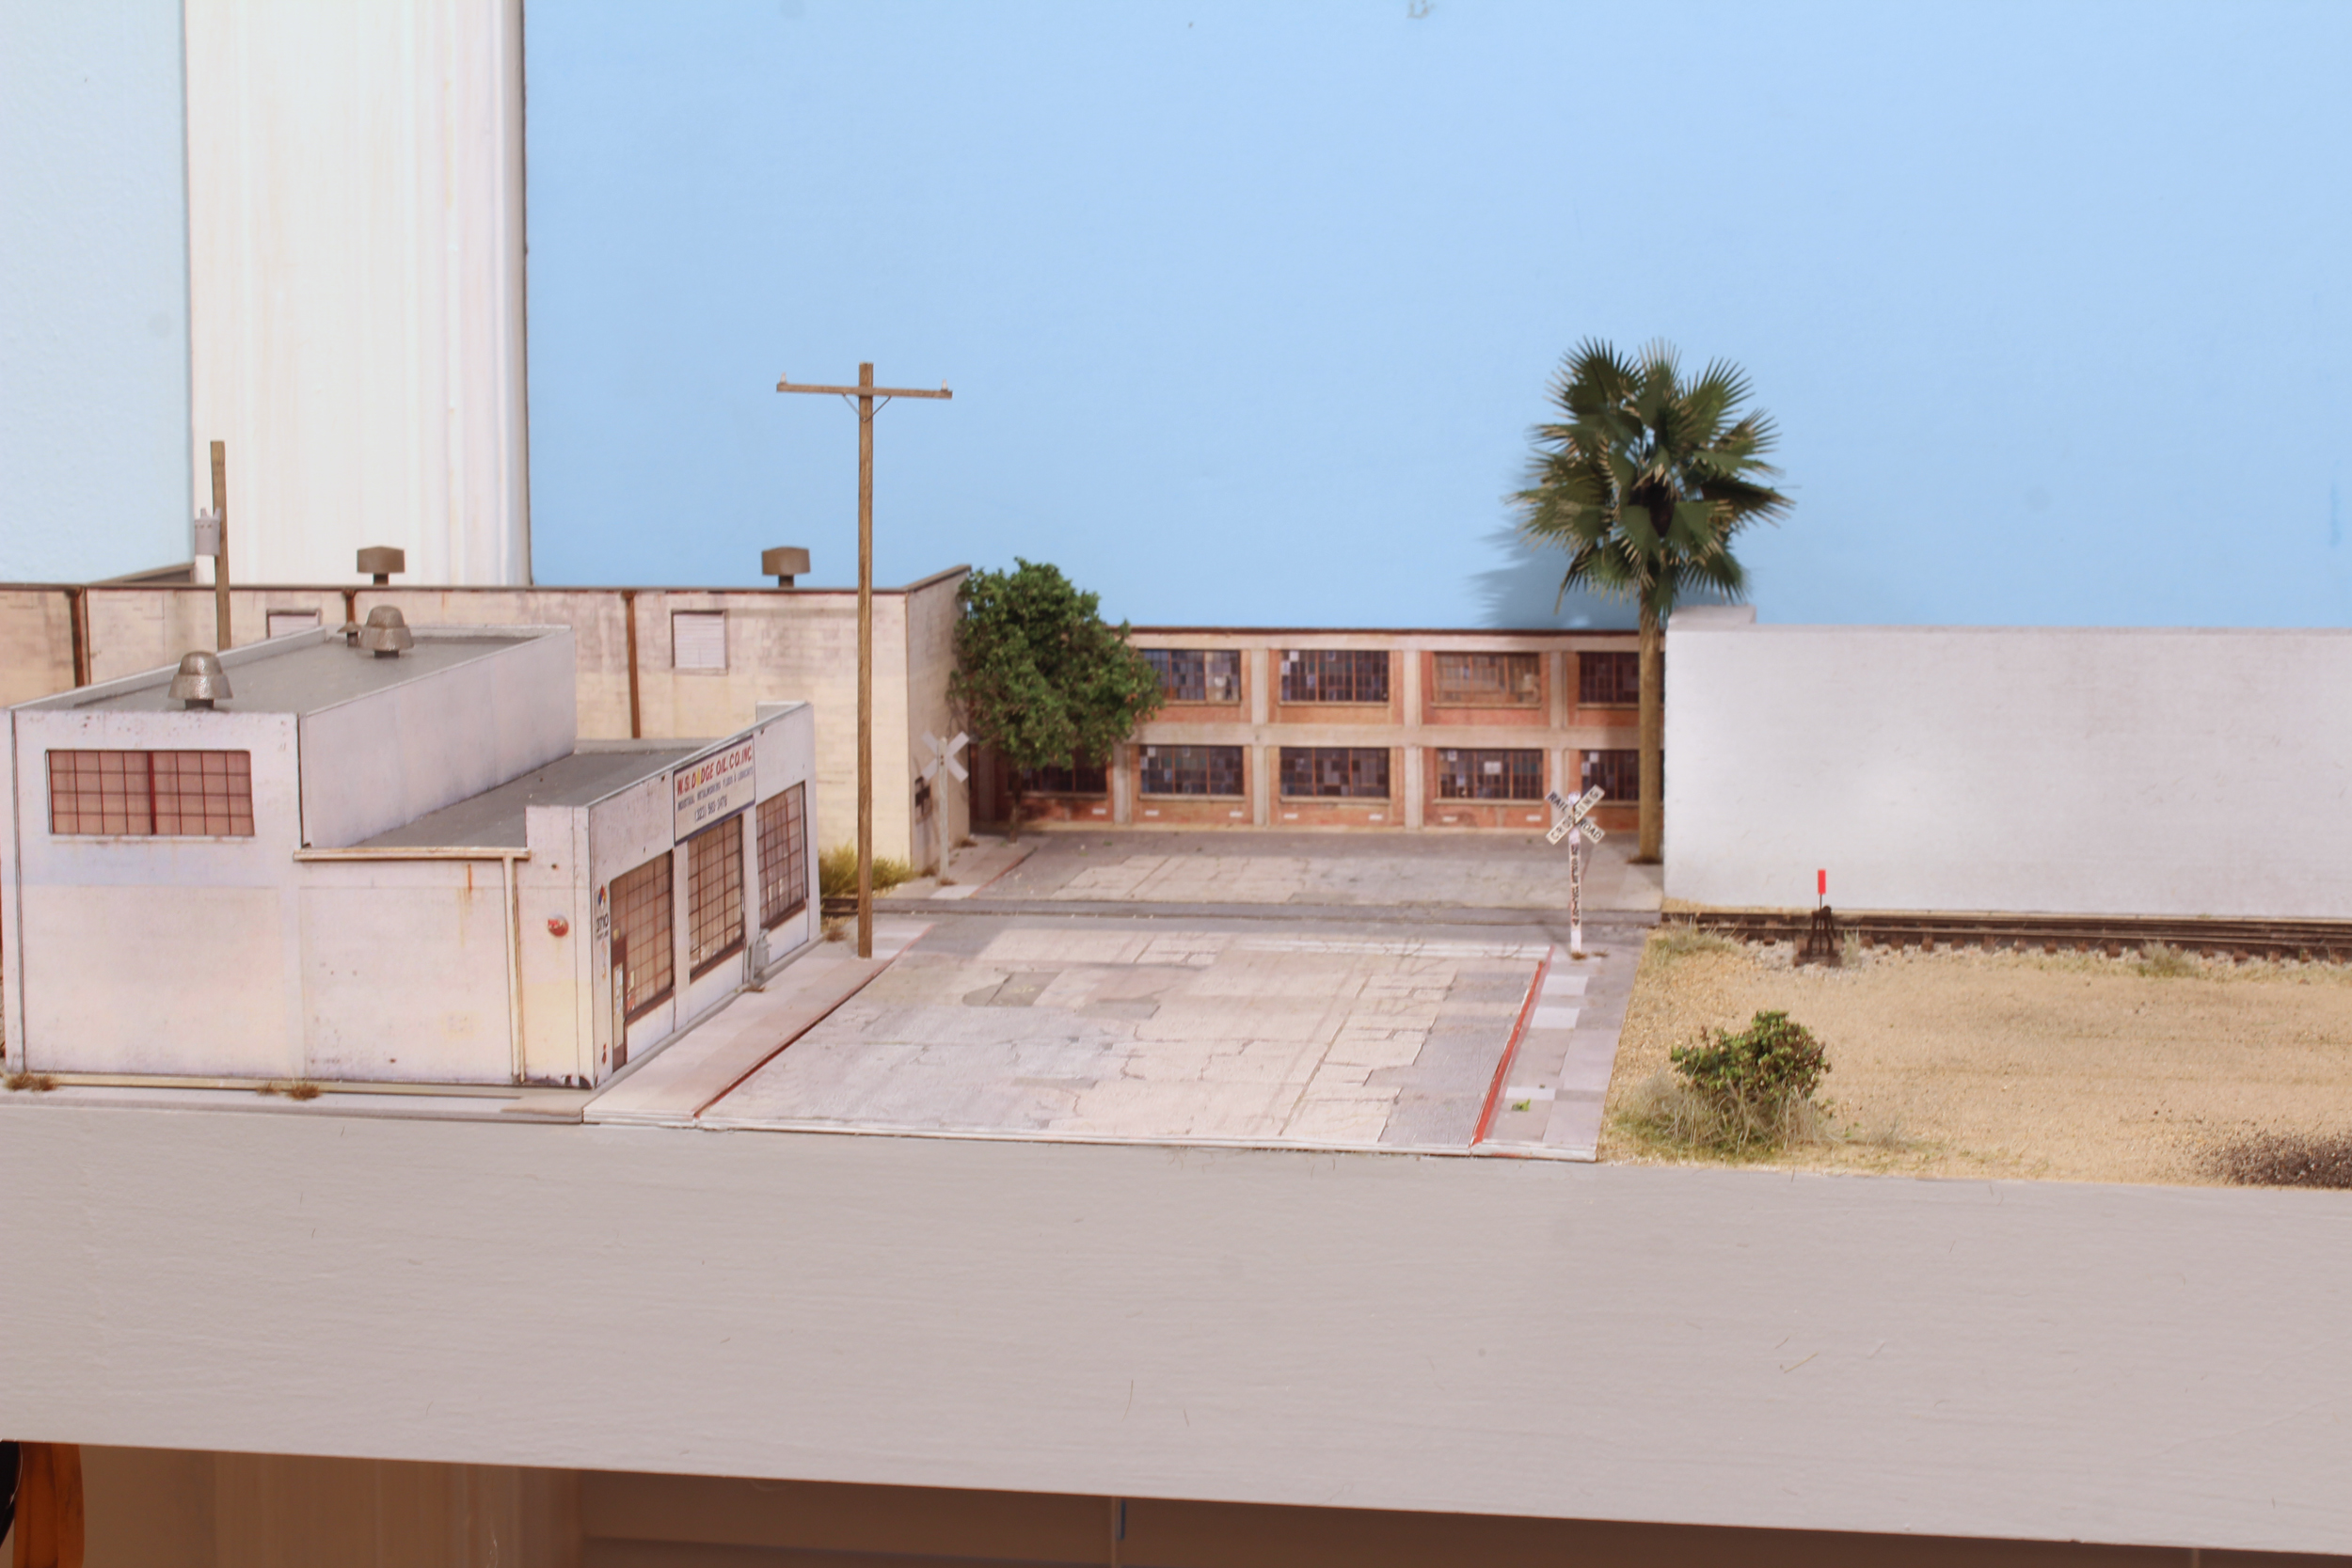
On an unrelated note, I’ve also finished the street scene to the left of the lot. Since the last post I added: crossbucks, a utility pole, and a palm.