One of the nice things about modeling roads is that it’s so easy to go out and photograph and measure the real thing. In addition, pavement markings tend to be crude affairs where getting everything to the exact inch is not necessary. As you go through this brief tutorial I’d like to emphasize that the key to getting a realistic result is the India ink/alcohol wash that is applied at the end.
- For the pavement itself I use .060″ styrene. To minimize the number of joints I tend to work with larger pieces on my work bench. A 4′ x 8′ sheet of styrene only costs around $25 to $30. Piedmont Plastics is one styrene supplier among many that handles mail orders. For the sidewalks I use Walthers. The manholes are Model Memories.
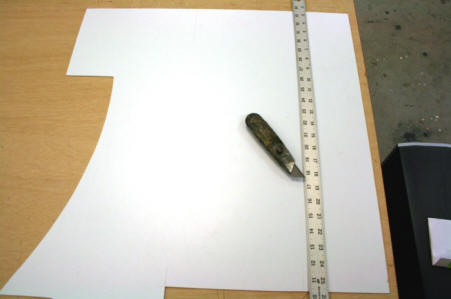
- Begin by measuring off and cutting a strip or slab out of the styrene for your roadway. Try to avoid going unrealistically narrow with your lane widths. I allow: 12 feet for traffic lanes, 8 to10 feet for parking lanes if applicable, and 2 feet for shoulders. I use lane centerline widths of a scale 6″ but this can vary slightly from road to road.
- Add sidewalks if applicable. If there are no sidewalks, round the edges of the road with sandpaper.
- Spray everything with Rustoleum light gray primer. This will be your base asphalt color. If you want to replicate concrete repair patches mask these off and spray on a lighter gray such as Testors Flat Light Aircraft Gray (pn1233).
- If you have sidewalks, mask off the previously painted roadway and paint (with an airbrush) the sidewalks Model Master Light Gray (FS 36495)
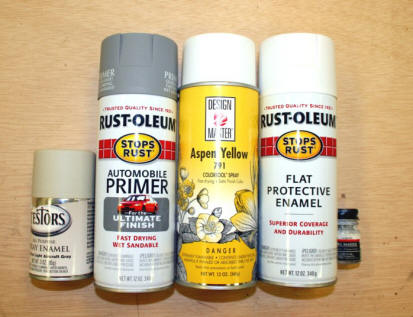
These are the colors I typically use on a road project. From right to left: Testors Flat Light Aircraft Gray for concrete road patches, Rustoleum light gray primer for overall asphalt, ordinary flat yellow and white spray paint for road markings, Model Master Light Gray (applied with an airbrush) for sidewalks.
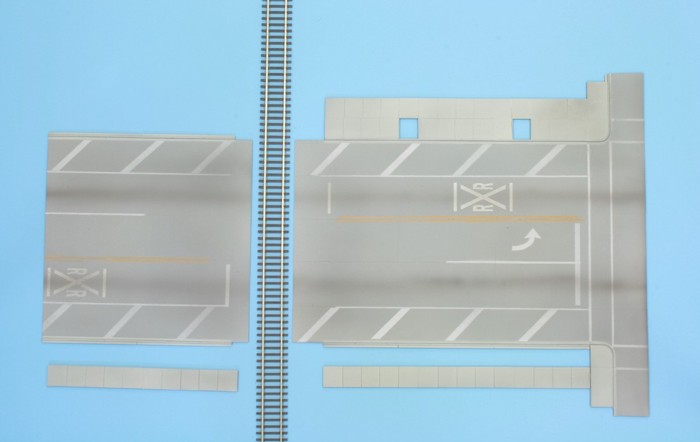
- Mask off your lane and pavement markers and firmly press the edges of masking tape down. Using ordinary rattle can spray paint, lightly dust on your yellow and white spray paint from about 12″ above. Do NOT use white and yellow pinstripe tape for the lane markers. You’ll regret it later.
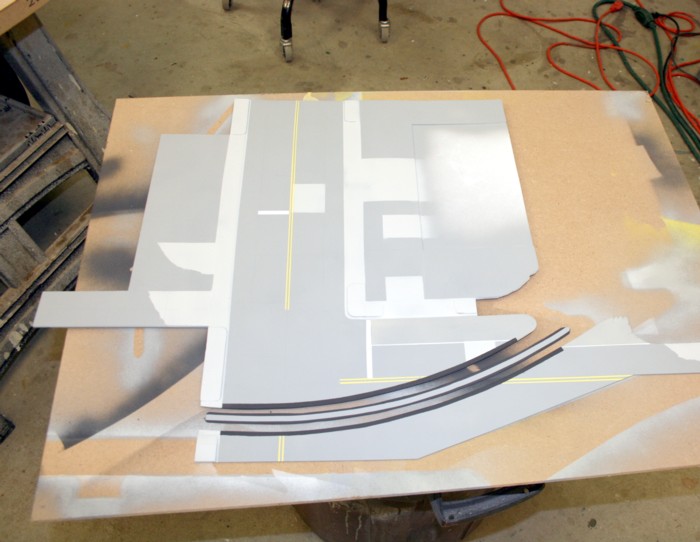
Here is the completed pavement area prior to weathering and placement on the layout.
All easy enough so far. Now for the important part.
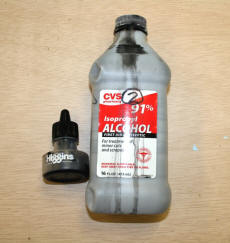
Make up an India ink/alcohol mix of 2 teaspoons India ink in 1 pint of alcohol.
- Using an airbrush held about 9″ above the road, LIGHTLY and SLOWLY fog the India ink wash over your roadway and sidewalks. Use a gentle sweeping motion. Don’t linger long in one place and don’t blast the wash on from a close distance. Strive for a relatively even fog over everything.
- Take a black, ‘colored’ pencil (such as the Crayola brand), sharpen it to a very fine point, and lightly draw on expansion joints and cracks.
- Now add your center lane shadows. Crank the airbrush down to it’s lowest volume setting. Move the brush in much closer, say 4″, and working carefully, move the airbrush slowly up and down the center of the roads until you see the darker exhaust shadows appearing. Do the same for the edge of the roads.
- Seal with Dullcote.
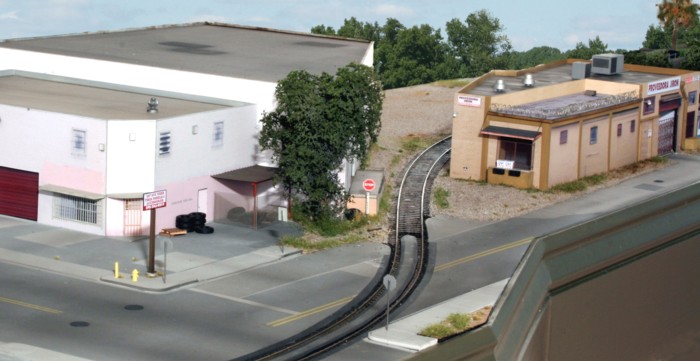
In this view weathering has been applied. The last step is to mount the pavement on the layout. I’ve found the best adhesive to be the DAP brand of adhesive (adhesive, not regular) caulk.