Creating convincing dirt isn’t as simple as you would initially think. Given that said dirt is everywhere, we have no choice but to rise to the challenge and try to find ways to model it effectively. As with many modeling tasks, the trick is to create subtle color variations, work in layers, and make a concerted effort to employ the light touch. No matter how wonderful the scenery product, getting convincing results is impossible using just one blend. There are other obstacles as well. Many soil products are too course. Finally, it can be difficult to get a smooth surface free of “glue craters”.
Everything starts with a good base product. I prefer the Arizona Rock and Mineral product line. Their general soil blends are not scale specific. In cases where I do use ballast, I go with N scale, not HO grades. To start you will need:
-
CSX ballast (N scale)
-
Earth
-
Industrial Dirt
-
Asphalt
-
Low Desert Soil
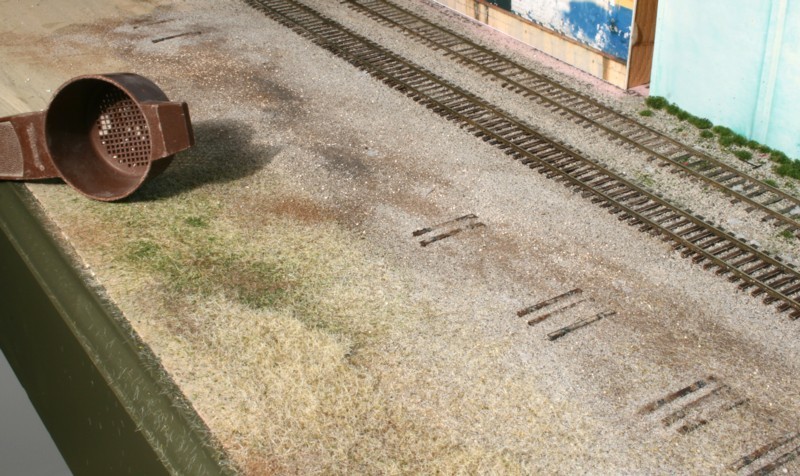
Begin by smearing a very thin layer of white glue on your scenery surface. It should be paper thin. Next, apply the CSX ballast as this will be your base and primary color. You can’t get an even application pouring from the bag or cup. Instead, use a small strainer similar to the one in the photo above. As we want the basic CSX gravel to be the dominant color, the next four layers should be applied with the lightest of touches and maximum restraint, particularly since they are darker. Load a small amount in your strainer and make the lightest of passes adding just a hint of their color. Since these blends are so fine, I typically hold a card under the strainer so I can control the release by sliding the card away or back under the strainer. When satisfied with your application, apply a very light and fine mist of water. Finally, apply a gentle mist of dilute matte medium using a mister bottle.