Modeling Rail with Concrete Ties
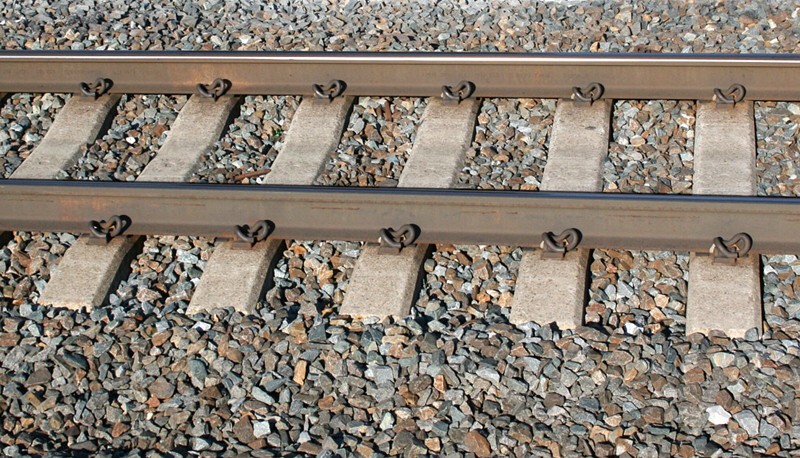
Standard treatment on the modern era NEC is steel rail on concrete ties. Note the subtle color hues of the concrete and the slight rust bleed at the base of the rail.
Off the rack concrete tie flex track presents some modeling challenges. Because the track and ties are of such obviously different colors, we can’t get away with the simpler techniques we use on track with wood ties. Concrete is a complex surface to color because it’s not as uniform as you’d think. That being the case you can’t just apply a one tone mix and get a convincing result. For this project I used Micro Engineering concrete tie track because of the fineness of the details. Listed below is the technique I used to prep. the rail and ties.
______________________________________________________________________________________________________________
Step 1: Apply the base concrete color. Although the gray styrene of the stock flex track isn’t that far off, the slick, uniformly colored plastic won’t work. The first step is to paint the concrete ties their base color. Unfortunately off the shelf ‘concrete’ colors aren’t really a match. For the base color I used a blend of Model Master acrylics, roughly two thirds “Light Gray (pn4765)” and one third “Sand (pn 4720)”. Using an airbrush, give the track an overall spray with this custom mix and then follow by wiping the rail heads off. The color will be too uniform at this point but we’ll deal with that later. Let this dry at least 12 hours so when we lift the masking tape off in the next step it won’t peel the paint away.
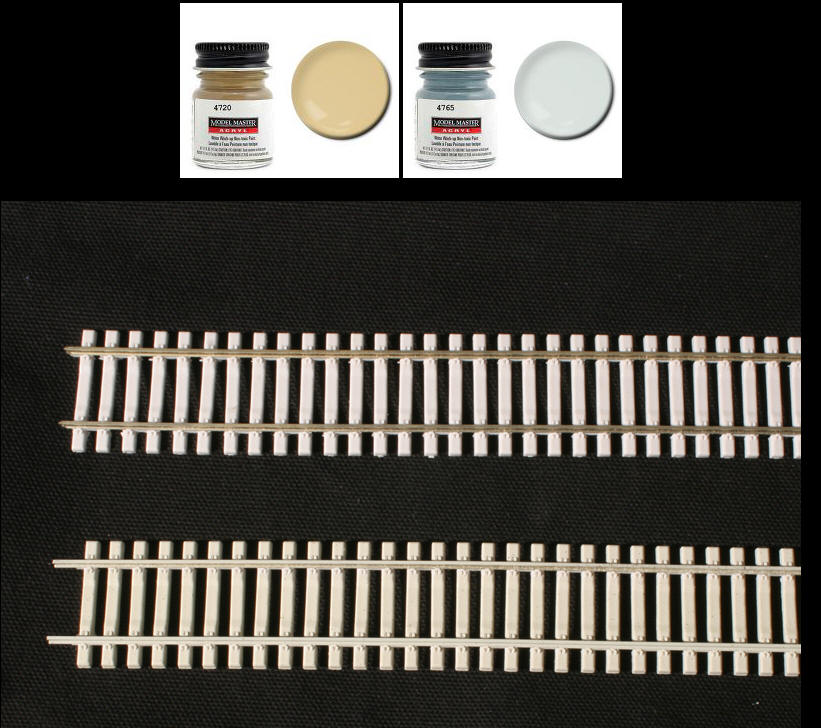
The top image shows the stock Micro Engineering flex track. The bottom piece has been airbrushed the base concrete color (Gray and Sand blend). Although not obvious in the photo, the reflection off of the shiny gray styrene ties on the stock track is very noticeable.
________________________________________________________________________________________________________________
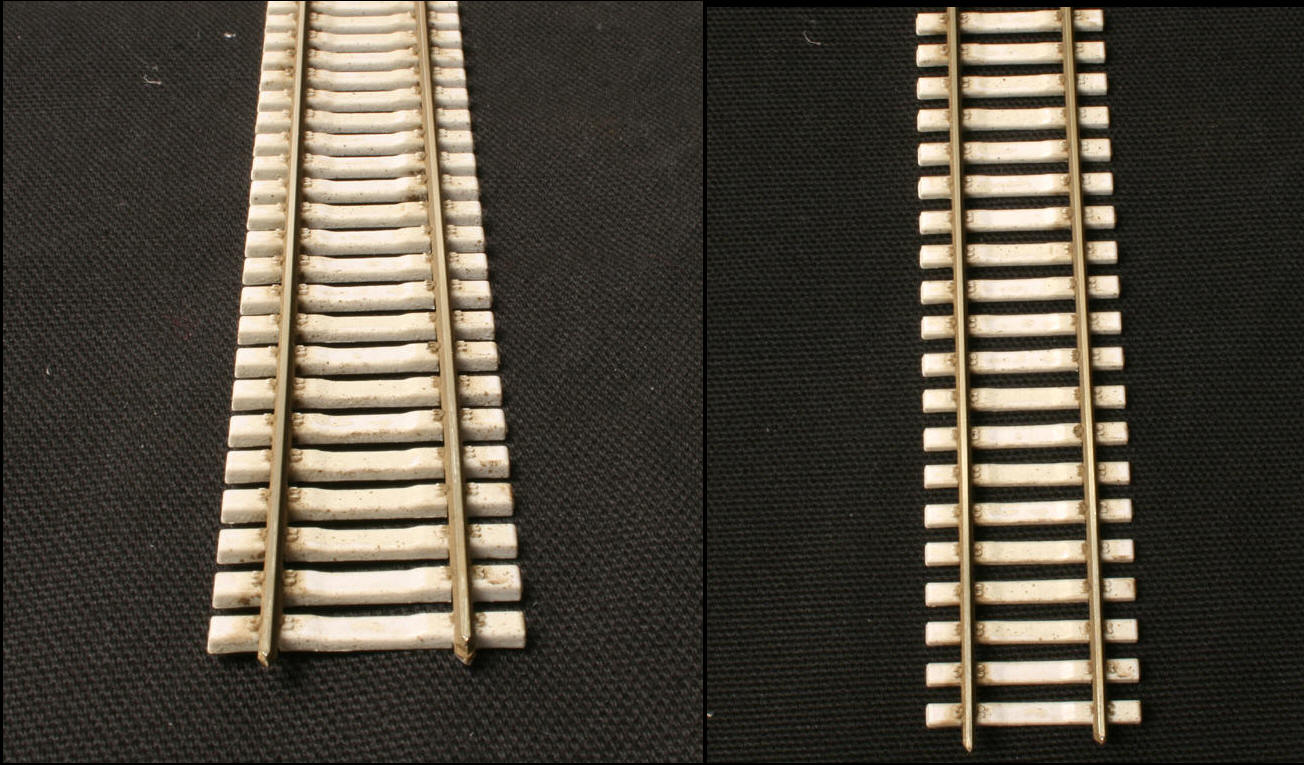
Step 2: Mask and paint the rails. For this step you will need an airbrush as rattle cans go on too thickly. I used Model Master “Dark Earth”. Begin by masking off the ties leaving the rail exposed as well as just a hint of the retainers. The angle of spray is important. If you spray down from the top, the paint will be more likely to run sideways along the ties. Spray from the side as even to the side of the rails as possible. Follow up with just a hint of airbrush dusting of Model Master “Burnt Umber”. Immediately wipe the rail heads clean with a block of soft wood. Gently peel the masking tape away.
_____________________________________________________________________________________________________
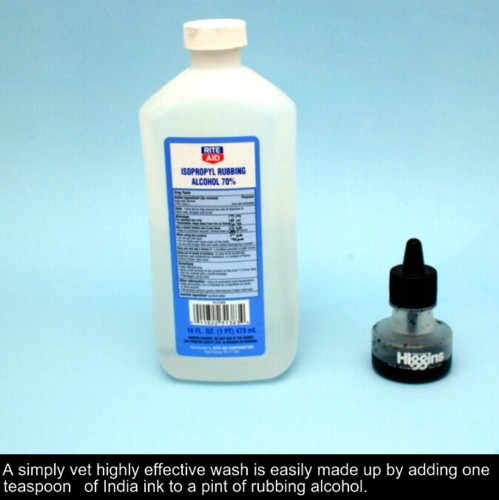
Step 3: At this point the color of the concrete is too uniform. To get around this you need to apply a very dilute black wash over the ties. Prepare a mix of one teaspoon of India ink to a pint of ordinary running alcohol. Working from about fifteen inches above the track, fog the wash over the ties. Use a back and forth wand motion and don’t linger in one location. A few quick passes are enough. If you get a mottled build up of ink, wipe it away with your fingers parallel to the rails.
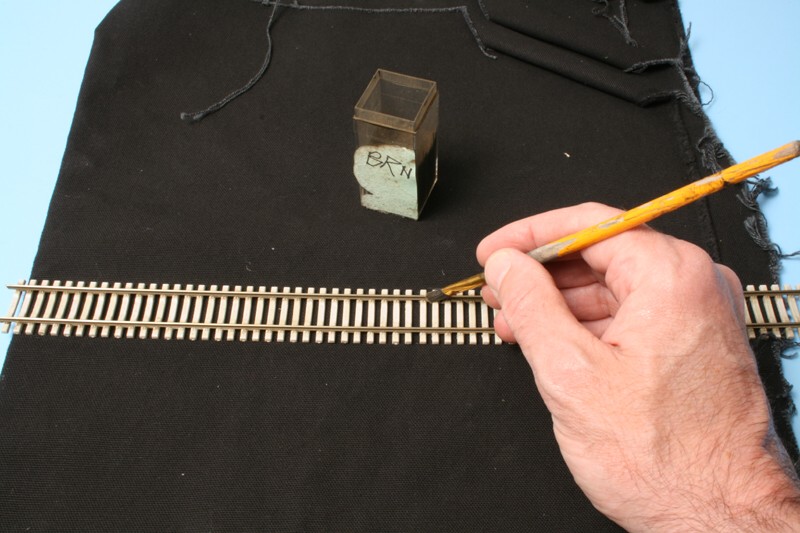
Step 4: Work brown chalk in around the retainers. The final step is add the subtlest of hints of the rust bleed onto the concrete. Using chocolate brown weather chalk, gently work the chalk in at the base of the rail where it meets the ties and then sweep your brush left to right. Be careful not to load your brush up with too much chalk. If you find the chalk has crept out laterally more than you care for, take a barely damp cloth and rub it parallel to the direction of the rail. When you’re all done, seal with Dullcote
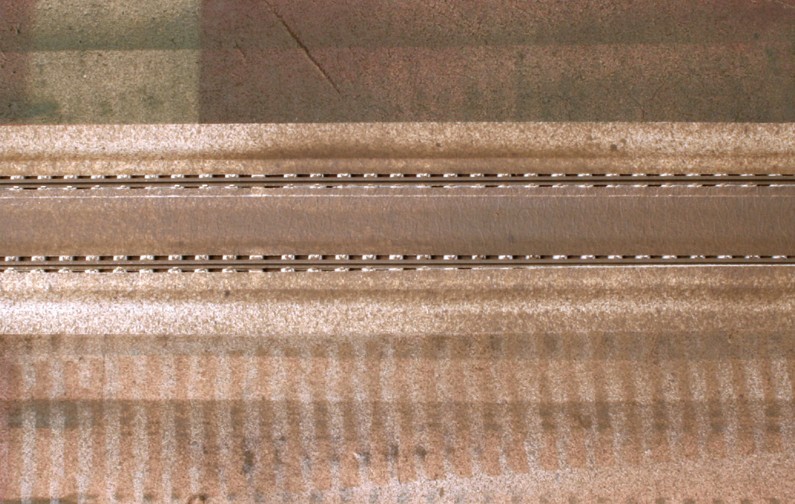
The finished results!