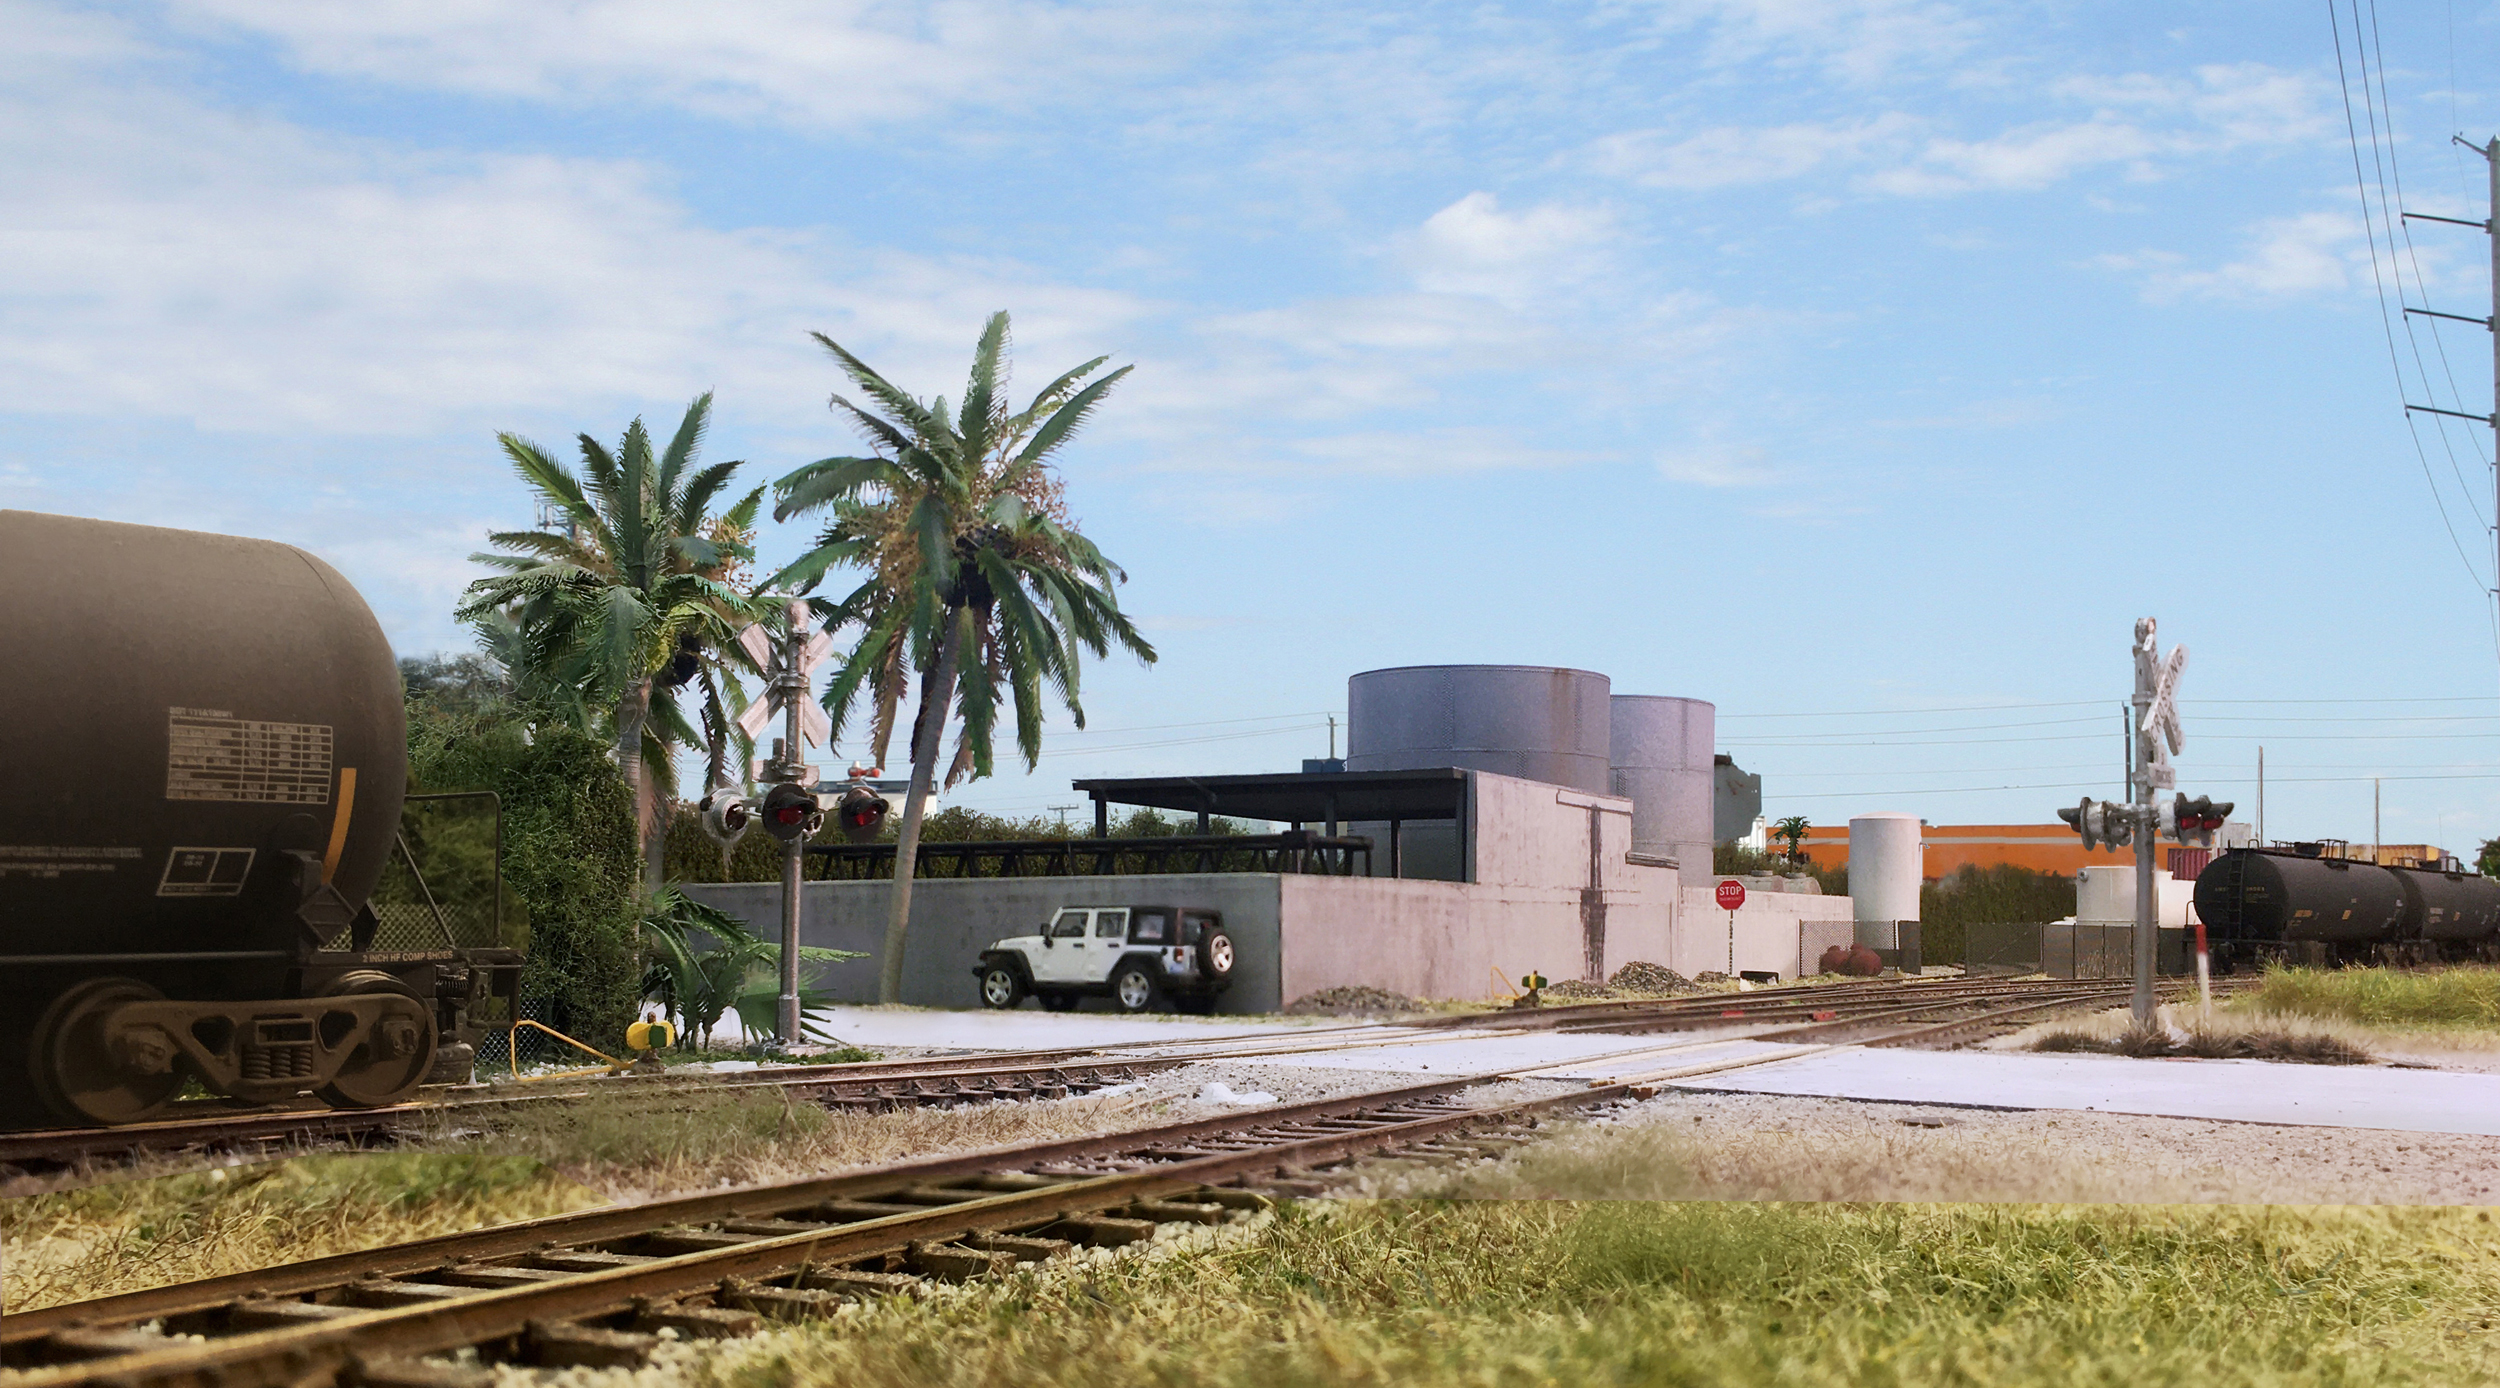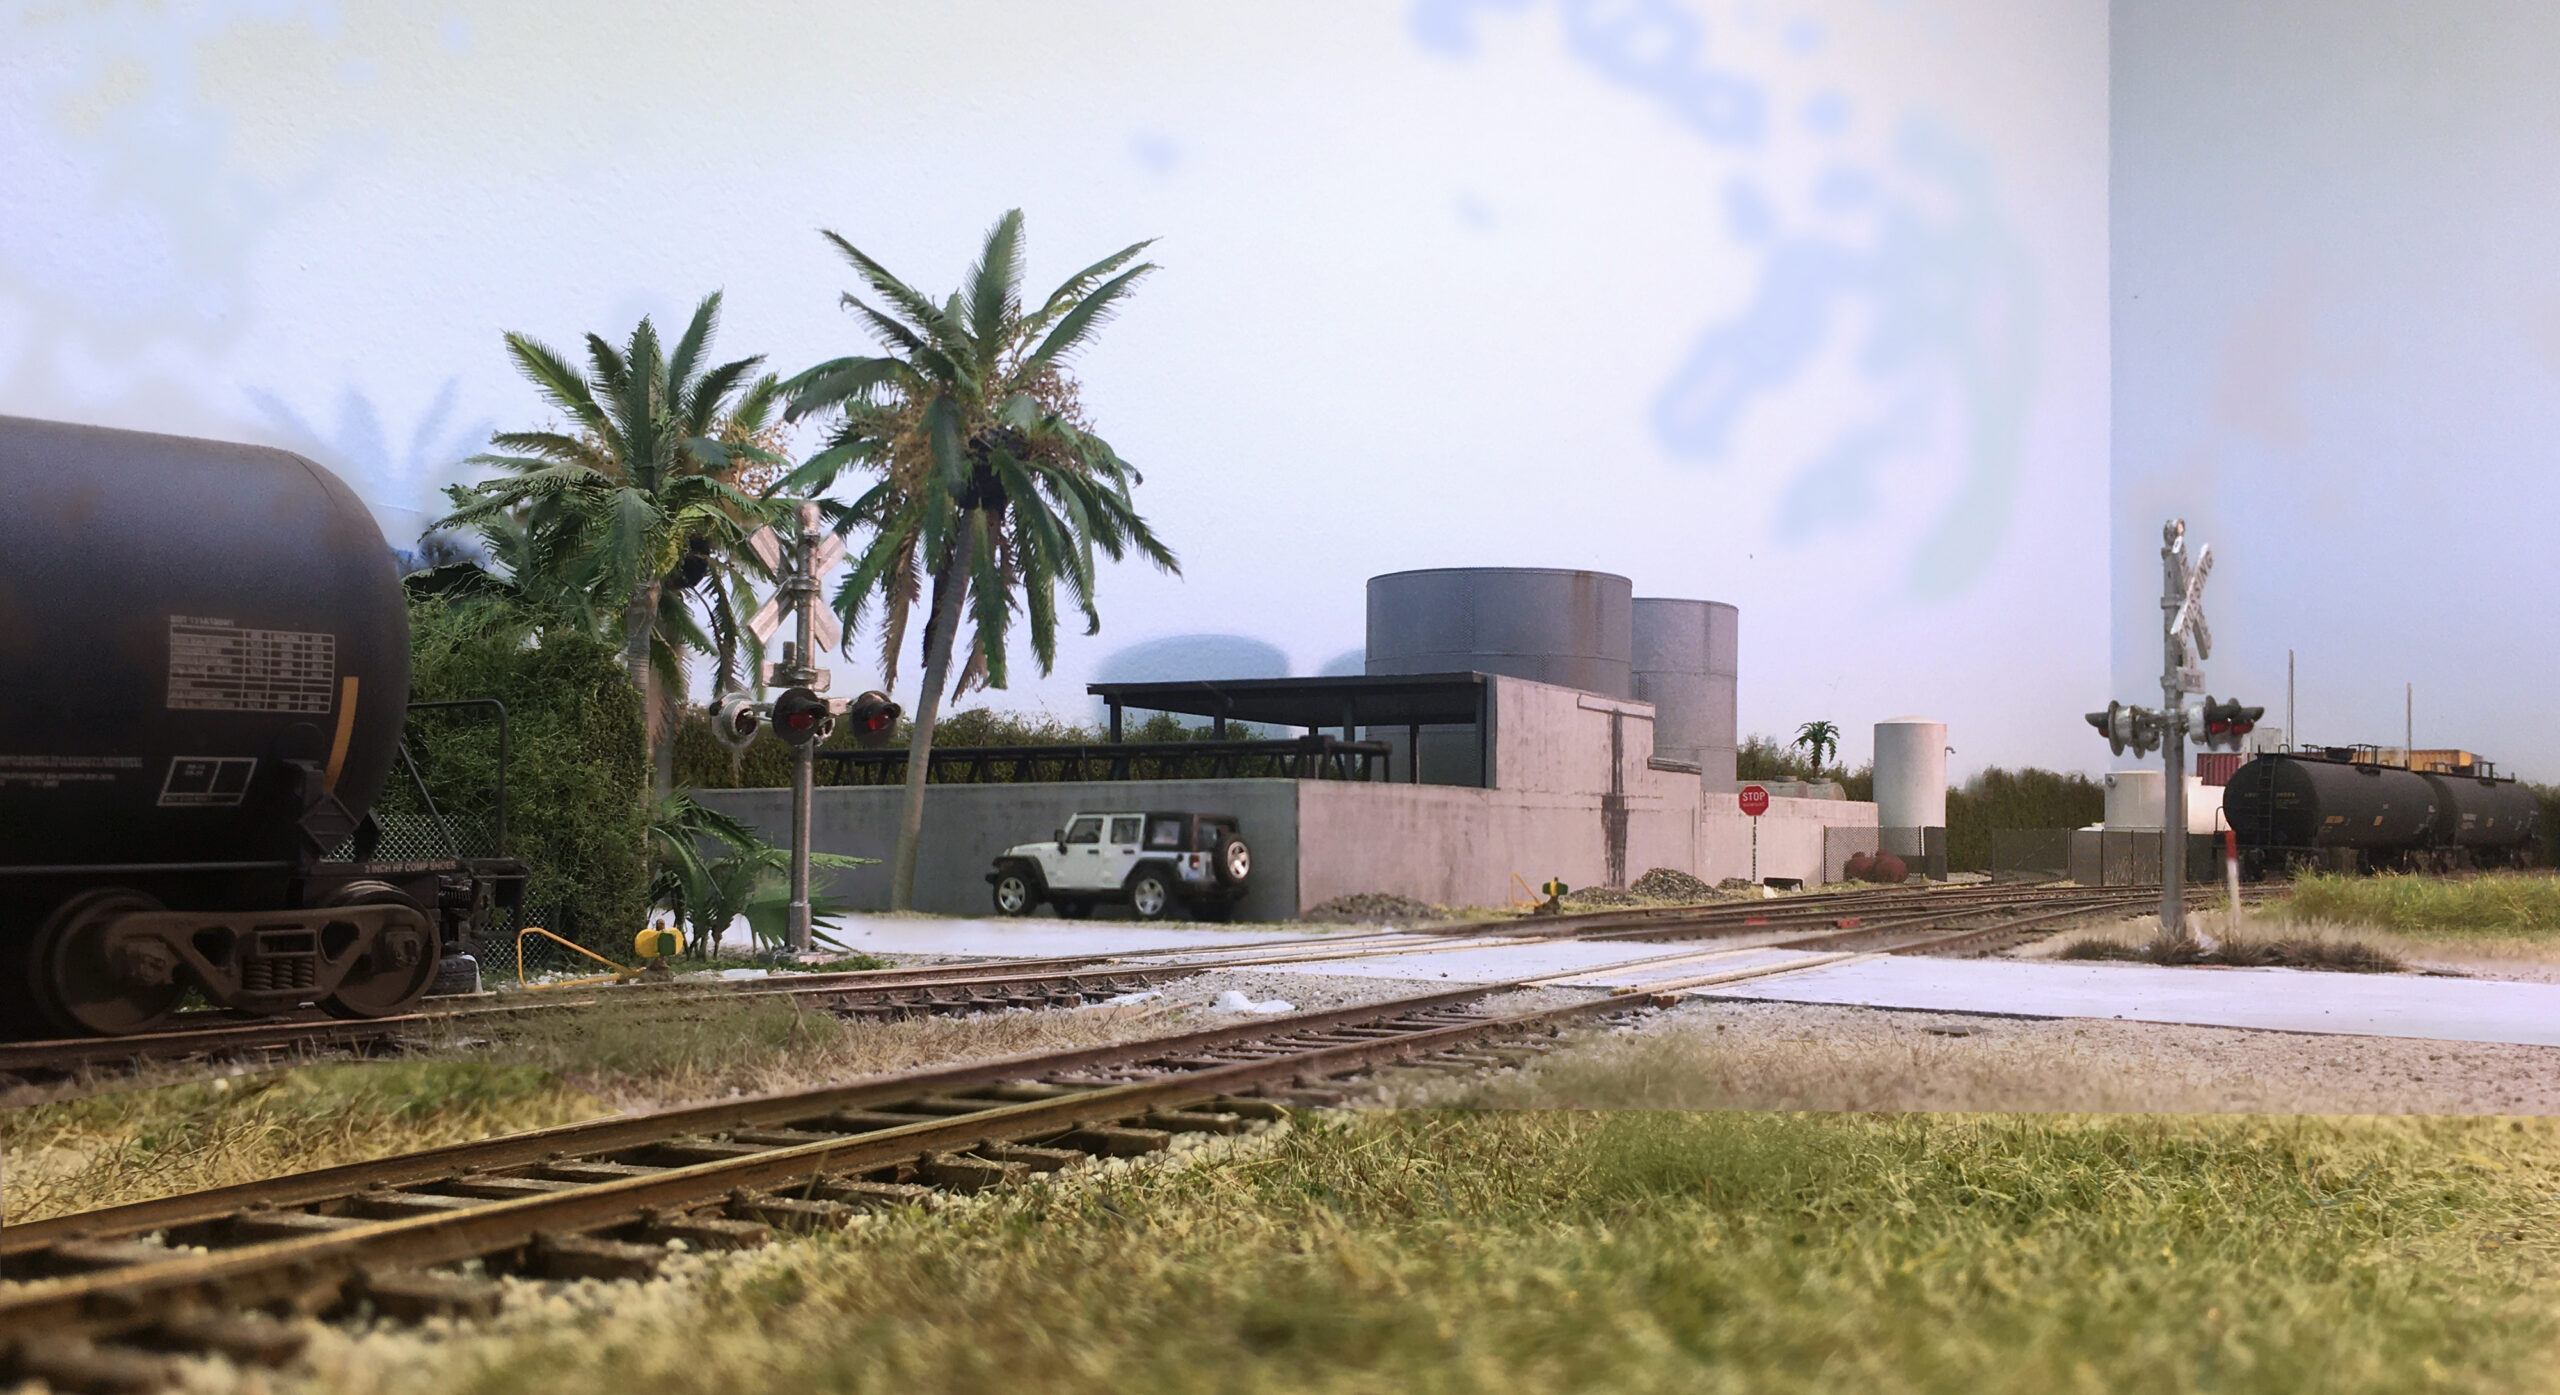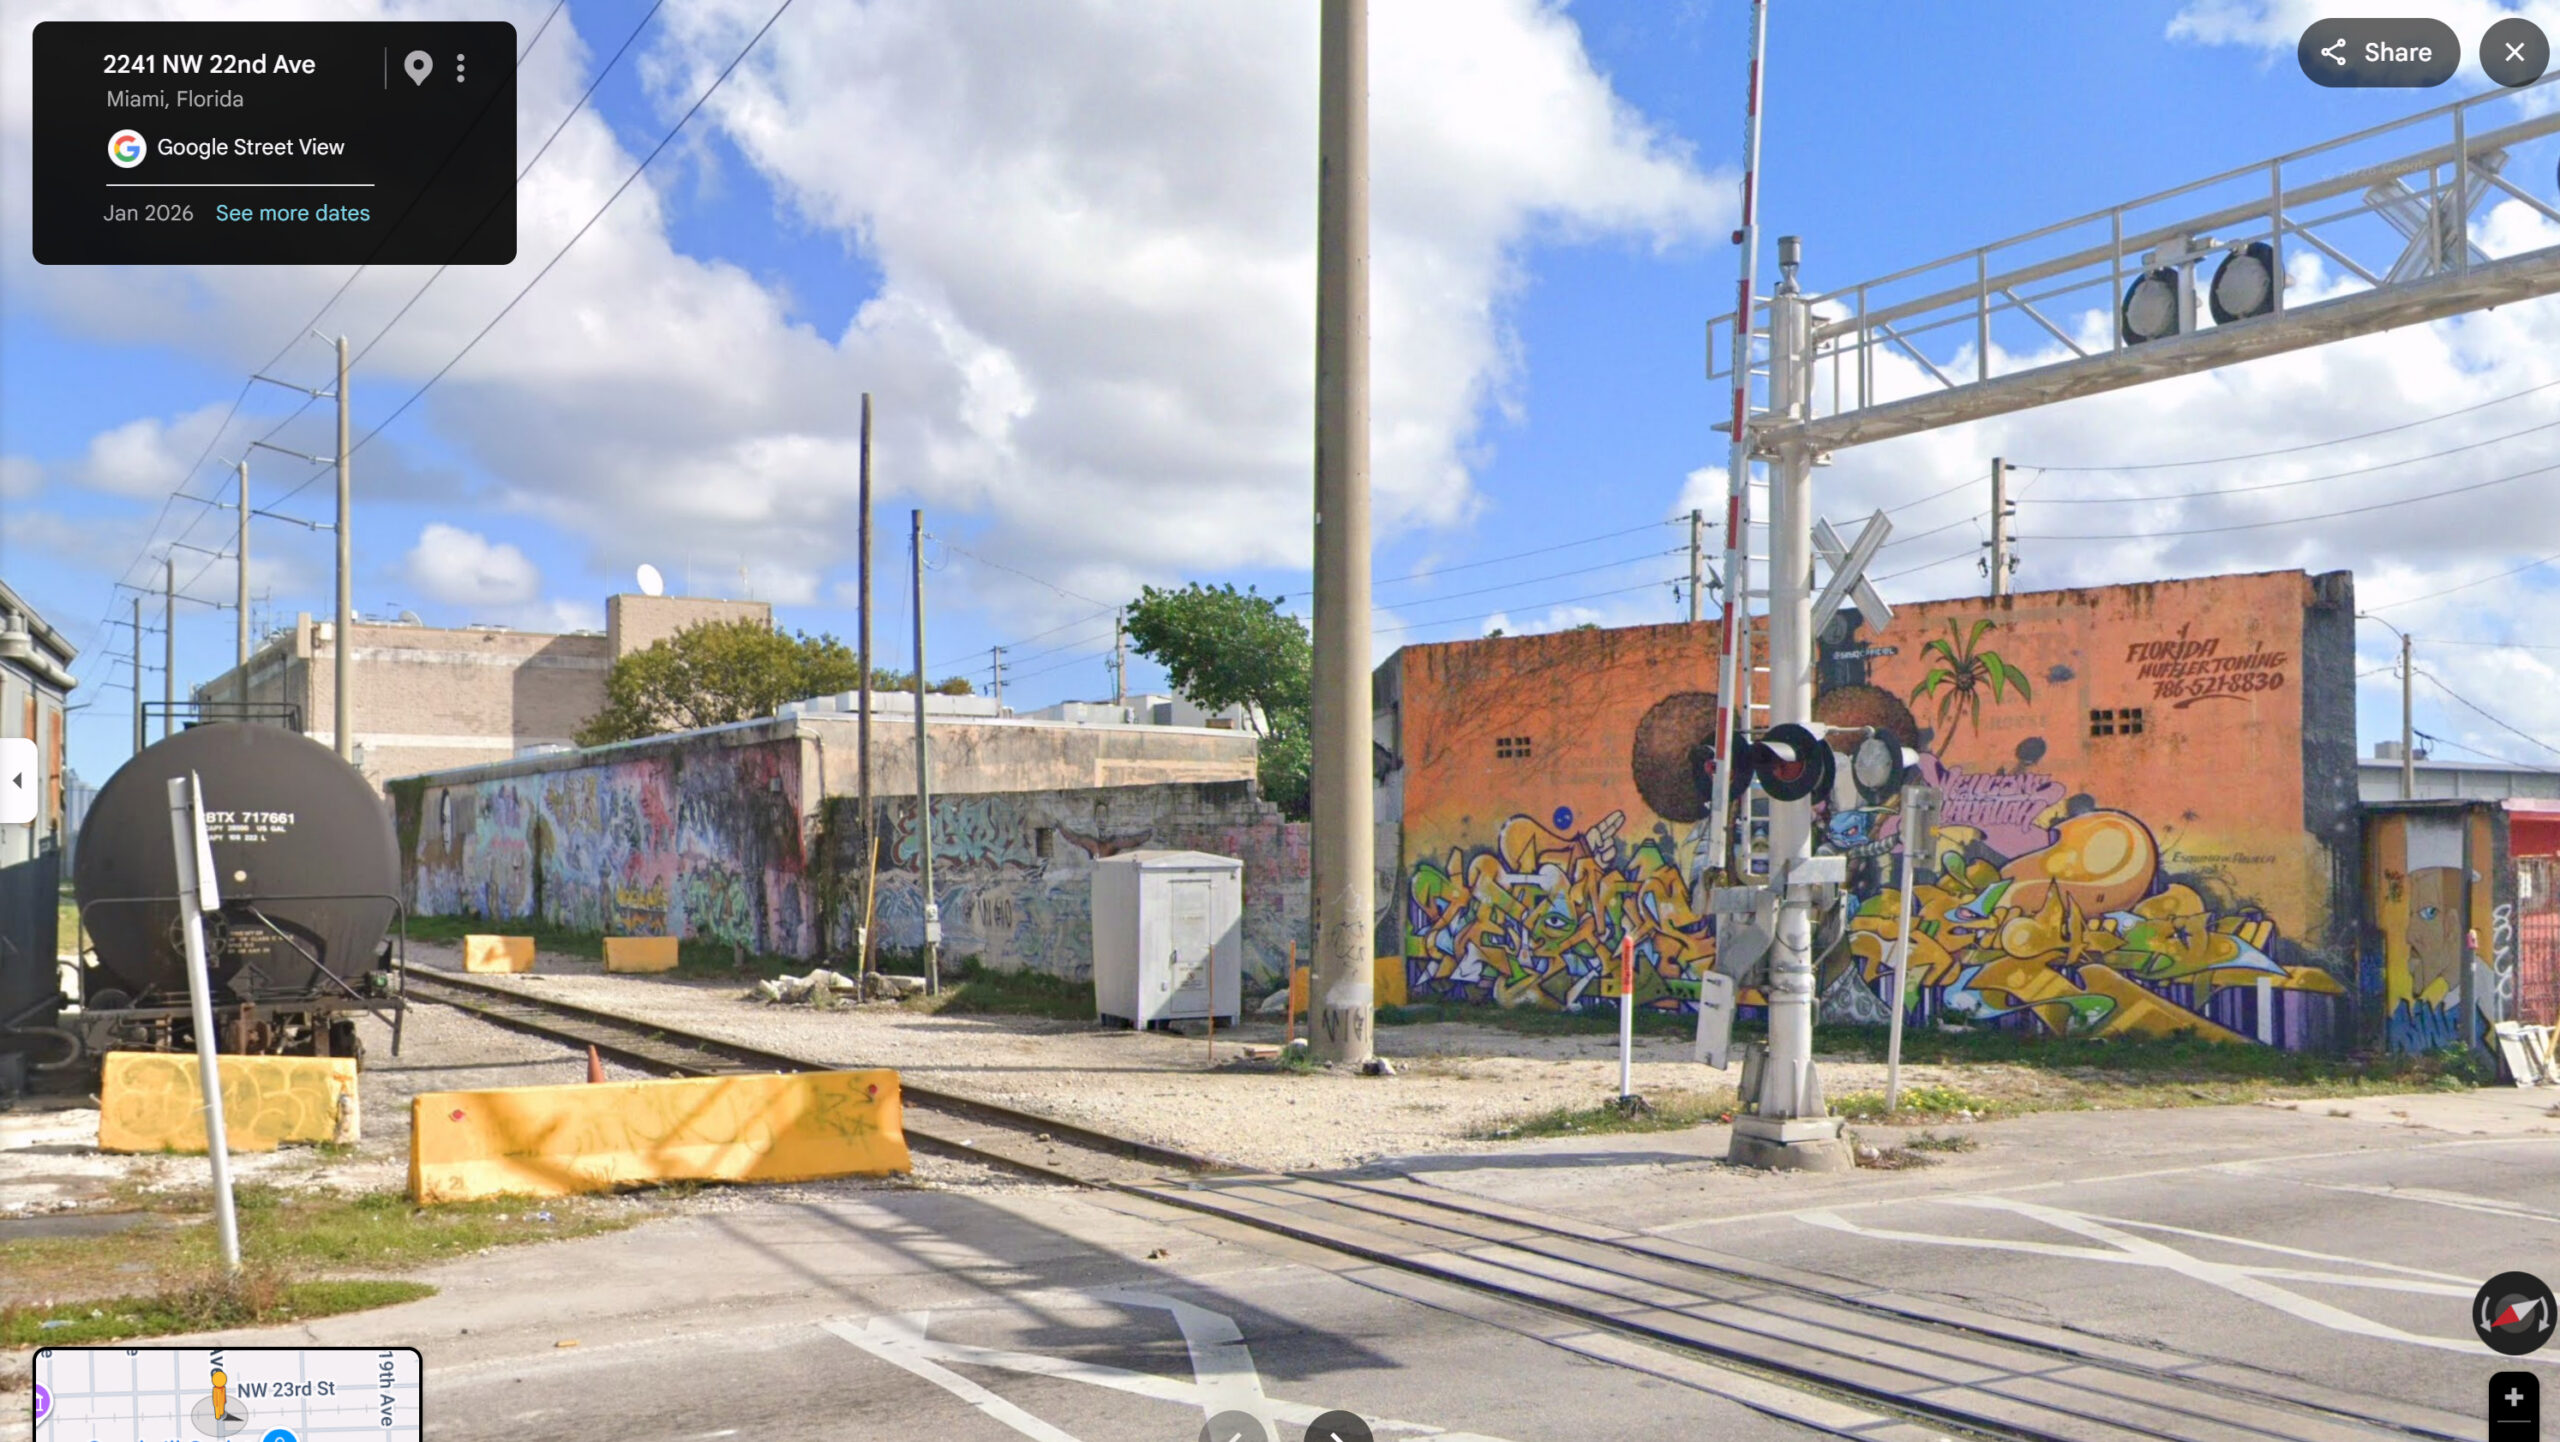
Visual “texture” and a prototype that’s still rockin’ and rollin’ are key ingredients for a theme that captivates me and motivates me to keep working on the layout. This shot was taken a few months ago where The Downtown Spur crosses 22nd Avenue. On the left, a tank car is spotted at Family & Son.
I can’t think of a subject that contributes more to somebody’s enjoyment of the hobby than selecting the “right” theme for their layout, something that motivates them and has them chomping at the bit to work on it steadily. How do you find it, though? How do you pick the right one? The answer to that question is elusive, something I’ve never been able to pin down for myself, let alone articulate to others. For some, they fall into it. For many of us, including me, it isn’t so easy.
Even if you are successful, there’s no guarantee that your interest will hold forever. Maybe it doesn’t need to. I’ve had a number of cases where I was riding the wave for years and then lost interest.
You know you’ve found your mark when the prospect of walking into the layout excites you. The flip side, the “shot and a miss,” is having a railroad that checks the boxes, is modeled well, but leaves you flat, sort of a shoulder shrug when you think about it. Stagnation sets in, and months pass without you working on it….and not even caring.
Personally, the most important thing is to have a place with a hard-to-describe energy and vibe that draws me in. An edge. Visual interest architecturally and scenically. A place that has an air of optimism, not a sense of resignation and depression as it dries up economically. I need a theme that is still operationally active.
I want a theme where I have a like-minded and excited community of support to feed me news, information, and photos. This could be friends, online groups, or both. I need a theme I can and will visit in person.
My past layouts? Things have worked out, but I’ve had some swings and misses along the way.
Miami and LA: I have no clue why I’ve been drawn to these cities most of my life. Part of it might be due to the portrayal by Hollywood, but that doesn’t explain all of it. In the cases of both, you can feel the energy and optimism as soon as you walk off the plane. The businesses aren’t massive, but they’re in overdrive. When you’re in the field, it’s lead, follow, or get the hell out of the way, or you’ll be flattened by a forklift or truck!
Even when I knew I wanted a South Florida layout, it was a few years before I narrowed things down. In retrospect, the thing I did right was enlisting the help of others. Ultimately, it was fellow modeler David Orr who brought the Miami scene to my attention and laid out what it was all about and how the pieces fit together. If there’s one piece of advice I can insert into this rambling dialogue, it would be to get others involved in your search. Cast a wide net of potential subjects.
The Monon In Indiana. This layout was based on my hometown. I had lots of fond memories and access to information. Over time, however, I felt my emotional ties to the area fading. When CSX surprisingly found the line to be redundant and ripped up all of the rail, I was done. I rarely ran the layout after that. It sat unused until I dismantled it. I’m thankful for the good times it provided but honestly, I don’t miss it.
Brooklyn Waterfront. What a great theme and city. So rich in rail history. Loaded with visual interest. I just felt no connection or ties to the area. Modeling the 1940s didn’t grab me…I found out after the fact.
The Georgetown Branch. Another great theme. It’s in my backyard also. The fact that it is no longer in service is a deal breaker. Plus, I have friends in the area who have already modeled it exceptionally well. I’ll let them do the work of building it, and I can just go visit!
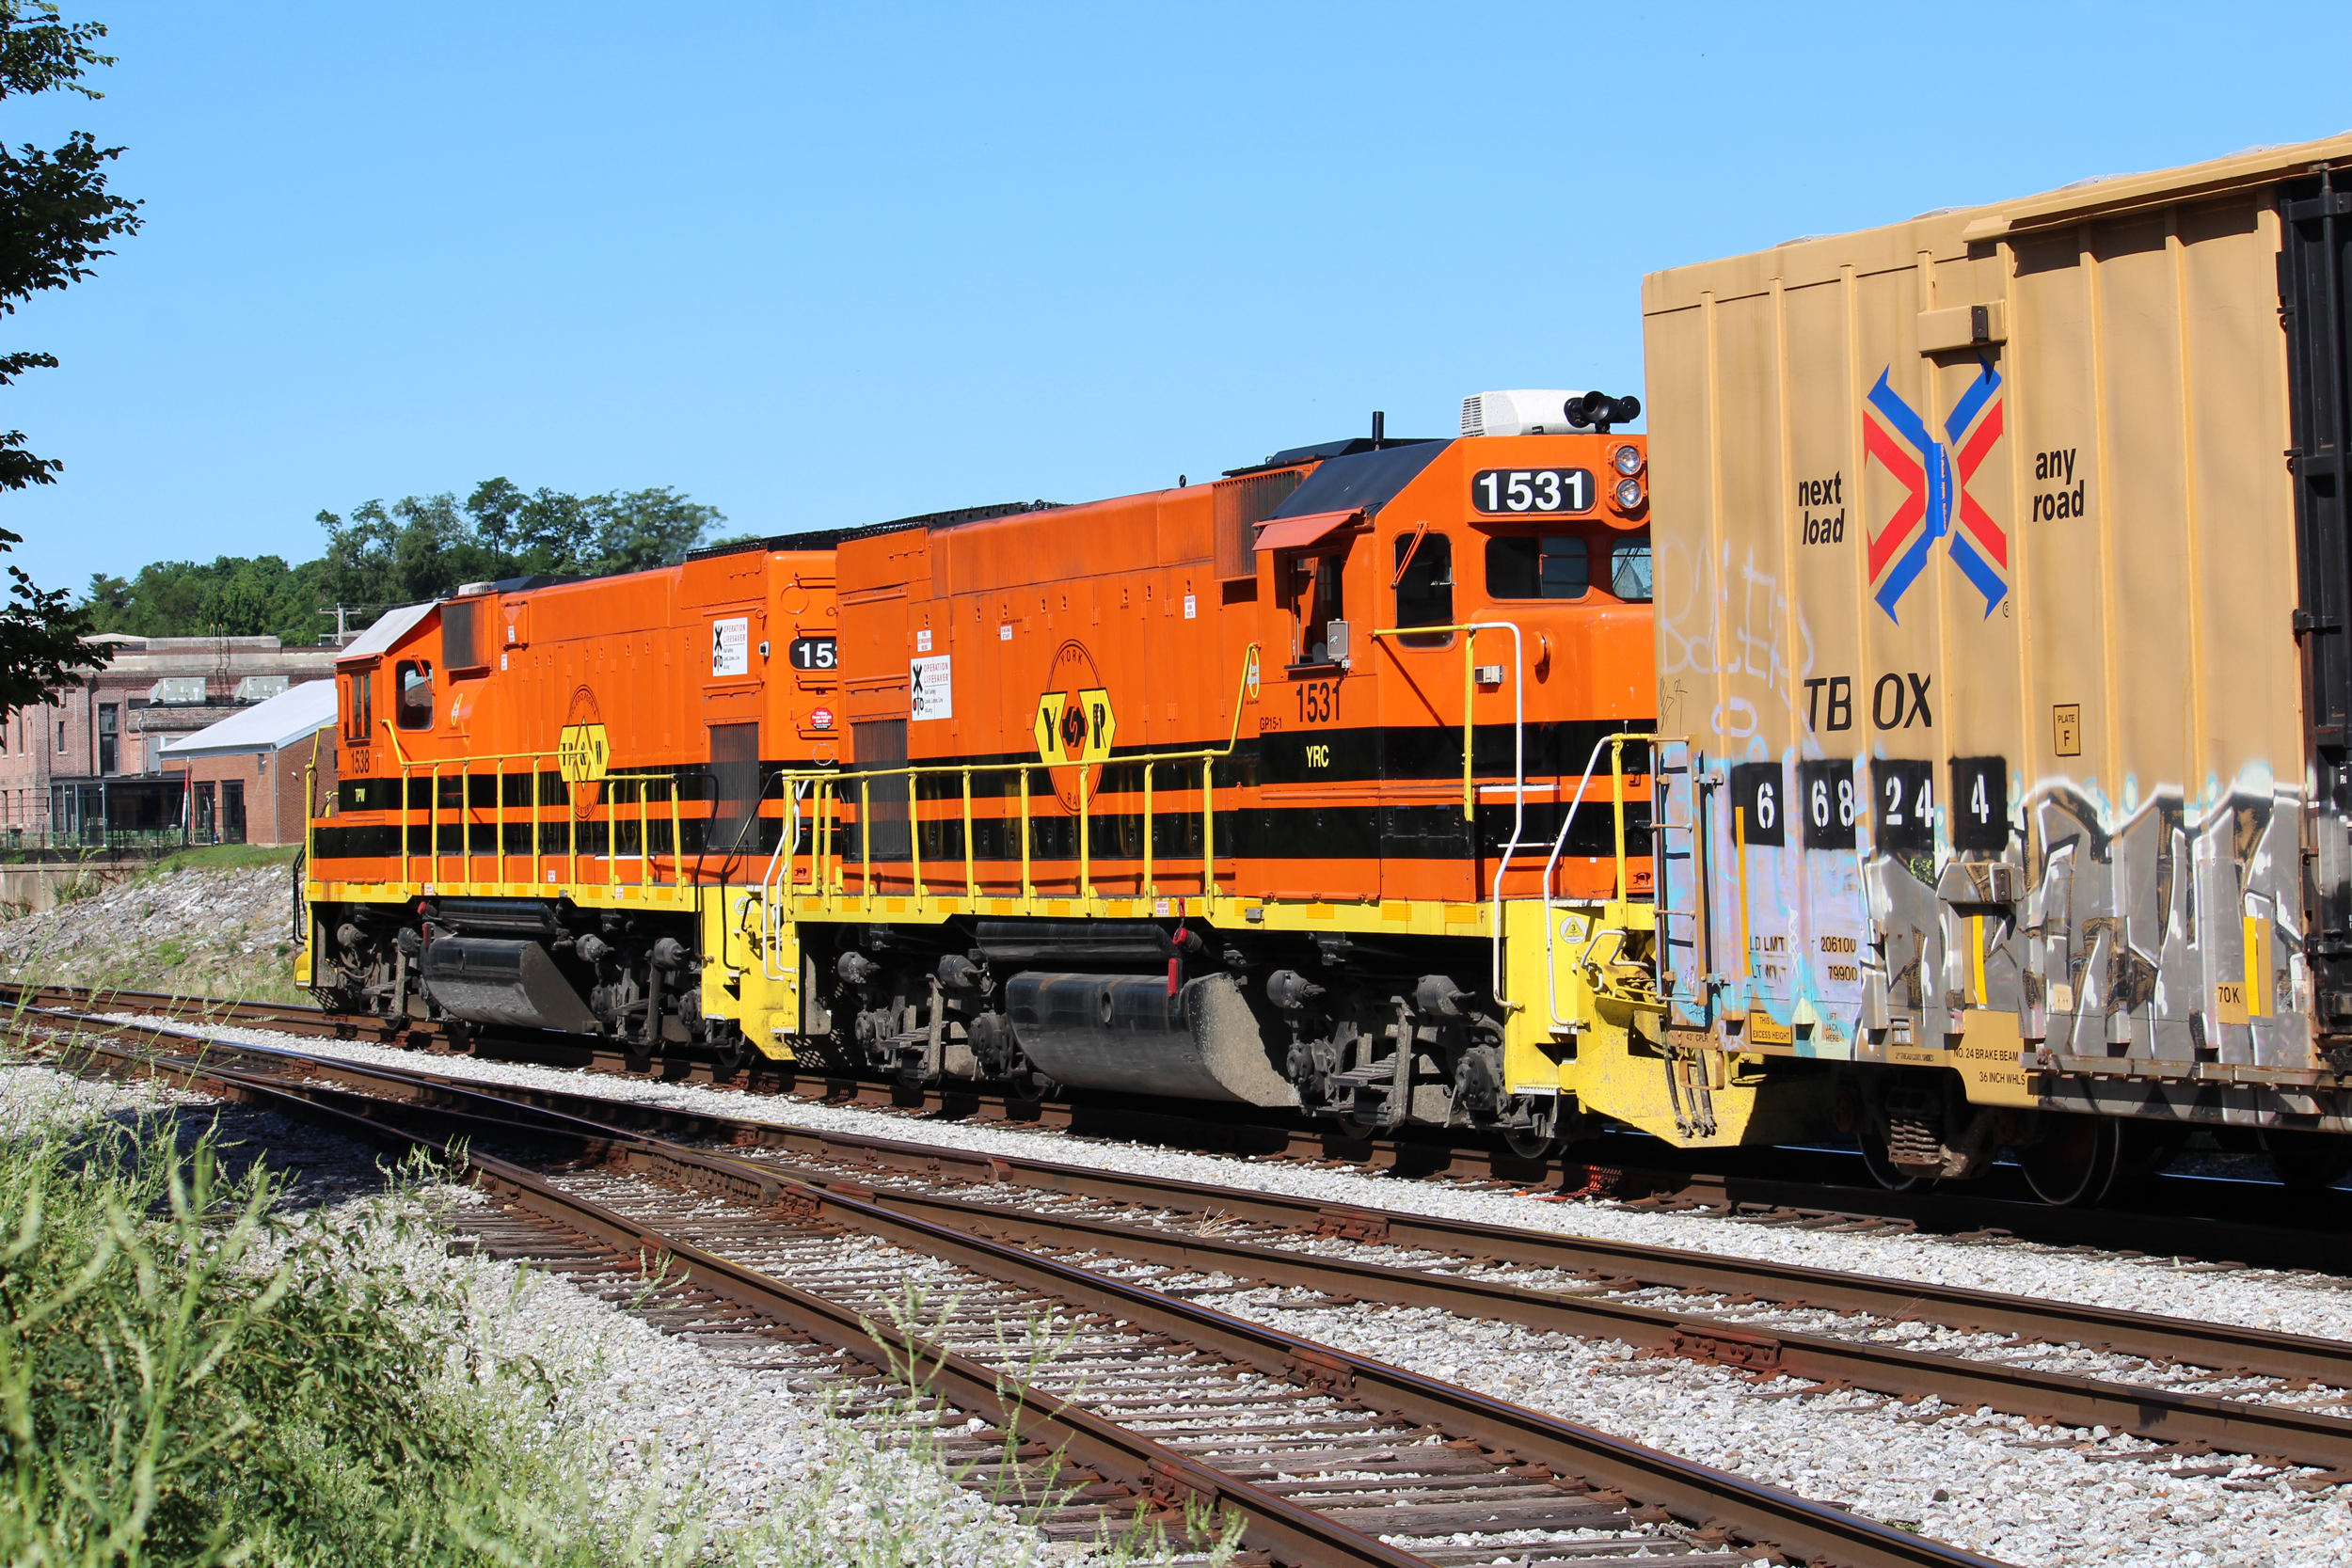
Baltimore/York. What a head scratcher. Great theme. Lots of vibe and texture. Unlimited access to information. Intense operations. Love visiting there. Why do I have zero desire to model either? I have no clue.
Knowing oneself is something we think we have a handle on, but probably less so than we’re willing to admit. That truth, that reality, makes the selection of the fit that’s right for us quite challenging indeed.