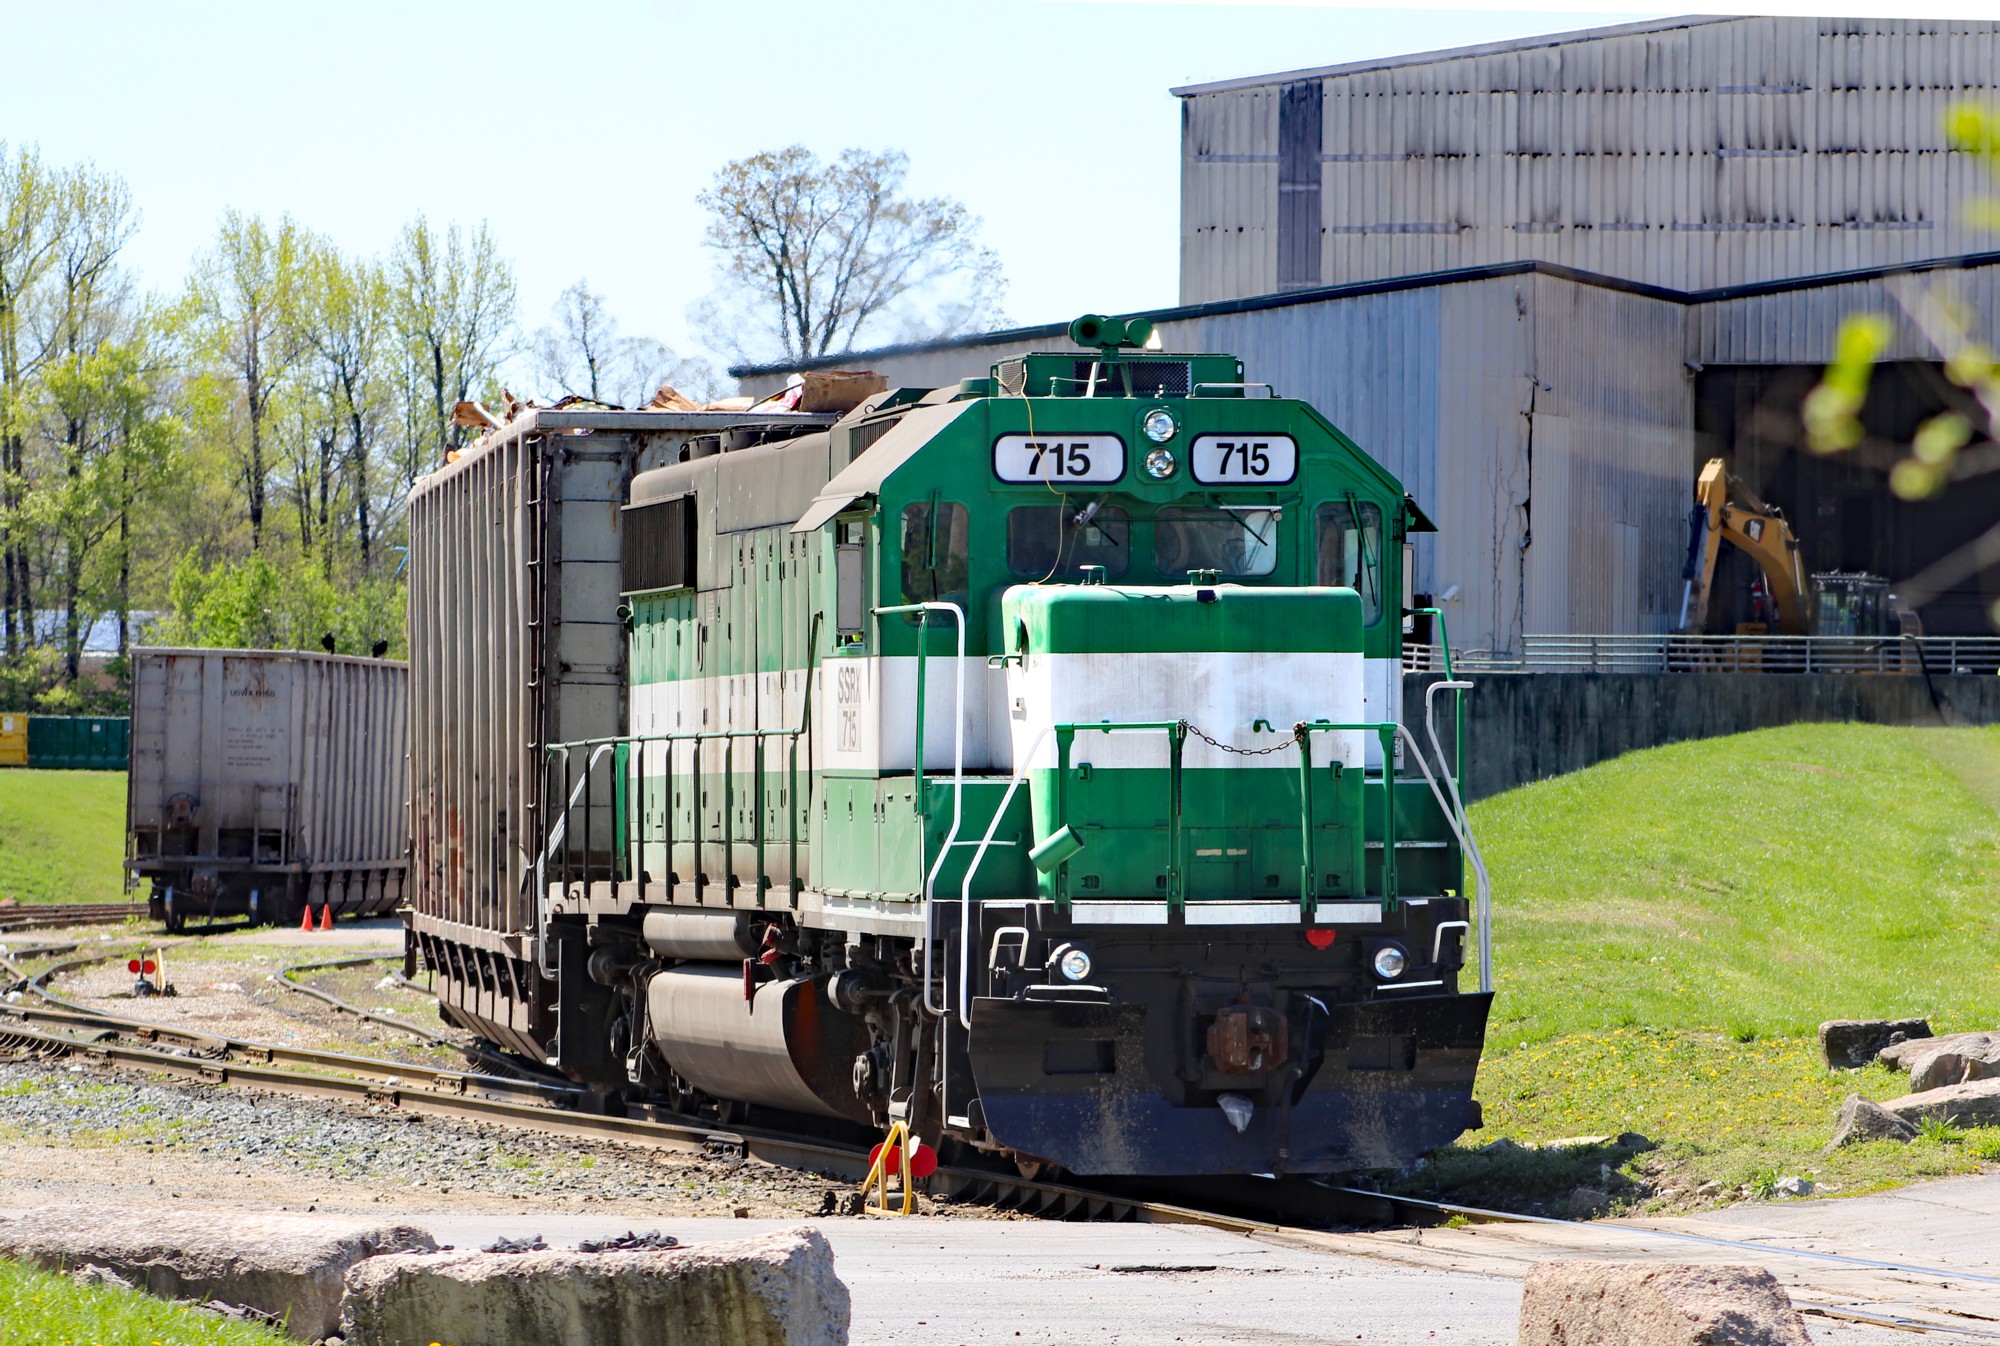
A duo of Geep 15’s rolls through the Philadelphia suburbs on the proto-freelance Chester Valley Railroad. Now a Genesee and Wyoming shortline, the line was originally conceived by modeler Hardold Geisell in the 1930s.
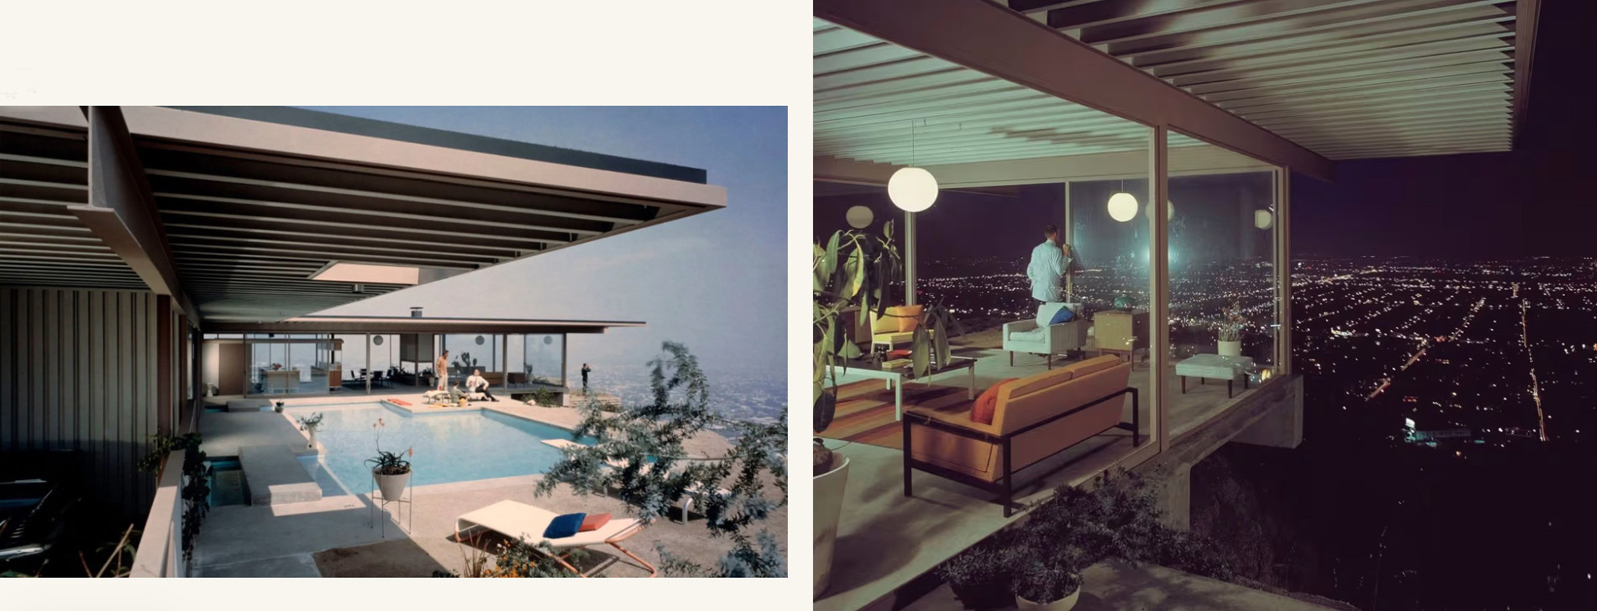
Last fall, I was streaming one of these quasi-conspiracy series on Netflix. The premise of this particular show was that the start of advanced civilizations dates long, long before what we originally thought. As the theory went, these super old, highly evolved civilizations were wiped out by the ice age. Mankind’s developmental process then started over again after the big thaw. It’s a premise generally dismissed by scientists, but with an asterisk….. unlikely but not something that can be entirely ruled out. It’s an intriguing but also somewhat deflating idea. If we knew so much, so many years ago, why aren’t we further ahead? At the risk of being melodramatic, I’m going to take this lost civilization/starting over idea and segue into model railroad design.
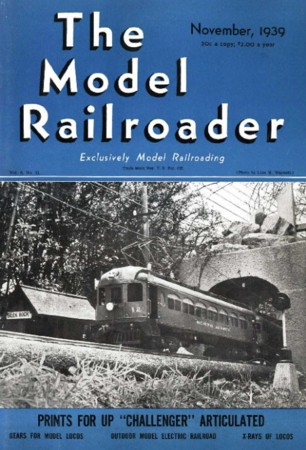
Several months ago, one of my blog readers brought to my attention an absolutely outstanding design. There was a kicker, though, something I found oddly disheartening. This exceptional design, done by J. Harold Geissel, was published in the November 1939 issue of Model Railroader. Wow. We knew how to do things from a design standpoint right from the outset.
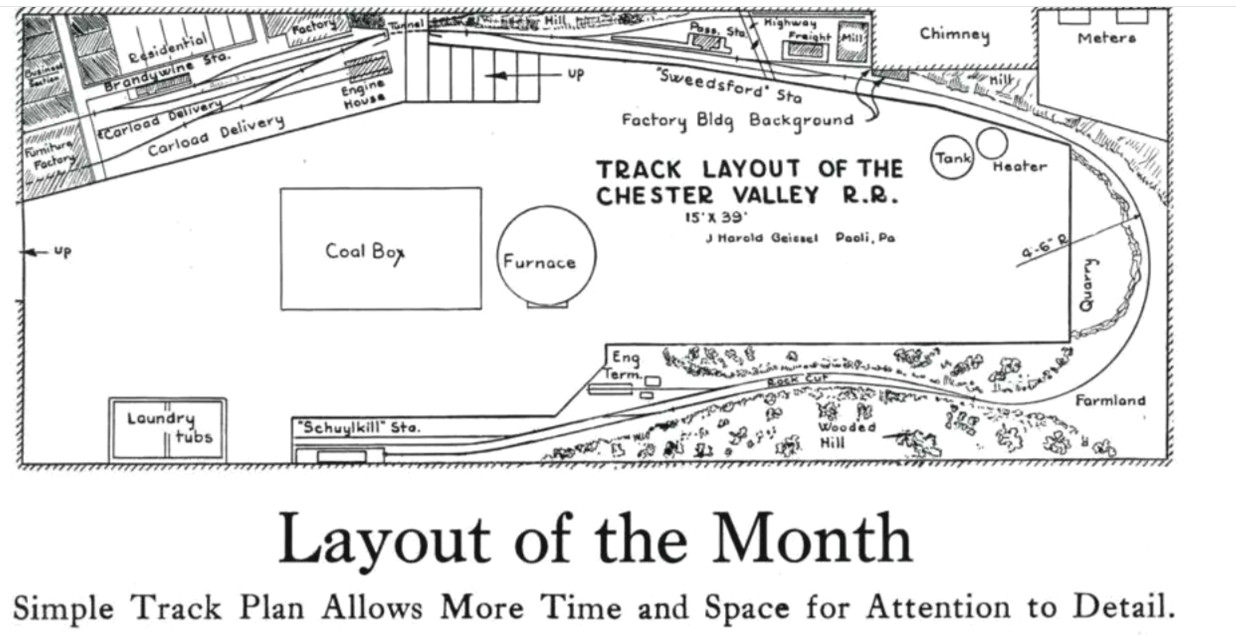
J. Harold Geissel’s Chester Valley R.R. design from 1939. Not only is it brilliant in its composition and minimalist execution, there is a level of artistry seldom seen. In all honesty, it looks better than anything I’ve ever produced.
If design theory was so evolved eighty-five years ago, how on earth did we backtrack into the swamp of horrendous, spaghetti bowl designs, and wallow in that muck for decades?
I went back into the MR archives from the 1930s and found additional great shelf layout designs. I’ll define a good design as one that is easily built, trains pass through a scene only one time, is plausible, and contains ample negative space. Designs aside, the thinking in general in these early articles was very advanced, probably equal to or beyond what we see today.
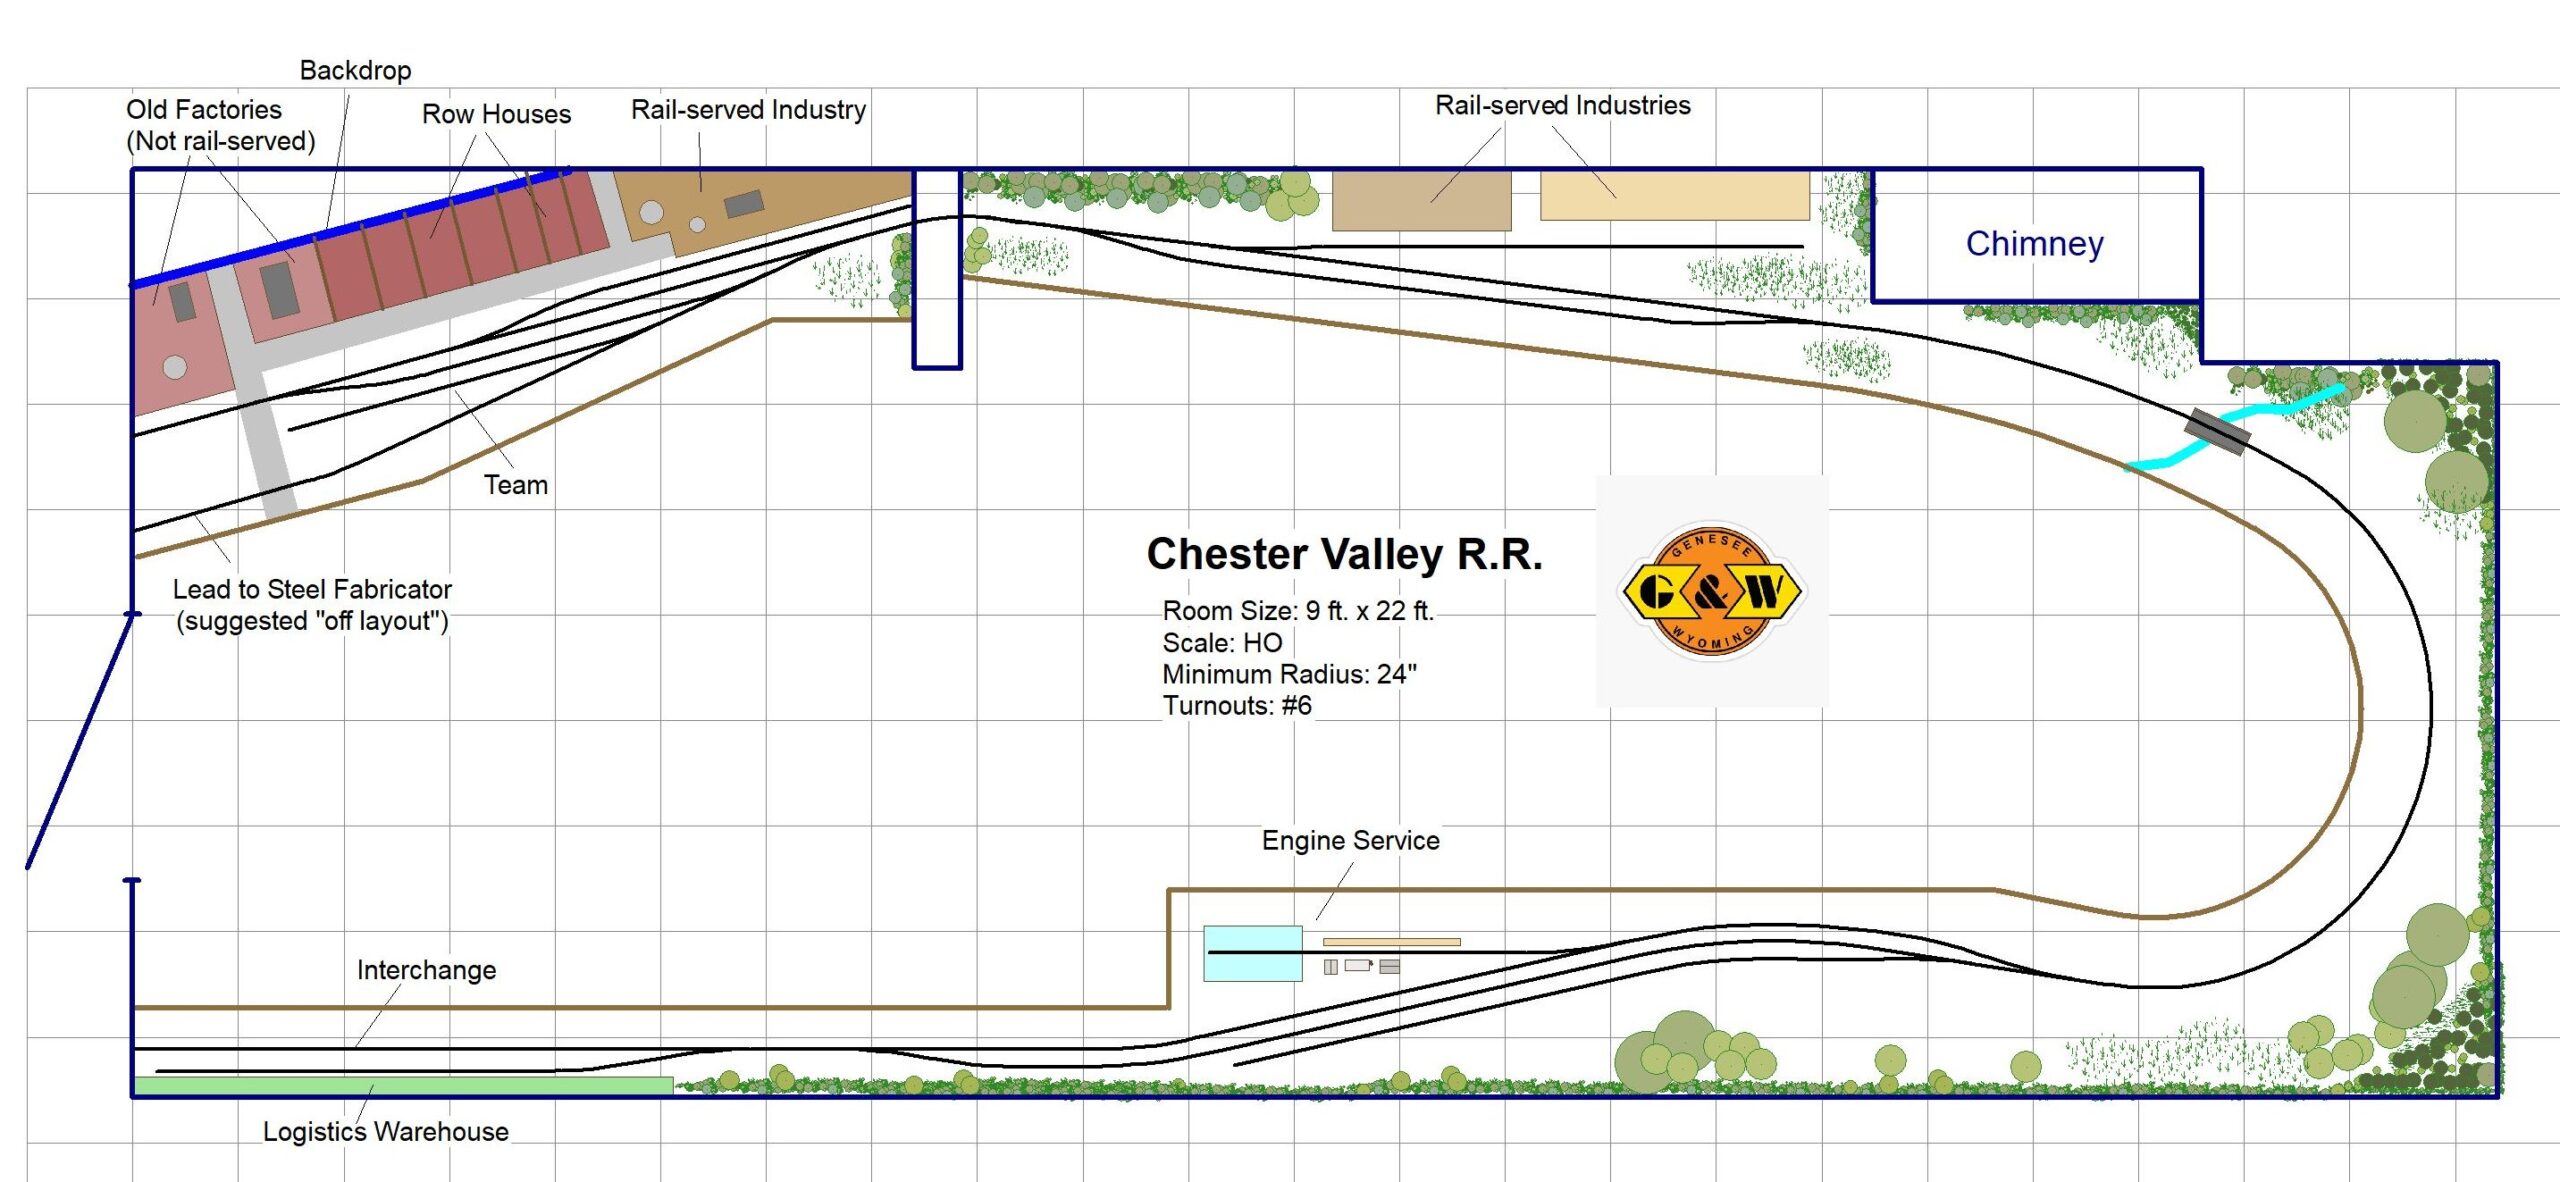
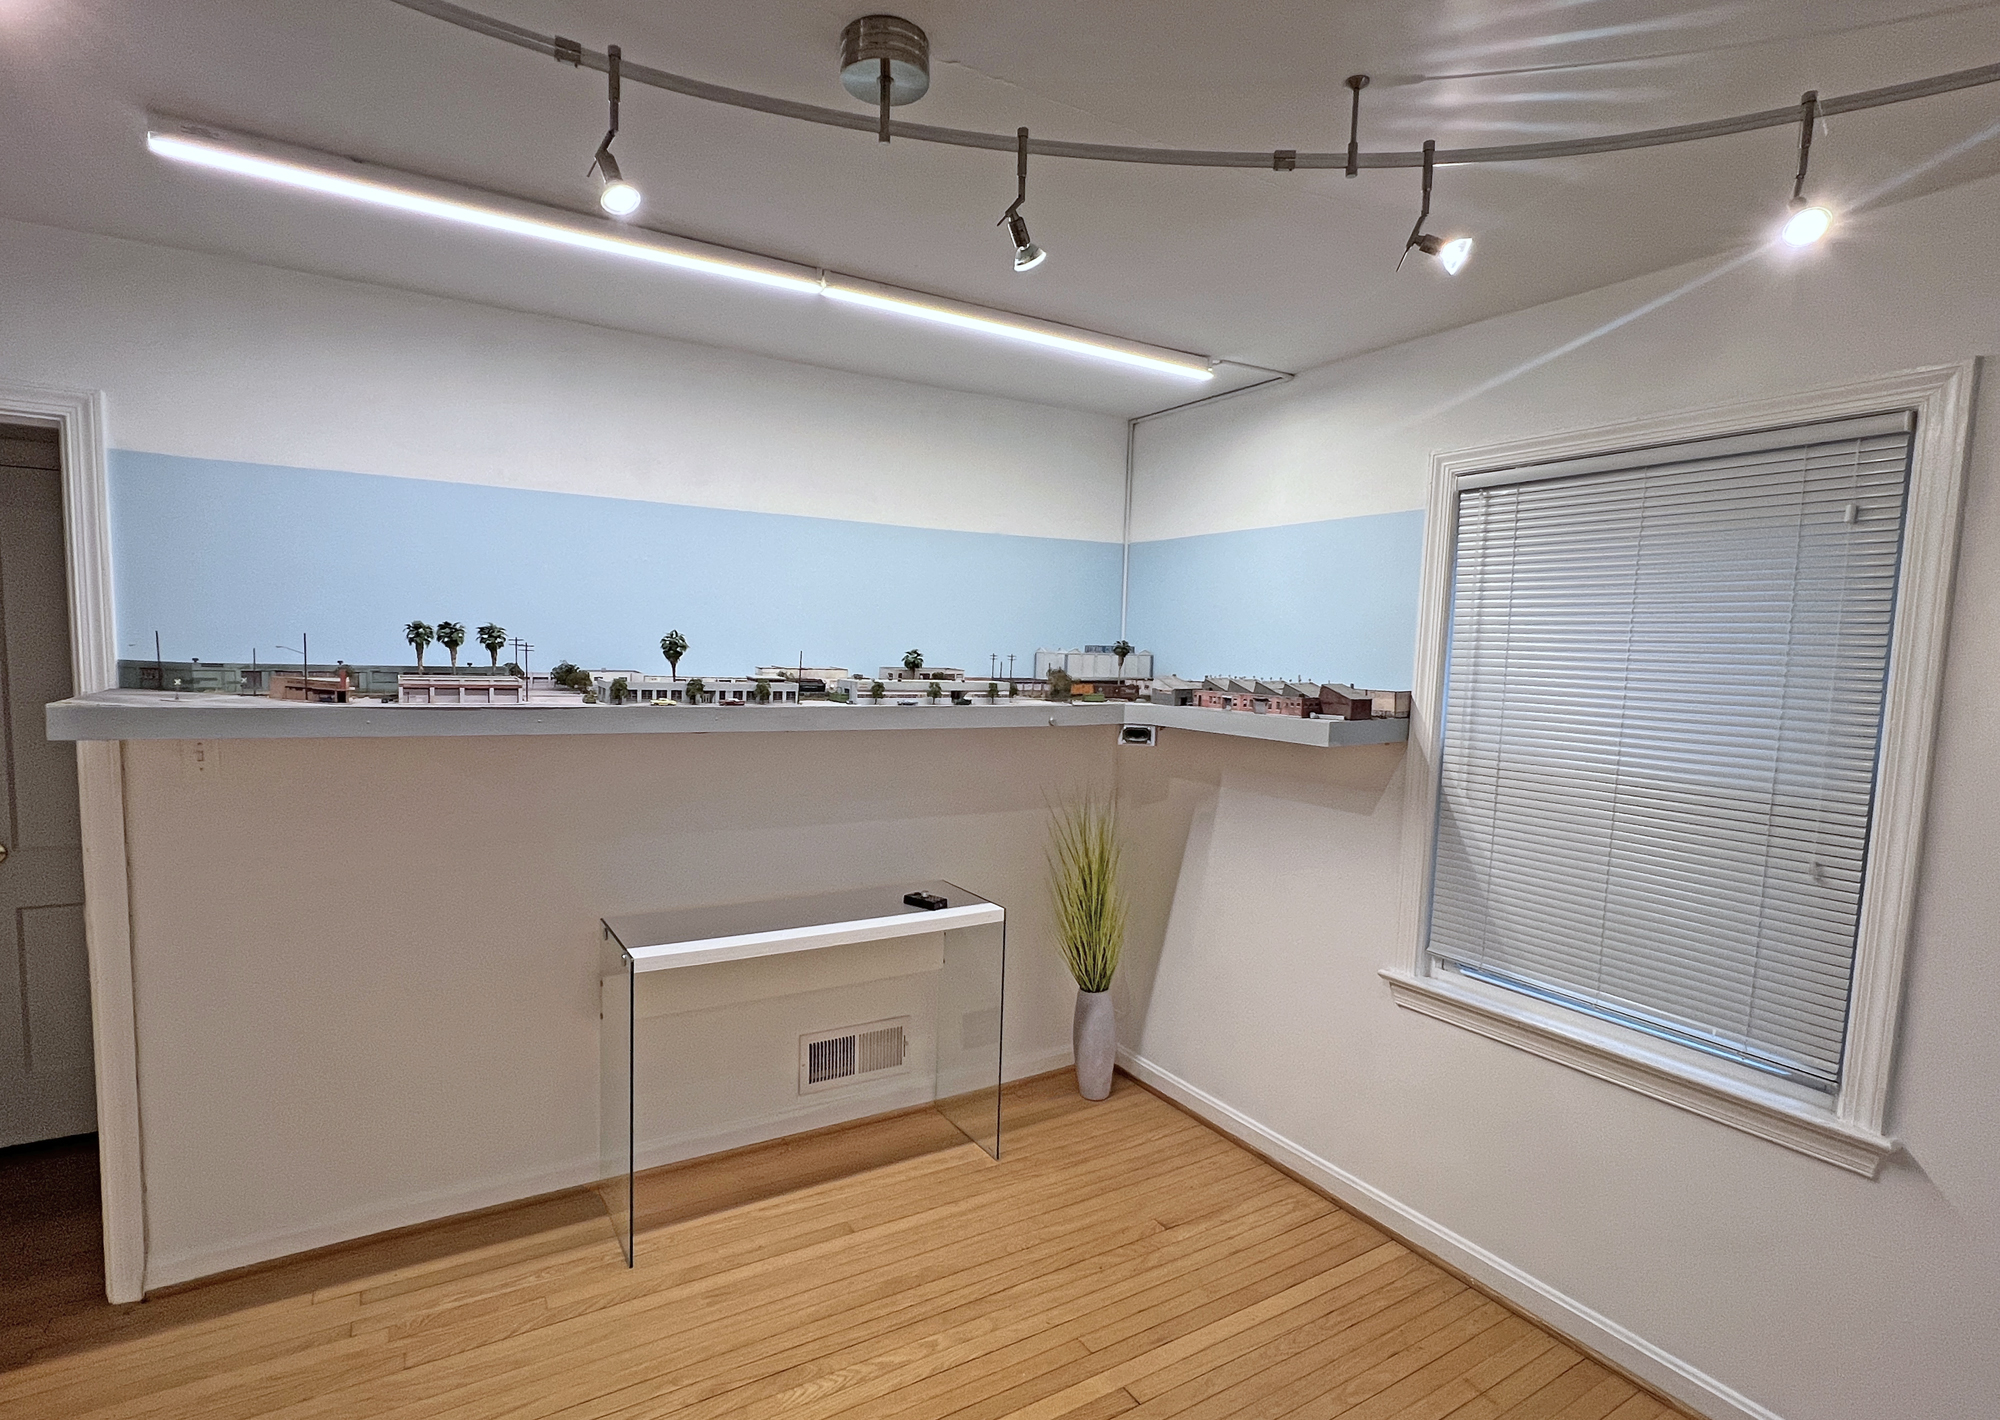
Just for fun, I took Harold’s design, converted it to HO scale, trimmed a few things out, made some minor adjustments, and updated it to the modern era. What you see here would fit in one side of a two-car garage. The concept is based on the idea of a short, Genessee & Wyoming branch line in the Philadelphia suburbs. It interchanges with one of the majors, runs for ten miles or so, and serves a half dozen or so industries.
Eighty-five years ago, we were shown how to design a model railroad. We should have paid attention, stayed the course, and built on that. It wasn’t until the 1970s, thirty-five years later, that we got back on track.