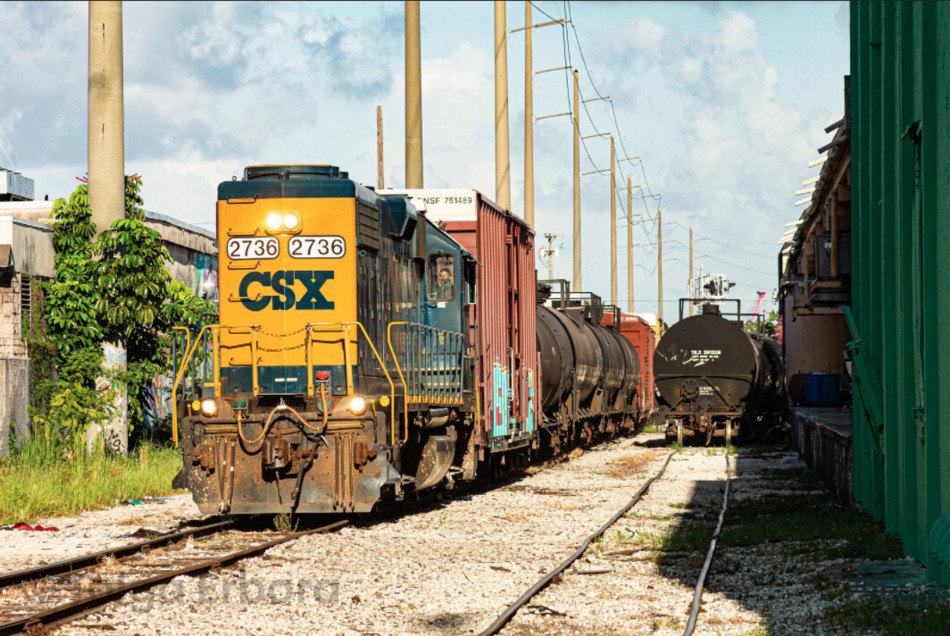
Tolga Erbora catches the local passing Family and Son on The Downtown Spur in this August 2020 image. The fact that the line is still active, and so well documented, keeps me motivated.
What do you do when your layout is getting close to being “finished”? The day is in site when there will seemingly be no more projects.
Much has been written about the importance of getting at least some of your railroad up and running, sooner rather than later, in order to establish momentum and keep morale high. Not talked about as often is finding and adjusting to a new pace once you are up and running and have hit “cruising altitude”. I’ve been guilty of being so singularly focused on the launch that I lose sight of the fact that there comes a time when you should take your foot off the gas, slow down, and simply enjoy the hobby at a more leisurely pace. In other words, the proverbial stopping to smell the roses.
The reason the question warrants some thought is that viewing our layouts as being finished is often its death knell. When we get to that point we quickly lose interest….or at least I do. After you hit critical mass, if you don’t get yourself out of mission mode all you’re doing is rushing towards the day when you’re out of projects and, shortly thereafter, no longer interested in the layout.
Some questions to ask are:
-Am I an operator or a builder? If you’re an operator finishing the railroad isn’t an issue. If you’re a builder, and there’s nothing left to build, then you have a problem.
-Next, does this theme still hold my interest? If not, the answer is simple, start a new layout. If you’ve found a new theme that interests you more, do the same. However, if what you’ve chosen does still have appeal, and the issue is a shortage of projects, then what?
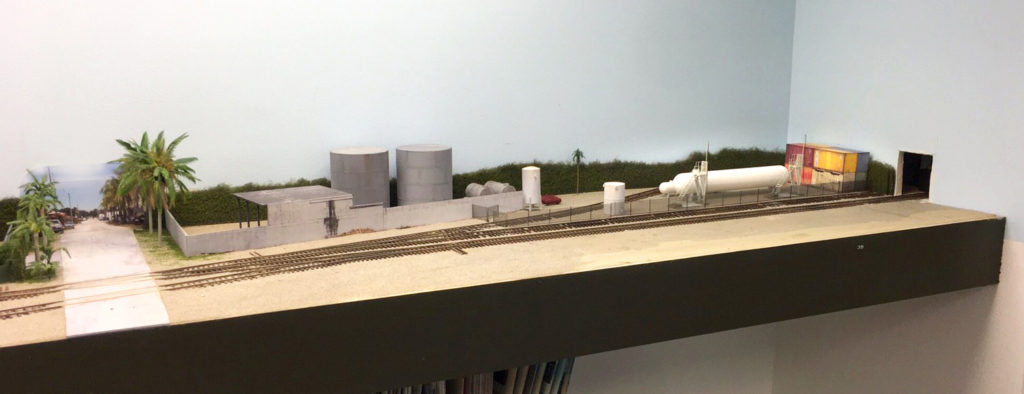
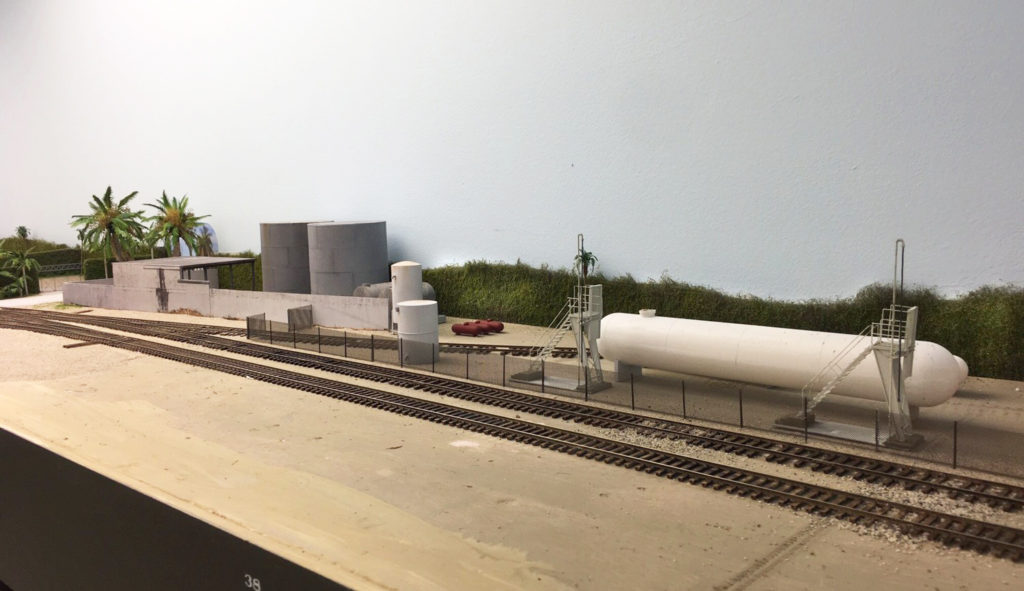
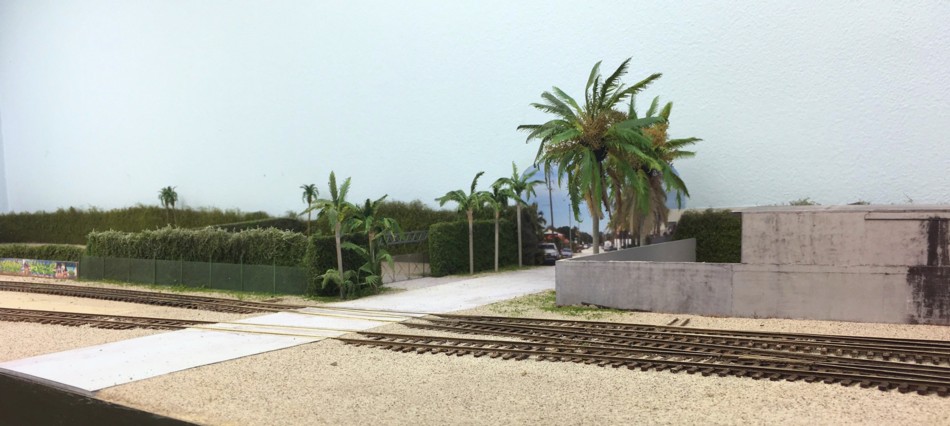
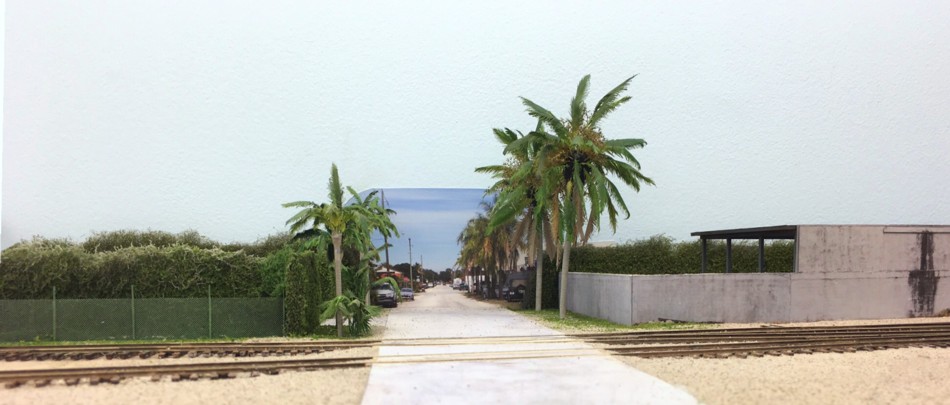
Here’s what I’m doing. I started the Downtown Spur thirteen years ago, still find it interesting, and don’t see anything out there that I’d rather be modeling. I would say roughly eighty per cent of the surface area is fully modeled.
- I’m working at a much more leisurely pace without my previous self-imposed push to get projects done. I have no guilt about working slowly and spending a weekend on a small detail.
- I’m a better modeler now than I was when I first started the layout. As the mood strikes I can go back and upgrade small portions of a scene or replace structures with efforts that reflect my now higher skill level.
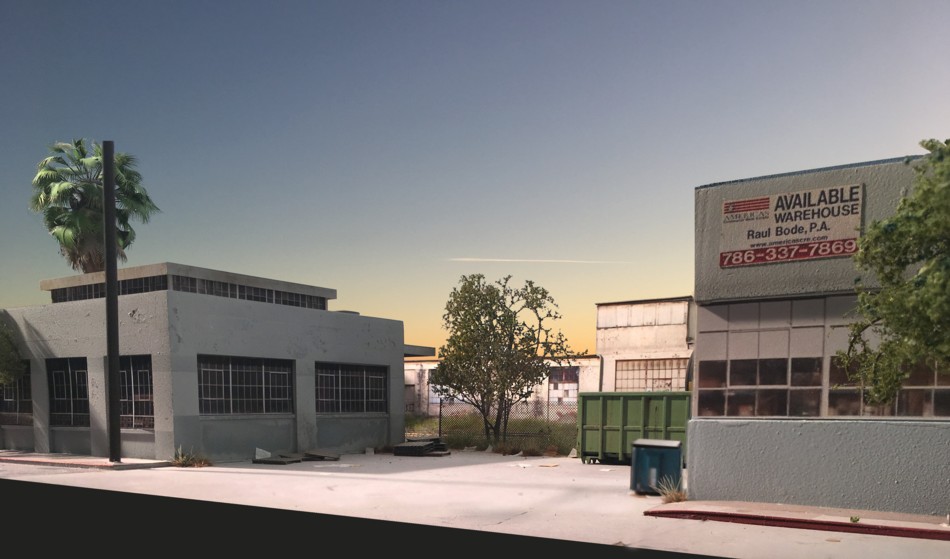
- Layouts age. I find it uplifting to take a scene that’s a little weatherworn or ratty looking and restore it to its former glory. In my case I make heavy use of photo laminates for structure coloring. In the early years I used lower quality photo paper. That, combined with humidity and occasional basement flooding, left about a half dozen structures that were badly faded and discolored. I’ve gone back, stripped off the details and laminate, and restored them with new photo laminates printed on higher quality paper.
- I enjoy layout photography and am a better photographer now than when I took many of the images a decade ago. As summer approaches I plan to go back and reshoot portions of it.
If you’re a prolific builder and feel a sense of stagnation setting in, be open to the fact that you need not be as “done” as you think.
