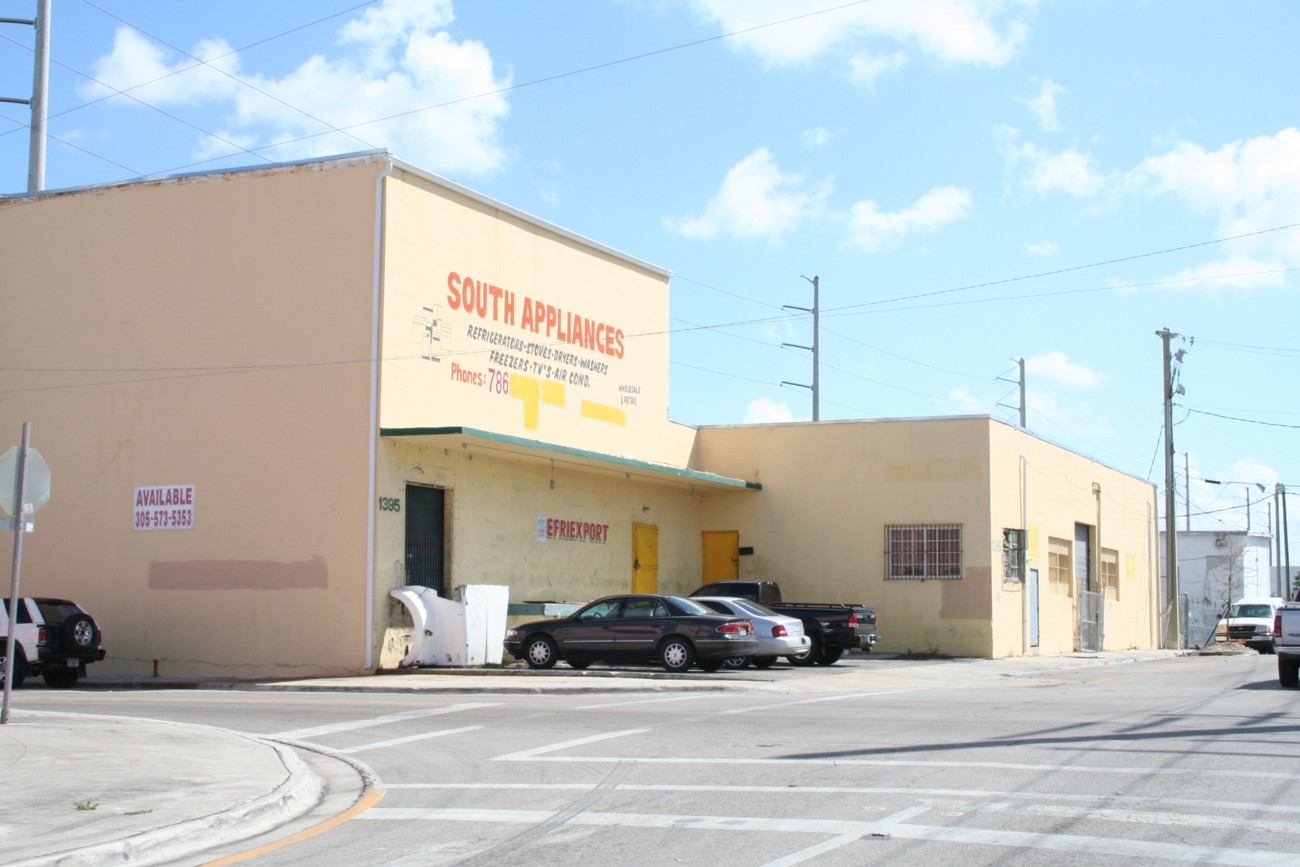
Sadly, not even Jesus, or Allah, or any other deity for that matter could save South Appliances, once located at 1395 22nd Street, NW in Miami. It went belly up sometime in ’07. Located adjacent to the Downtown Spur at the corner of 14th Avenue and 22nd Street two things made it unique. First was its height. Rising over thirty above the street it was the tallest structure in the area. Of more interest was its east facade.
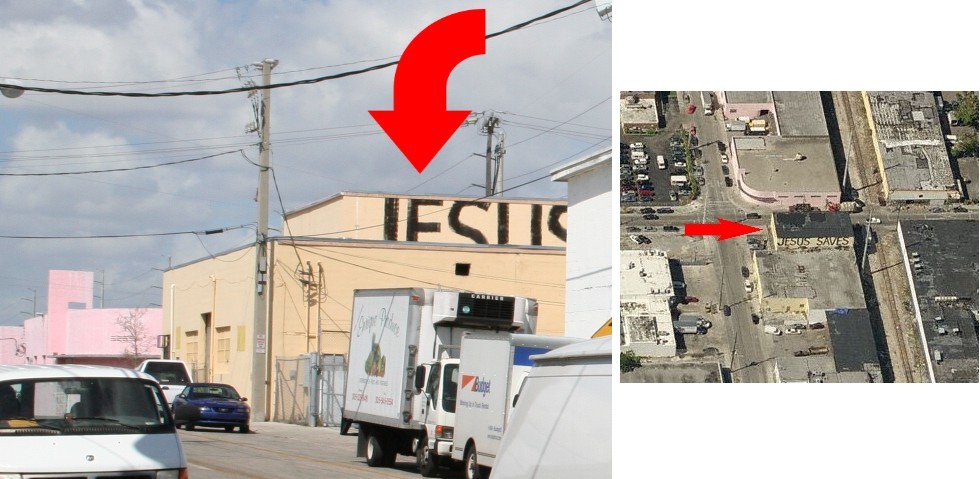
At some point a rather motivated tagger emblazoned the entire east face of the upper story of the building with massive “Jesus Saves” graffiti. The lettering must have been twelve feet tall at least. Whenever you were rail fanning near the runaround, and looked westward, there it was, the huge sign on the horizon imploring all to reconsider their life path.
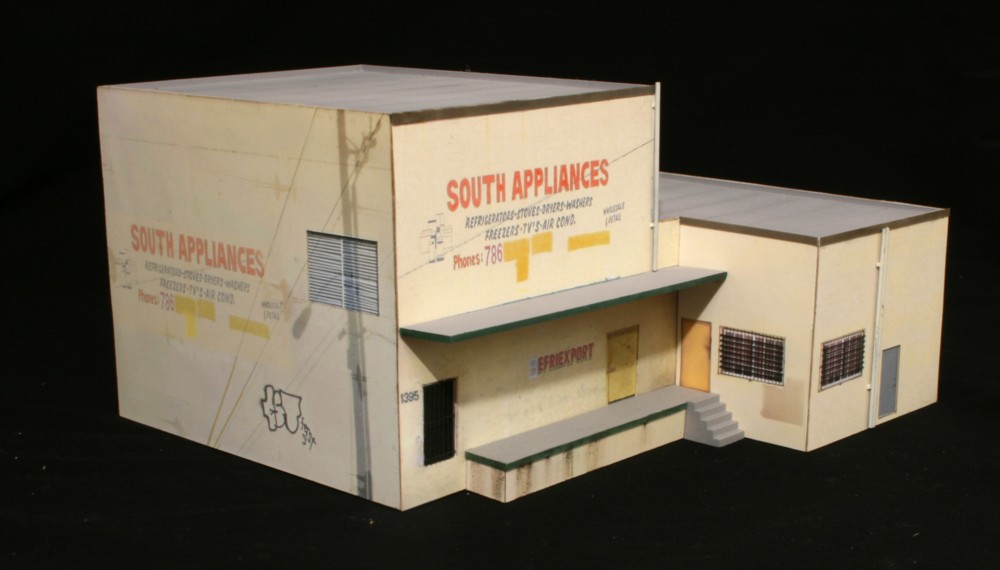
The model itself was a fairly straightforward project using the photo wallpaper technique. The only challenging aspect was the fact that I didn’t have that many decent pictures, and none existed on Streetview, so it took many hours of photoshop to create the veneers.
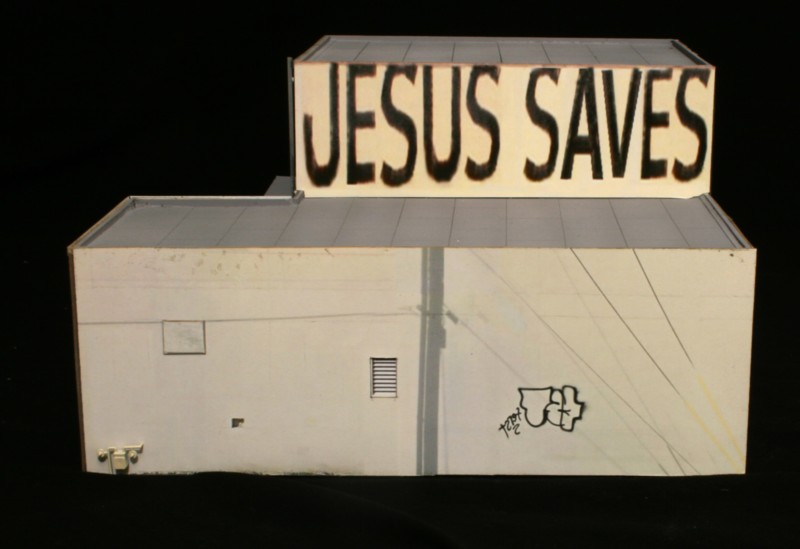
With no full image to work from, recreating the graffiti was a very time consuming exercise using the few letters I did have.
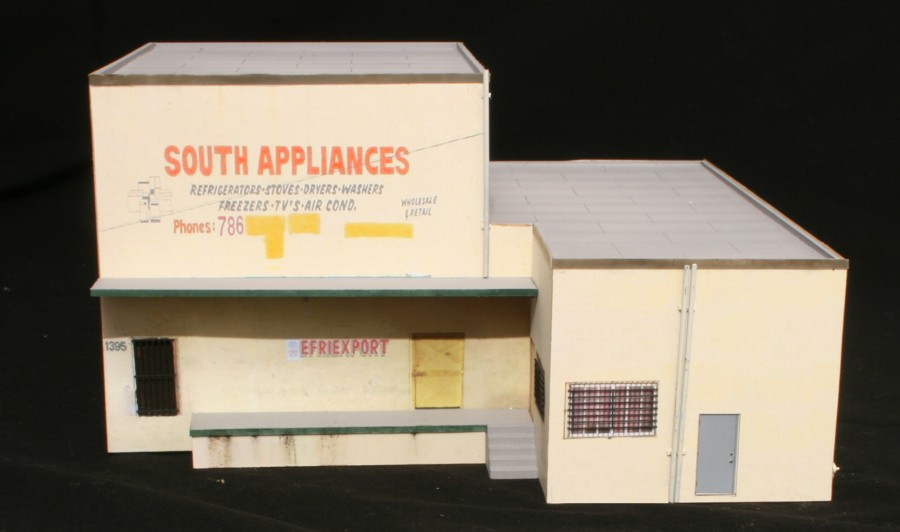
Standoff details include parts from Tichy, Rix, and scratch built piping. Almost a decade since placing the mockups of this structure on the layout, it was gratifying to consign them to the trash can and have the final model in place.