Decades ago I had a sales trainer that happened to be a former WWII battleship gunner. He was emphatic in consistently making his point that we should practice our sales technique BEFORE we were in front of a customer. He made the point at every session and then immediately drew the analogy to his days in the South Pacific. They’d spend hours on the ship going over and over the gunnery drills all the while his superior officer would explain the importance of the drills with the proclamation of “it’s best that we practice BEFORE we’re getting shot at”.
The application is universal, to sports, music, even model building. You are far better off developing a specific modeling technique before you need to apply it to your actual layout or model. Once you get to the real deal, poor results are often impossible or, at least exceptionally difficult, to reverse. I speak from experience. Often we have such a large time investment in the inferior effort, or because the result is not reversible, we have no choice but to live with it while it subconsciously grates on us every day.
How do you practice? You just make trial runs on a scrap until you have it down. Such practice attempts can be partial in nature and sub-par results can be discarded easily since you have minimal time or financial investment. Compare your results against photos of the prototype or models you admire and stick with it until you are satisfied. If after a number of attempts you are still struggling, photograph your sample and ask a more experienced modeler for advice. Take notes as you practice so that once you get the results you want you can repeat them later.
Practice takes place at all points on the experience spectrum. If you’re a beginning modeler, between layouts, or don’t have space for a layout now is the ideal time to elevate your skill levels. The skills to master are limitless but here are a few ideas:
- Track weathering
- Ballasting
- Waterways (all types from shallow and clear to deep and murky)
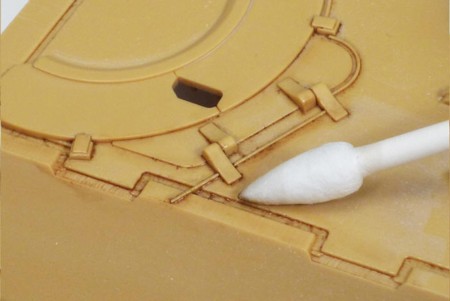
- Structure weathering
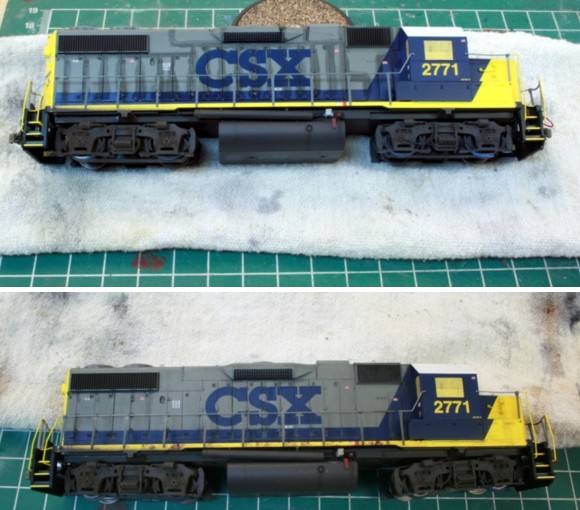
- Freight car weathering
- Structure assembly
- Trees
- Static grass
- Pavement
- Backdrops
- Alclad II metalizers