I feel like I should track down all of the attendees of my early op. sessions and issue a formal apology for what I put them through. It’s a common mistake layout owners make when they get into the operations game and have their first several years of sessions. We feel obligated to make sure our guests are entertained and also want to show them all aspects of the layout. By “all” I mean EVERY industry, every aspect.
This leads to what I call “job stuffing”. Job stuffing is overloading an assignment with way, way more tasks than any mortal can handle and still have a good time. Switch lists with dozens of pick ups and set outs, “puzzles” so the operator has “fun”, way too many trains on the schedule. Cars aren’t blocked. Pickups are buried behind other cars. Schedules are too tight. Working EVERY industry. The session takes on the appearance of Hartsfield International at rush hour. My guests were polite but, having been on the receiving end of this scenario on more than one occasion, they probably didn’t have that much fun, or at least as much as they could have.
What I, and many other layout owners, failed to grasp is what it’s like to be thrown into an unfamiliar environment. We know the geography of our layouts like the back of our hand but a newcomer will be disoriented even with the best of labeling and signage. I also failed to grasp how important the recreational and social aspects of an op. session are to most folks.
I just got back from a thoroughly enjoyable ops. weekend in Austin where I operated on David Barrow’s, Tommy Holt’s, and Riley Triggs layouts. I was really struck by how they designed their sessions and how much fun I had. What do they do differently?
- They don’t run that many trains on the schedule. Barrow and Holt’s layouts are huge but you cruise forever without running into oncoming traffic.
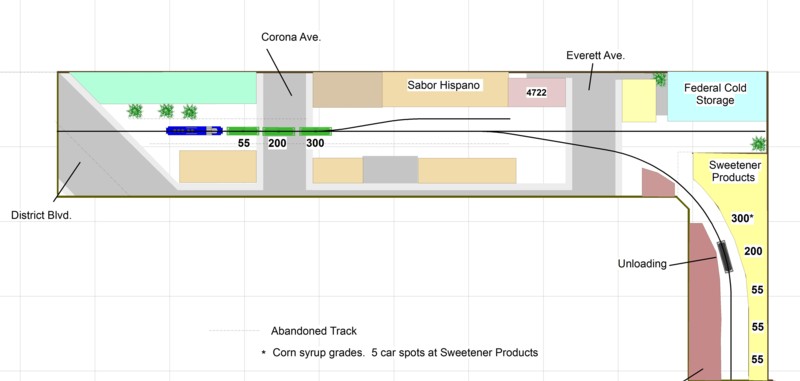
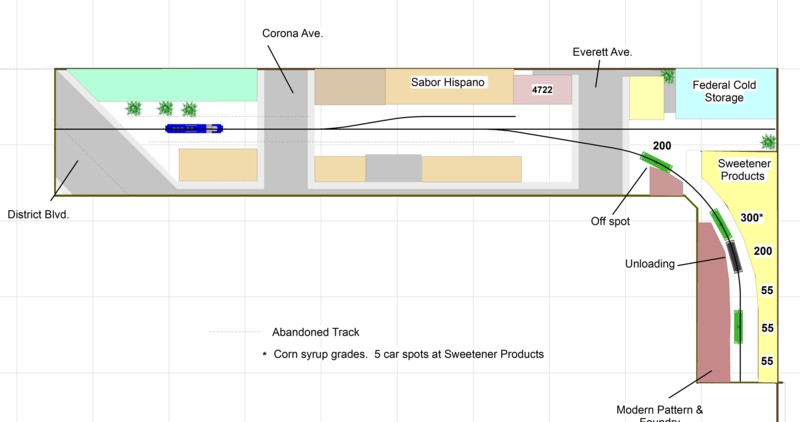
- The workload of individual trains is light. On my train in the photo above, there were only three set outs of a few cars the entire route. All of the cars were blocked so they’d be where you expected them.
- Every aspect of the job set the operator up for success and was designed to make it as easy as possible to do the work. No tricks, no puzzles, no ‘gotchas’, no fishing for pickups behind ten other cars.
- The equipment operated flawlessly. No derailments or power failures.
- Delegation. There are defined duties for yard crews. You don’t have to do it all. When you arrive in a yard you can perform one move, beyond that the work is somebody else’s problem.
- There is a definite quitting time at their sessions. When the clock hand hits five o’clock the power goes off and it’s time for the craft beers whether you’re done or not.
Set up correctly, operating sessions can be a blast and still be absolutely prototypical. Thanks guys!