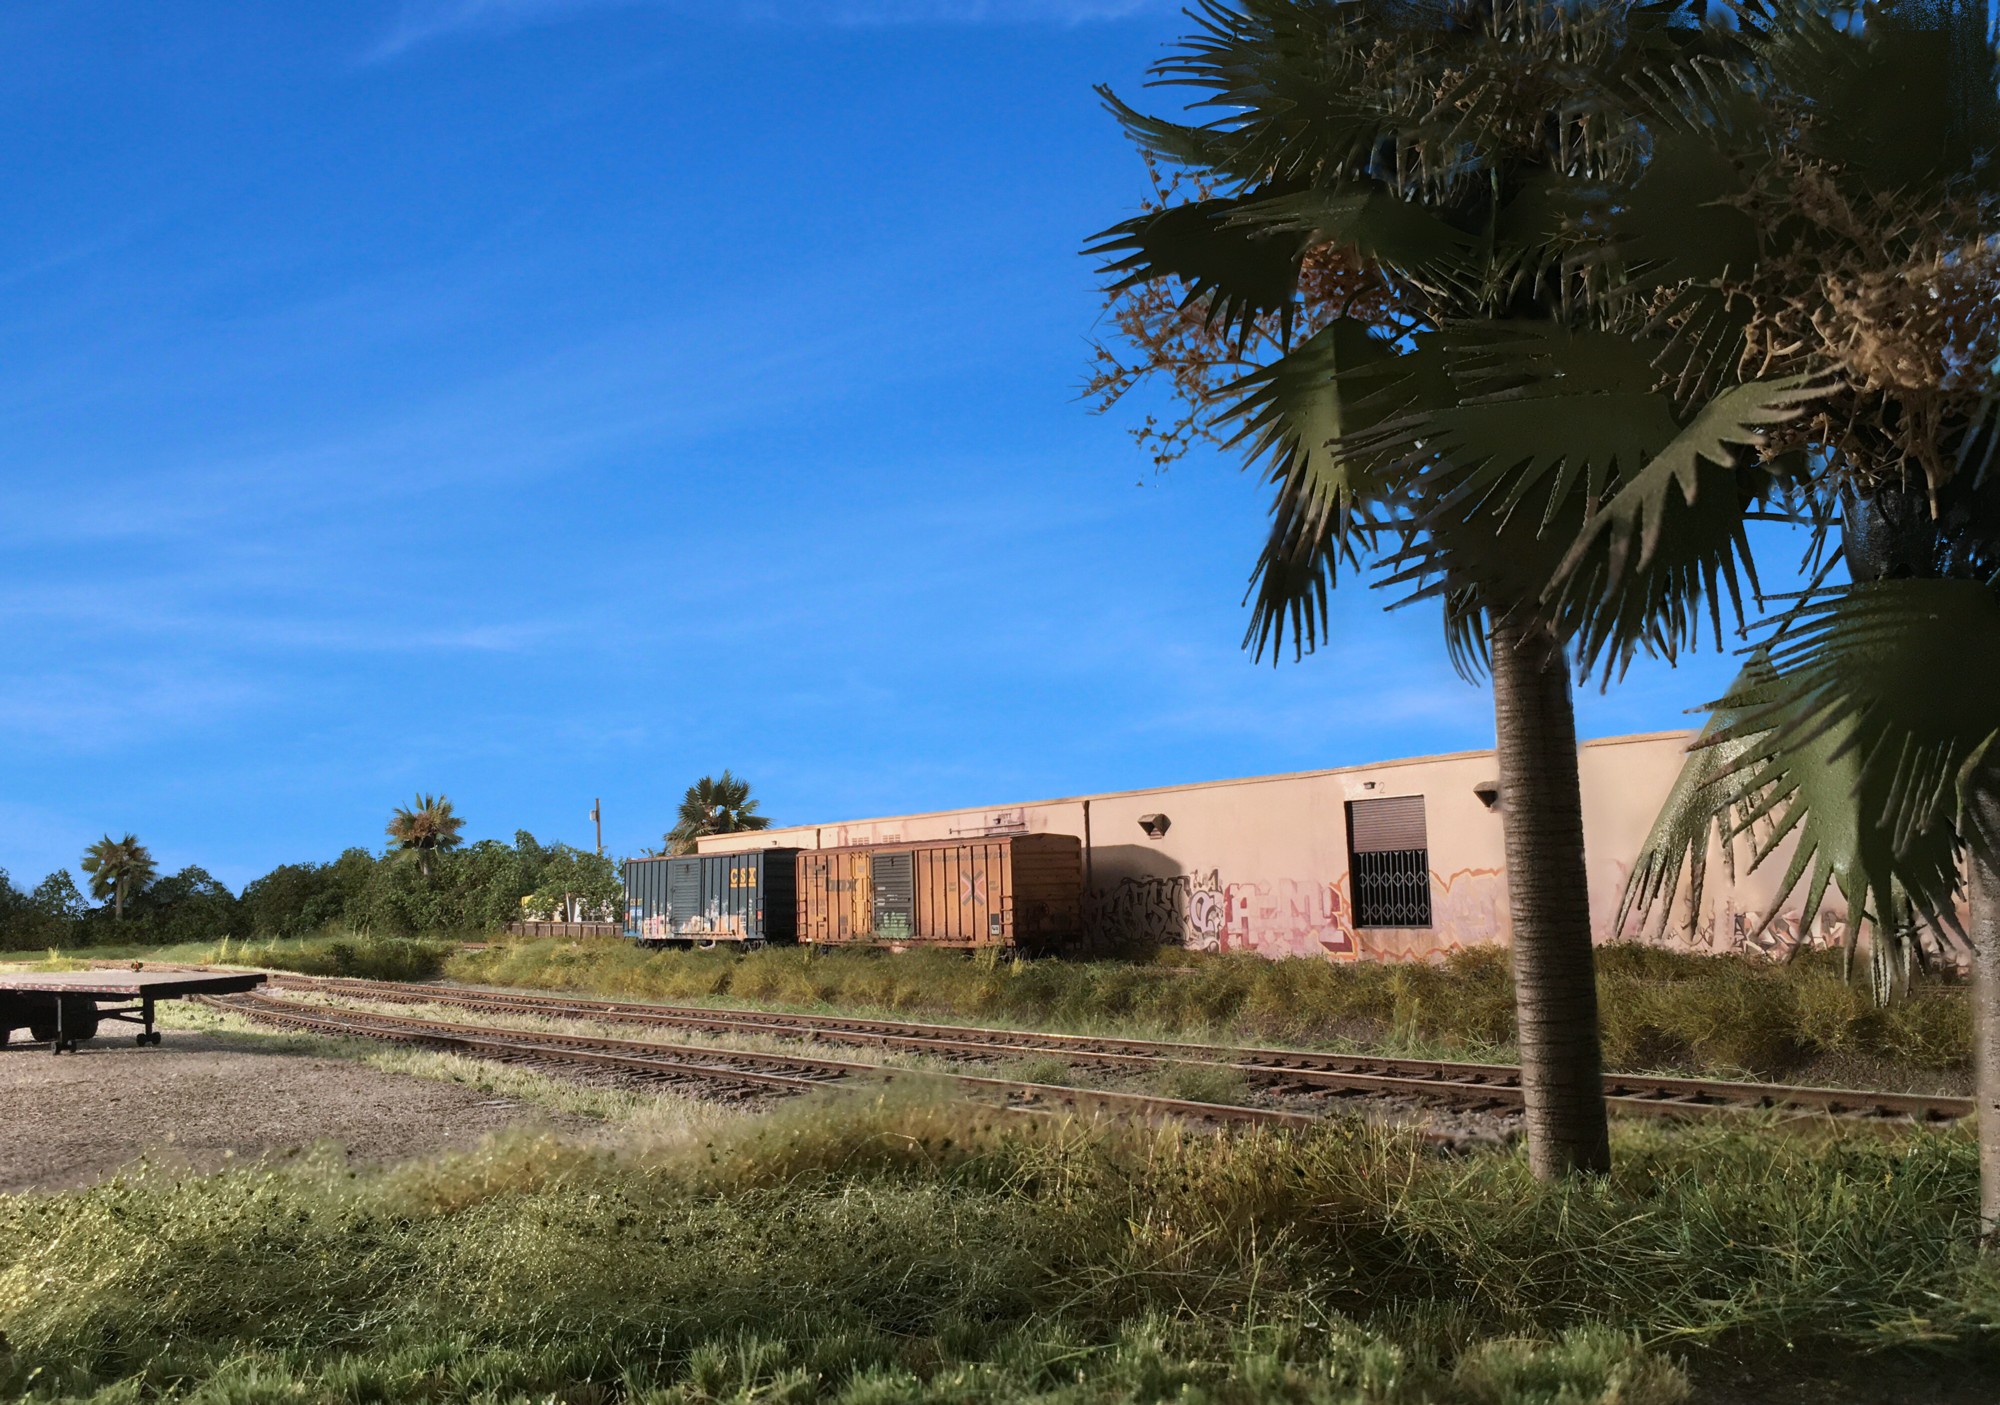
Two cars sit in front of OMNI Logistics on my East Rail 2 layout. Photo taken with an iPhone 6 and edited with Helicon Focus and Paint Shop Pro.
Two cars sit in front of OMNI Logistics on my East Rail 2 layout. Photo taken with an iPhone 6 and edited with Helicon Focus and Paint Shop Pro.
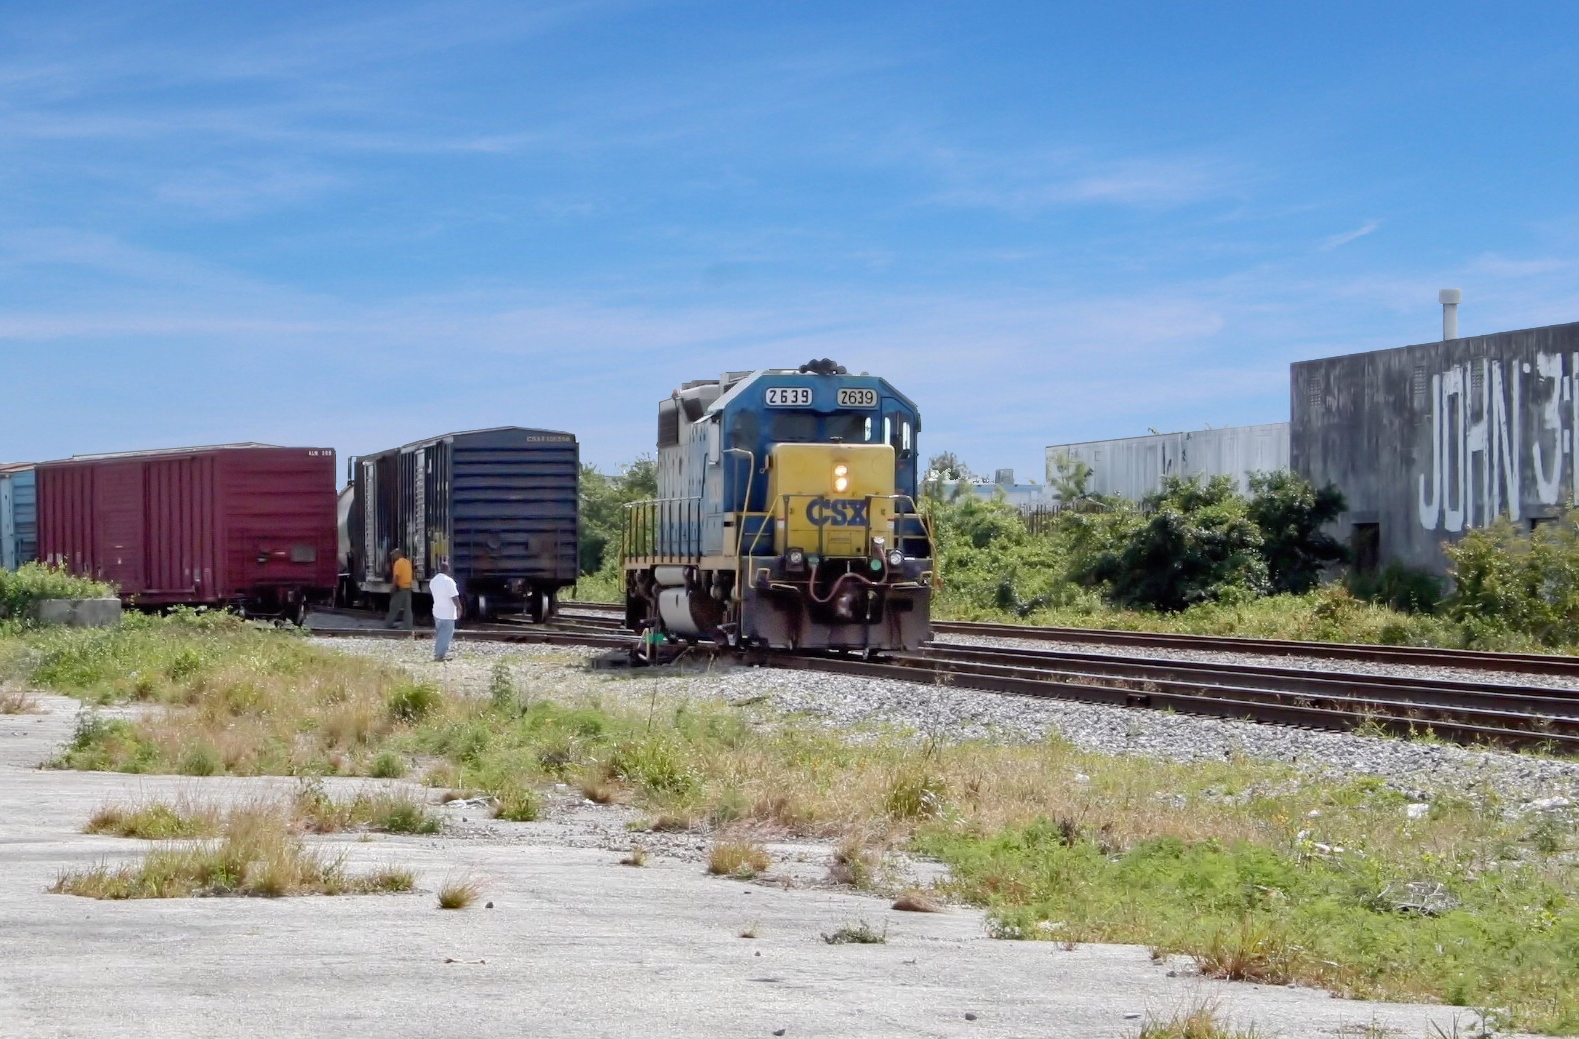
It’s February 15, 2006 at the “East Rail” industrial park (looking southward). Looking at the tracks to the right we have (back to front): No. 1 Main (back), No. 2 Main(middle), and the “East Rail” siding (foreground) . East Rail got its name by virtue of being “East” of the double track main. At the time this shot was taken, the crew had to shove a several block long cut of cars around a blind curve for spotting at The Seaboard Warehouse. Each car had to be spotted at a specific door so the engineer (in white shirt) was totally dependent upon radio communications from the conductor (orange shirt). Prior to the move, the engineer got out of the cab and the crew had a several minute long meeting to discuss the task at hand. Once the work started, they were probably five hundred yards apart and out of sight from one another. This is industrial railroading! When you’re switching your layout, take your time, sip your favorite beverage as you think through how you’re going to work things. The pros don’t roll in at 20 mph, hit the brakes, and slam cars around. This video will give you a sense for pacing…surgical precision starts at the 6:00 mark. (thanks Justin!)
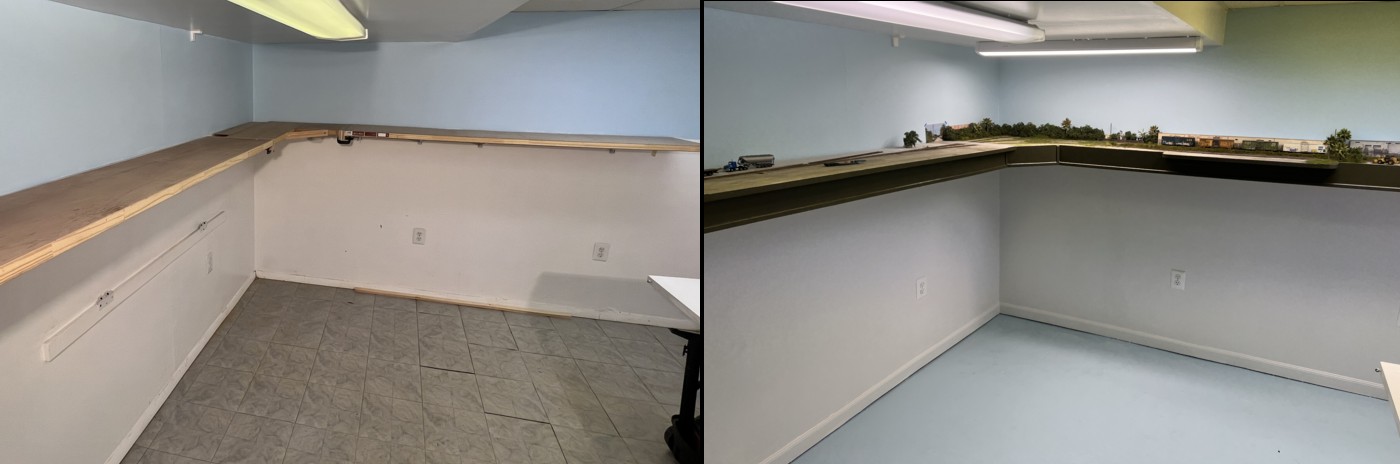
Before and after views of the East Rail 2 layout room
The bulk of my time since the last update has been spent on cleaning and renovating the East Rail 2 layout room. Photos of me elbow deep with a scrub brush removing asphalt tile adhesive doesn’t make for the most captivating blog posts hence the radio silence. The DC area is prone to basement flooding. About three years ago during a weekend monsoon, about a quarter of an inch of water covered the entire floor, deposited a microfine layer of silt everywhere, and wicked up the studs and baseboards an inch or so. Mess doesn’t begin to describe it. East Rail is located in what was a little used storage and photography room so I’ve been putting off cleaning it up. With the layout coming together, it was time. The mold-laden baseboards were stripped and replaced with pvc (waterproof) ones. The walls were refinished, patched, and repainted. The peeling floor tiles were removed, the floor got a deep clean, and a new coat of concrete paint was applied.
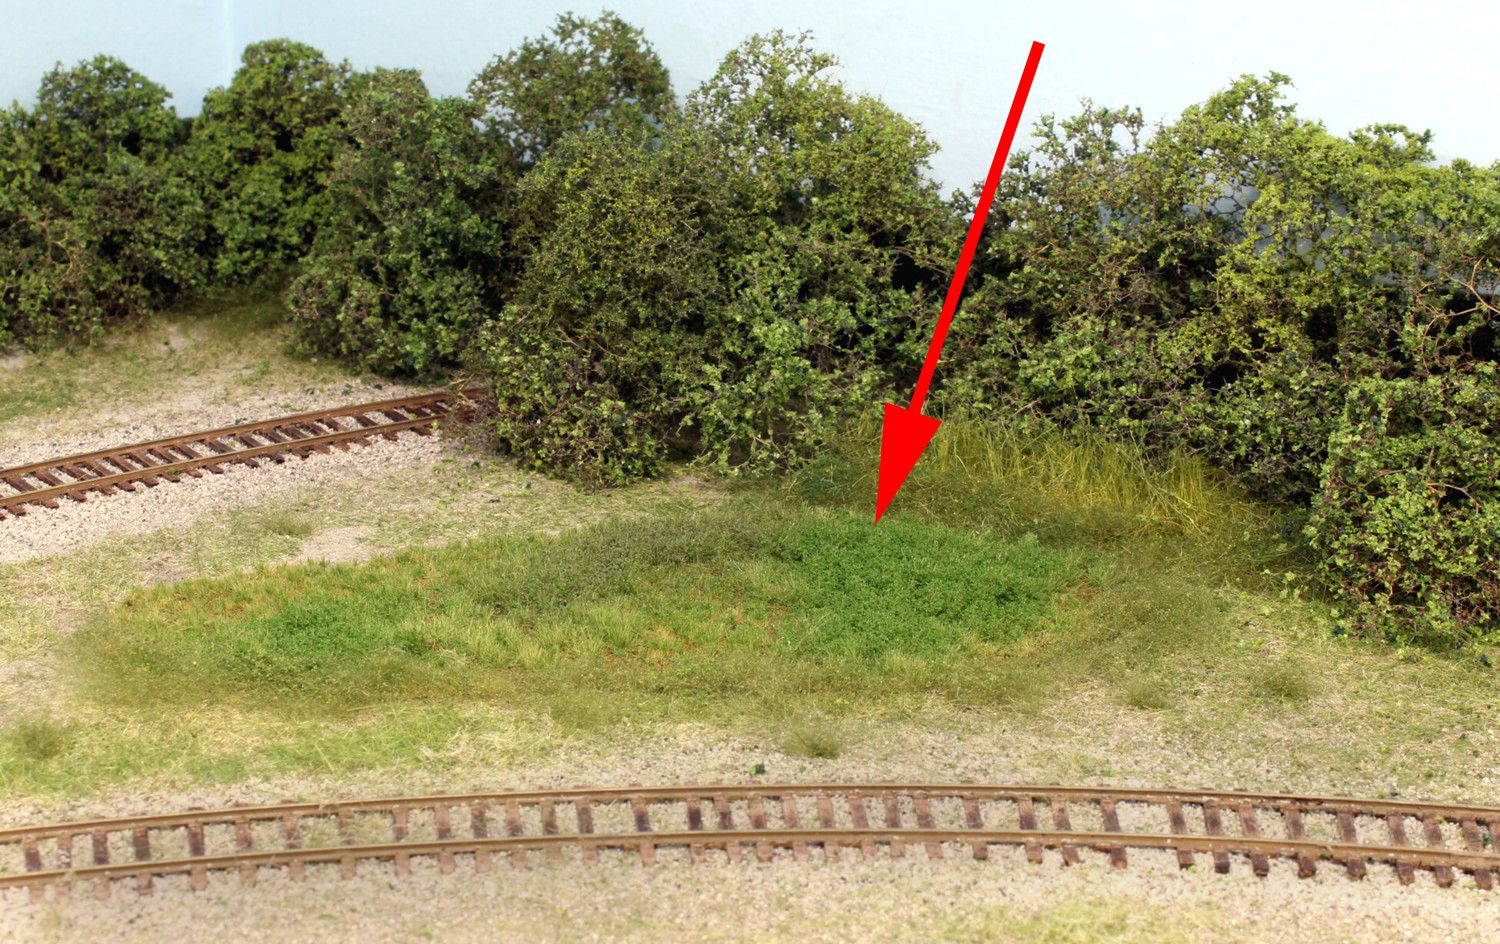
On to more pleasant tasks. I started working on the final scenery pass on the canal side, a step which focused on applying sections of Martin Wellberg’s excellent grass mats. The trick with these is handling the edges. I added a step to his directions. Specifically, after cutting a patch to shape I sprayed them with Super77 spray adhesive and then applied dots of tacky glue over the surface. The mat was put in place and I ran my finger firmly around the edges to push it tightly down. Finally I ran an air thin section of polyfiber around the edges.
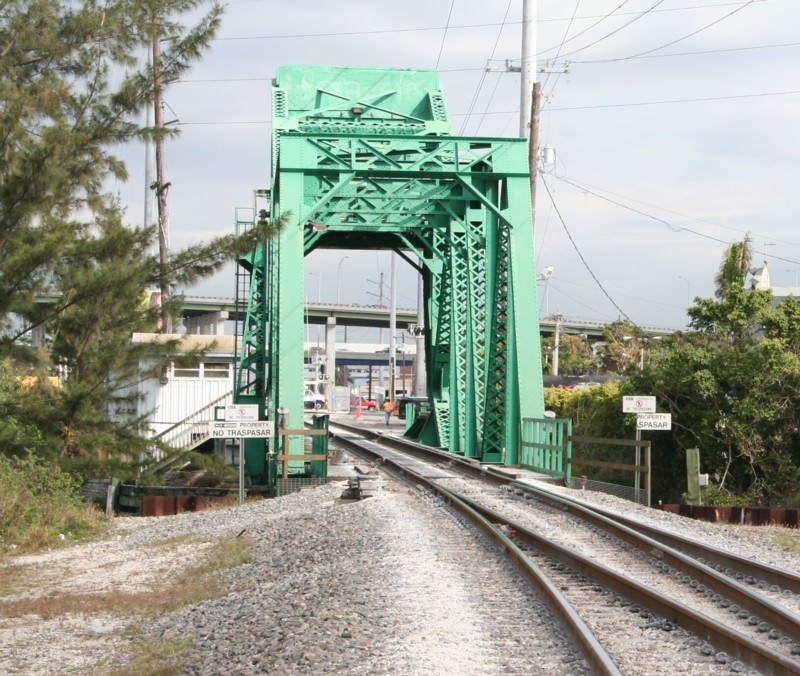
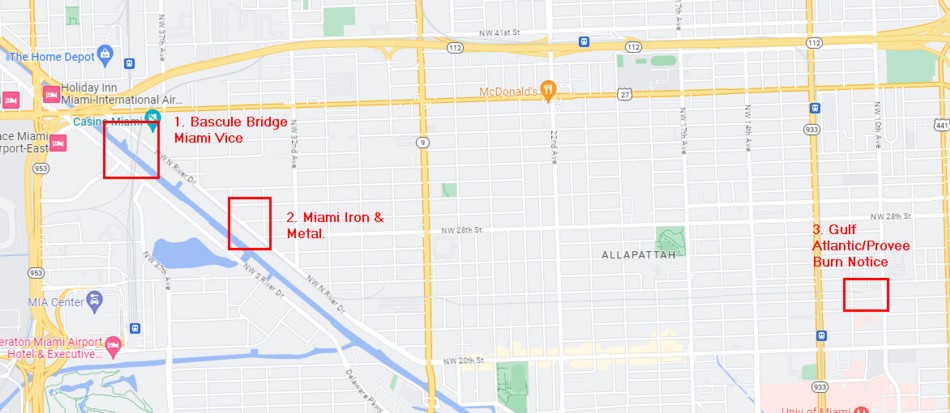
Film often contains a large art component and a lot of thought goes into the backdrop locations they use for their shoots. Picking the right one can really set the tone. The Downtown Spur has appeared at least three time on film and t.v. I suspect there have been others.
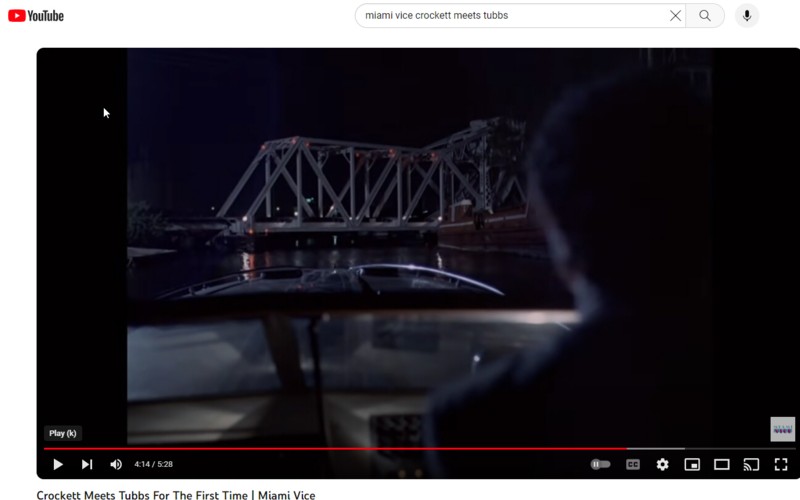
The key scene unfolds on the iconic bascule bridge over the Miami River adjacent to FP&T. See the 4:00 mark.
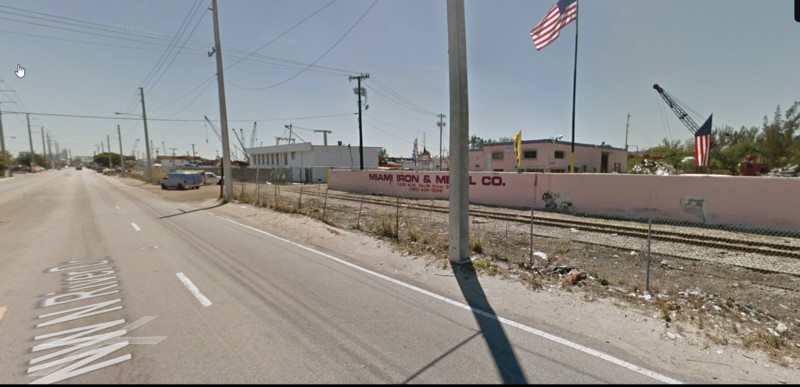
A scene plays out right in front of Miami Iron and Metal. Go to the 2:00 mark of the clip.

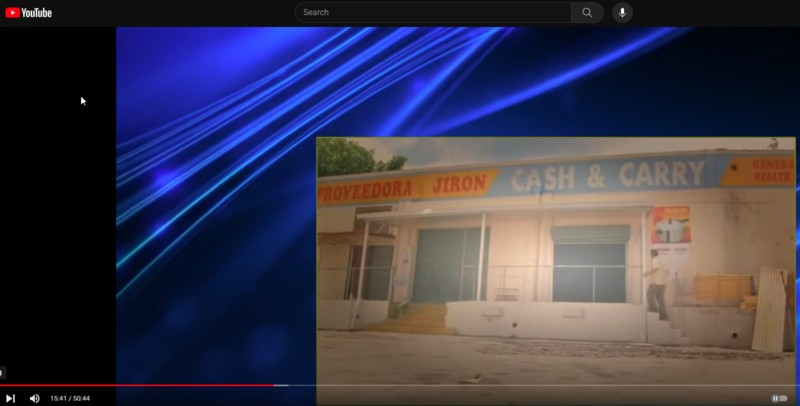
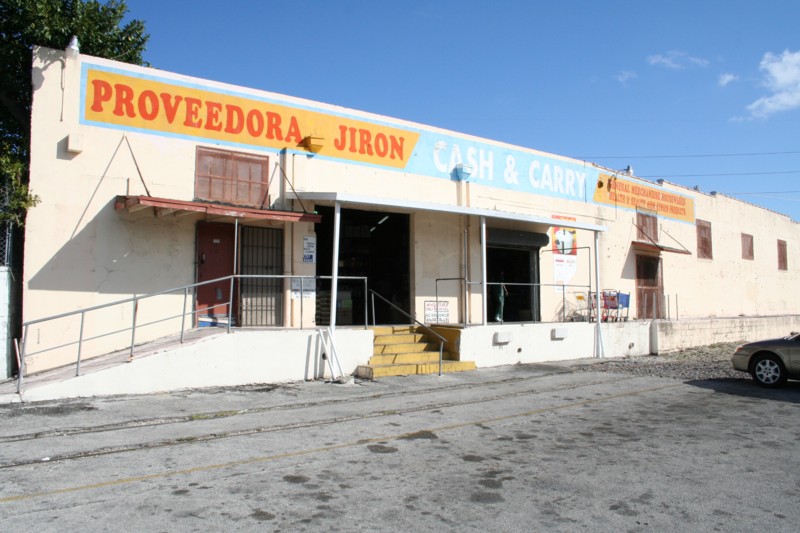
Go to the 15:00 mark for the start of the scene which begins with a look down the “canyon” between Proveedora Jiron and Florida Bottling. It then moves over the Gulf Atlantic Warehouse with glimpses of Trujillo and Sons in the background.
All of this ads a layer of fun when running the layout….knowing you’ve walked right by some famous photo shoots a dozen times.
There is probably no person on earth that knows the nitty gritty details of CSX operations in Miami more than Tolga Erbora. It was a pleasure to have him run a one person operation session of the layout during the Mid-Atlantic RPM open house. He documented everything on video which you can watch HERE.
His attention to detail was amazing and I learned a few things. For example, at the end of a branch run what do you do with the EOT device? Never thought about that but it would be on the wrong end of the train. The answer, you need to move it to the other end! Watch for the move at the 15:48 mark. Enjoy.