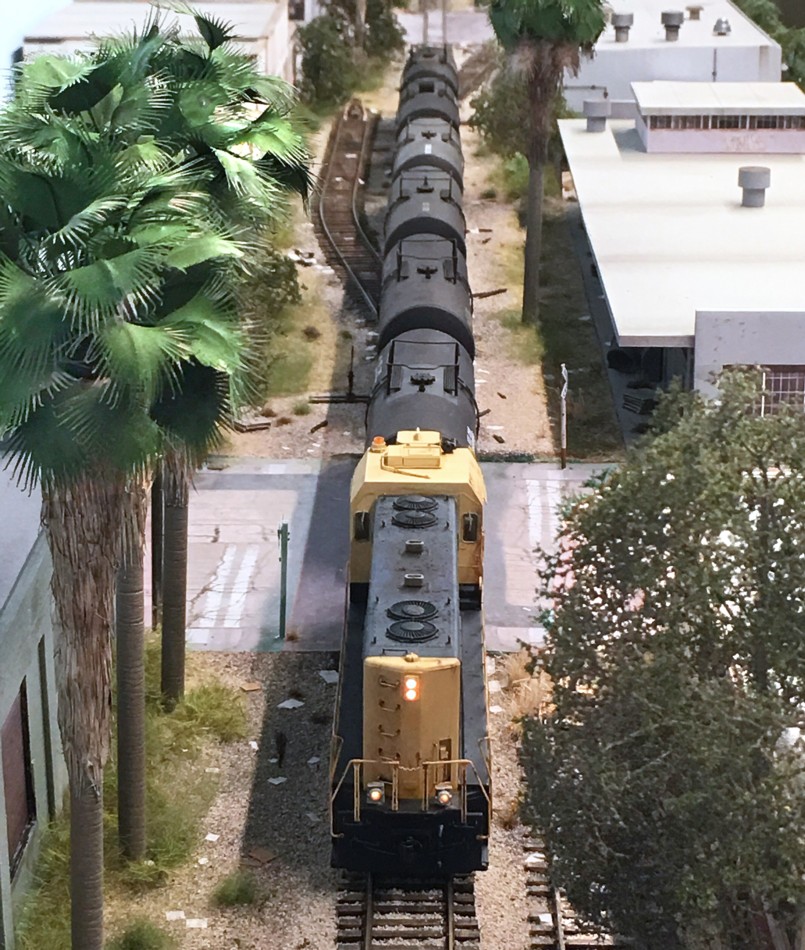
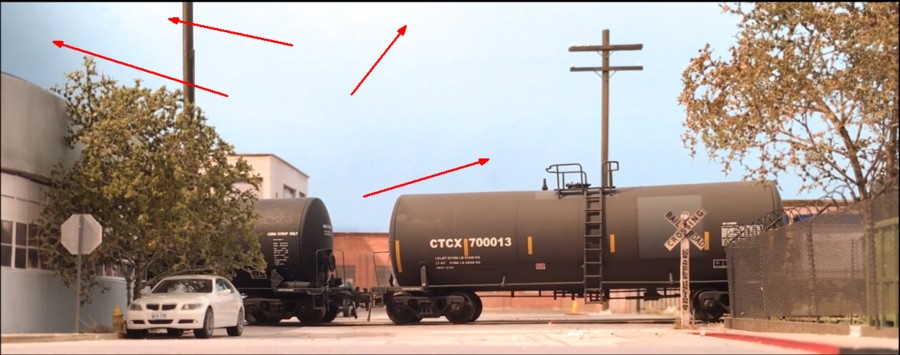
From time to time I think about why model building never made the leap from recreation to fine art. Why is it that a sculpture can have mass appeal for the ages and be museum worthy but at best, a well done model seems relegated to a small niche museum. Why is it that when the public sees a well-done model railroad the response is, “Wow! How cute. My uncle had a Lionel set. His even had working crossing flashers”?
To say that model building hasn’t, and can not, make the leap to fine art isn’t accurate. It has once. On one occasion model building was executed with such excellence that it did attain the lofty heights of fine art and was recognized and honored as such by having an entire wing of a world class museum display it. If anything has been accomplished once, can it not be done again, the Roger Bannister effect if you will? The example I’m referring to is the Thorne Rooms at The Art Institute of Chicago. Conceptualized and brought to fruition in the 1930’s by a woman named Narcissa Niblack Thorne, the rooms are 1:12 creations that transcend model building to reach the heights of fine art. The work is simply stunning, even more so when you consider they were built almost ninety years ago.
There are many reasons our hobby hasn’t been able to transcend mere recreation in the public’s eyes. The largest is probably a failure of imagination. A failure to see the possibilities. A number of master artisans were involved in constructing the Thorne rooms. One of the most notable was Eugene Kupjack. The apple didn’t fall far from the tree and the model building mastery was passed on to his son, Henry Kupjack who still has a studio today. On Henry’s website, he has written one of the most eloquent passages on model building I’ve ever written. I’ve copied it below:
Since the earliest civilizations,
people have been intrigued by miniature replicas of their environments. This interest has taken various directions throughout history; miniature objects, figures, magical talismans, houses and whole scene of daily life have periodically served cultural and religious functions within society while at other times, miniatures have been values as toys or aesthetic objects, simply for the pleasure that they provide. It is impossible to contemplate the history of art, religion, or industry without coming upon every kind of miniature. Their use becomes the willing suspension of disbelief as their effect is so strongly felt.
I create miniature rooms; three-dimensional constructions in mixed media art speak of how we lived in the past, present or lost to us now. There are artwork environments of the minds eye with extraordinary vividness, as perfect in every detail and composition as my skills of precision can give. I fashion these interiors to display the best of art design of a given time; or a mood of surrounding which may not be particularly great in form but becomes specific in its emotiveness. The glass through which we see these miniature rooms is the exact equivalent of a curtain on a proscenium stage, controlling and focusing our view. A stylized theatricality of that is only absent ourselves and we must furnish this crucial ingredient of life. Stand in front of these illuminated boxes, for they are 3 dimensional silent movies in color and the sounds of ones thoughts draw you in and finish the illusion.
I work in the archetypes of our collective imagination,
an Ottoman coffee house, pirate Captain’s cabin, or backstage at the Wintergarden Theater, which are not mere copies of anything specific or real even though they duplicate specific parts of the whole from historic types. They are a collective assembly of the real that never existed in that way in the real world. These little virtual realities are a synthesis of what we know in our imagination, what they should look like, a Hollywood dream vision so to speak. They are, therefore, more than real because they tap into the Gestalt of our collective memory, and as such are more pure realization. This is miniaturization with the purpose of elevating the common experience and transforming it into the collective dream vision of a time or place beyond us. These miniature rooms can act as magical objects to project our best intention of how we wish it were. They are a virtual world directly in one’s face to wonder how it could possibly be fashioned while adoring the fact that we are being fooled. This is the transformation by one’s imagination to a more perfectly formed place.
Benevento Cellini may have summed up the fascination best by saying that there is great beauty in smallness, one gets all the charm of design, color and effect, because you can see so much more in combination and juxtaposition and then, too, the blemishes and small deformities, which are so inseparable from seeing things upsize, all disappear. The result is closeness and fineness of texture, which pleases both the eye and mind.
part of the perception is that the conscious act of miniaturizing the boundless so that it may have actual tactile form and so be comprehended. In is a conceit that gives us metaphor for our imaginations to project through, our understanding to encompass and for our will to dominate, unlike the greater world around us. As early as we can see back in time, as children or cave dwellers, we humans miniaturize to focus and remember the larger concepts all for our hands to hold and see completely.
What are toys but the reduced essence of objects of larger function,
which teach us through play their greater roles. All soldiers, dolls, dinosaurs and trains can be moved and controlled in ways that their full-sized counterparts are reluctant to oblige in. Even sacred beliefs in what cannot be seen or felt become religious miniature constructs as varied as idols, icons, Mandela and crucifix. All of this is why a miniature connects completely; an external model for our inner desire to understand and to have power over. A sand Mandela is a model of the cosmos; a doll becomes an image of us and a candy skeleton a reminder of our impermanence. Soldiers and dolls project social roles more easily that experience, a talisman or cross the heartfelt aspiration of immortality and building blocks the overwhelming need to create new form. All are miniature stand-ins for how we, as no others we know, abstract in this method by miniaturizing all around us.
So it is such a mystery why we love to play with models, toys and miniatures almost without kind, concept or number, giving us our transposed and processed stand-ins for our larger and un-circumscribed world.
~ Henry Kupjack


