Without making a weeklong project out of it, I wanted to put a little effort into the twenty-foot tall tree at the edge of the MP&F lot.
Using the above prototype photo as a guide I selected a few SuperTrees armatures and pruned them to the approximate shape. I glued them together at the base with thick CA.
Spray painted the armature with mists of Rustoleum “Satin Stone Gray” and Krylon “Satin Khaki”
Applied a dilute wash of acrylic Burnt Umber and India Ink/alcohol.
Holding the armature horizontally and slowly spinning it, I gave it very light dusting of Woodland Scenics Blended Turf ground foam
Followed up with a very light dusting of ground up dead leaves
The weathering on these downspouts illustrates the effectiveness of weathering with oils.
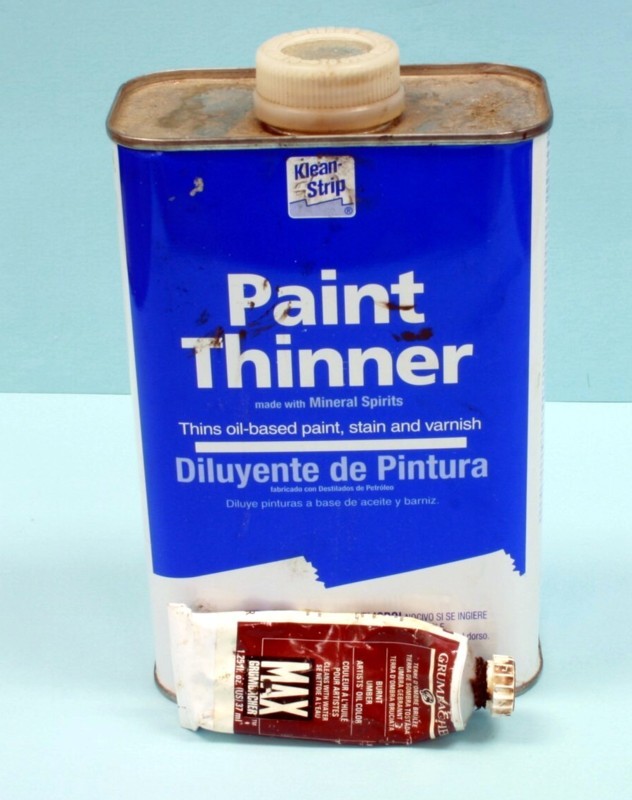
Interested in a technique that is both unbelievably simple and will totally transform your weathering efforts? A technique that entails less than fifteen dollars for supplies that will last a decade? Is there a catch? Of course there is a catch! The catch is that it involves doing something which is ingrained in the culture of model railroading….overcoming the resistance to trying something new.
The technique is weathering with artist oils. The chemistry of the oils is far different from that of typical suspensions of other types of paint that you are used to working with. Oils have an almost magical tendency to naturally and smoothly flow to the right place. They are easier to work with than chalks, enamels, and acrylics and create far more realistic patterns.
Pick up a can of mineral spirits from the hardware store, a soft brush, and one tube of burnt umber artist oils. You should limit yourself to burnt umber. Avoid raw umbers. Take off the cap of the can and pour a few splashes of spirits in it. Put a small toothpaste sized dab of the oil on a scrap of plastic. Tap your brush in the paint lightly, dip it in the spirits, and lightly sweep it downward across your subject. If you get an odd pattern, wipe it off with a Q-tip and try again. The trick is moderation. Don’t apply it too thickly. You can always go back later. If applied thinly, it dries quickly, especially with the help of a hair dryer. When it is dry to the touch, seal with Dullcote.