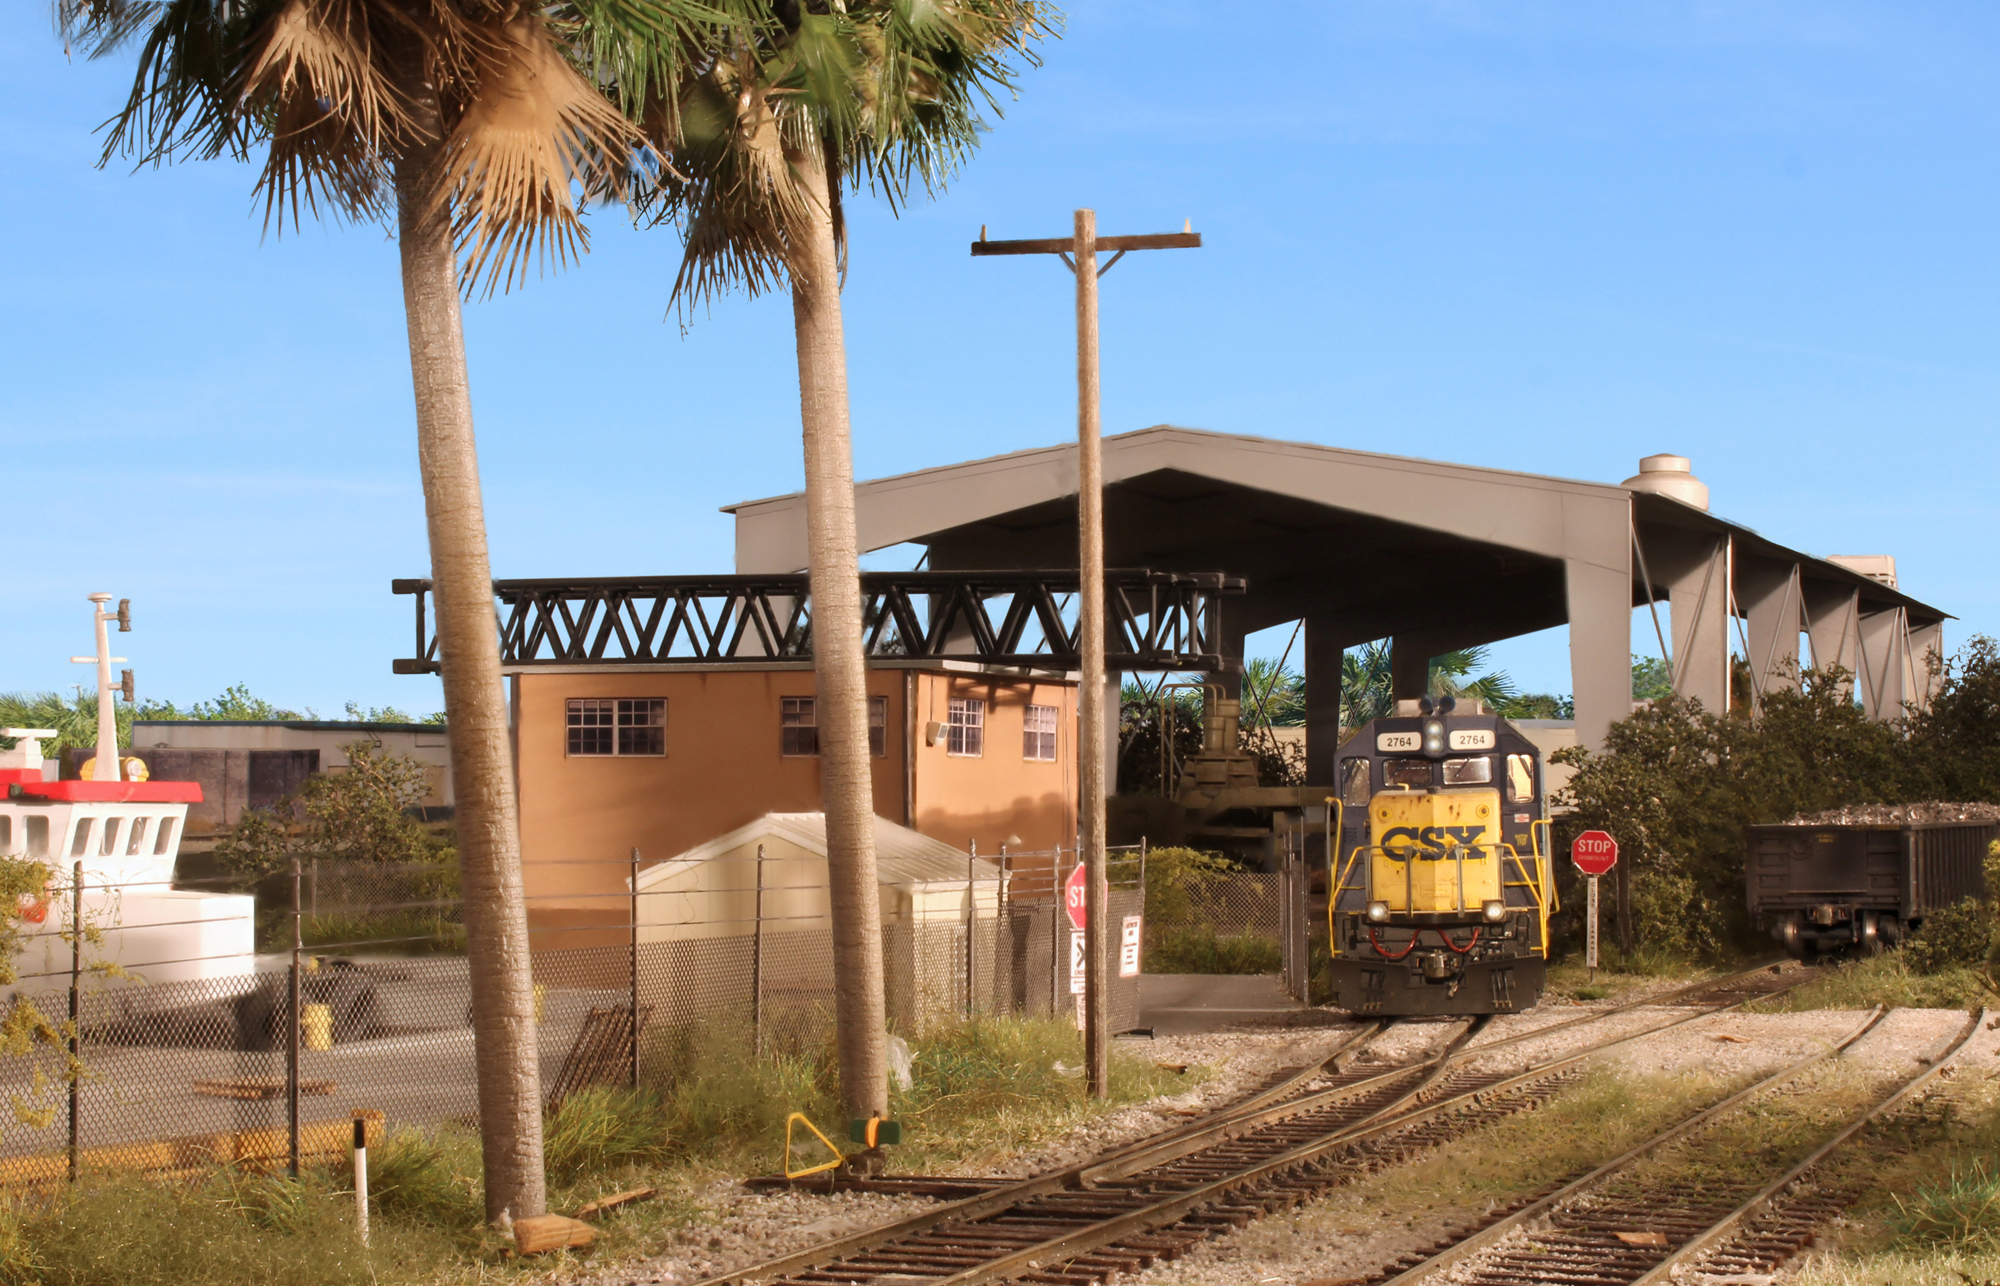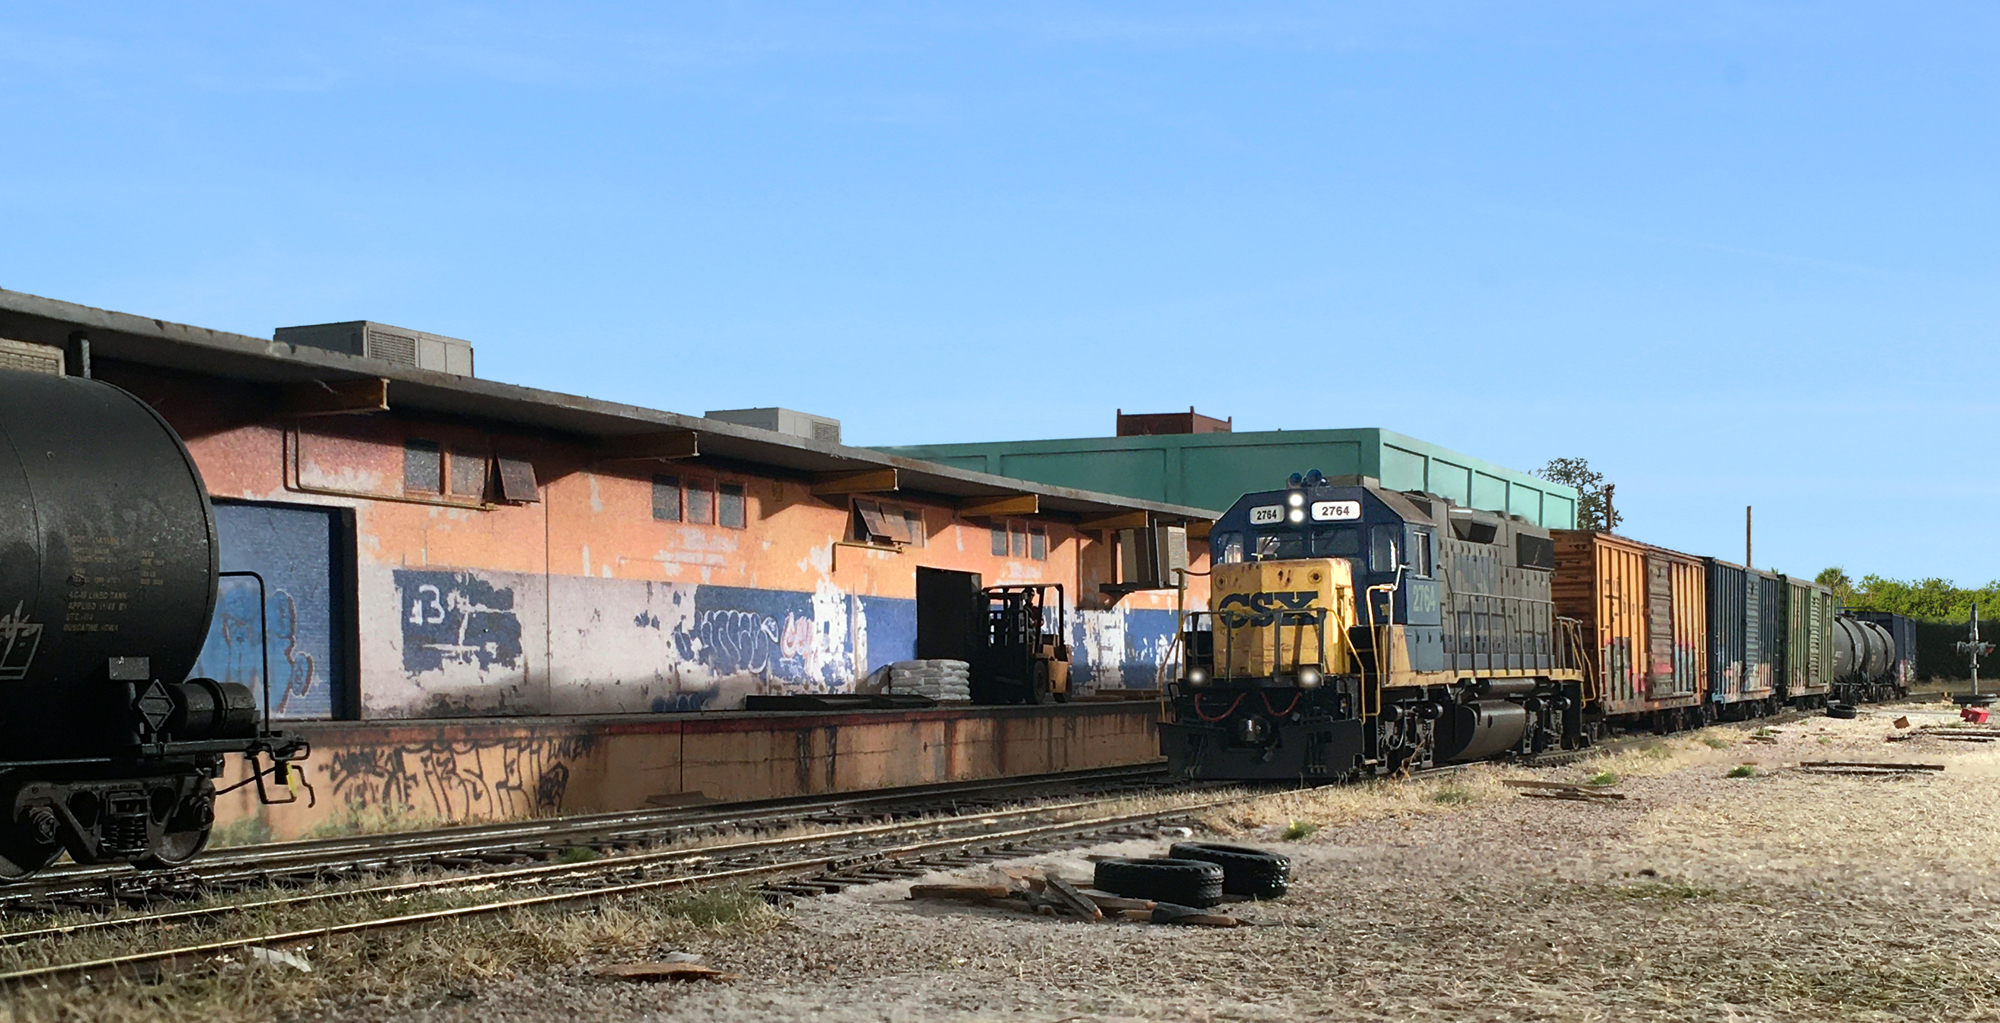
Work continues with my program of re-shooting The Downtown Spur layout. Shown above the local passes Family & Son, a food processing company that is still active to this day. I used to fly to Miami annually for a one-day photo shoot. On one of the trips, I photographed the industry at ninety-degree angles for the sole purpose of using the images later as a photo wallpaper laminate. Re-creating the complex coloring would have been totally impossible via traditional means.
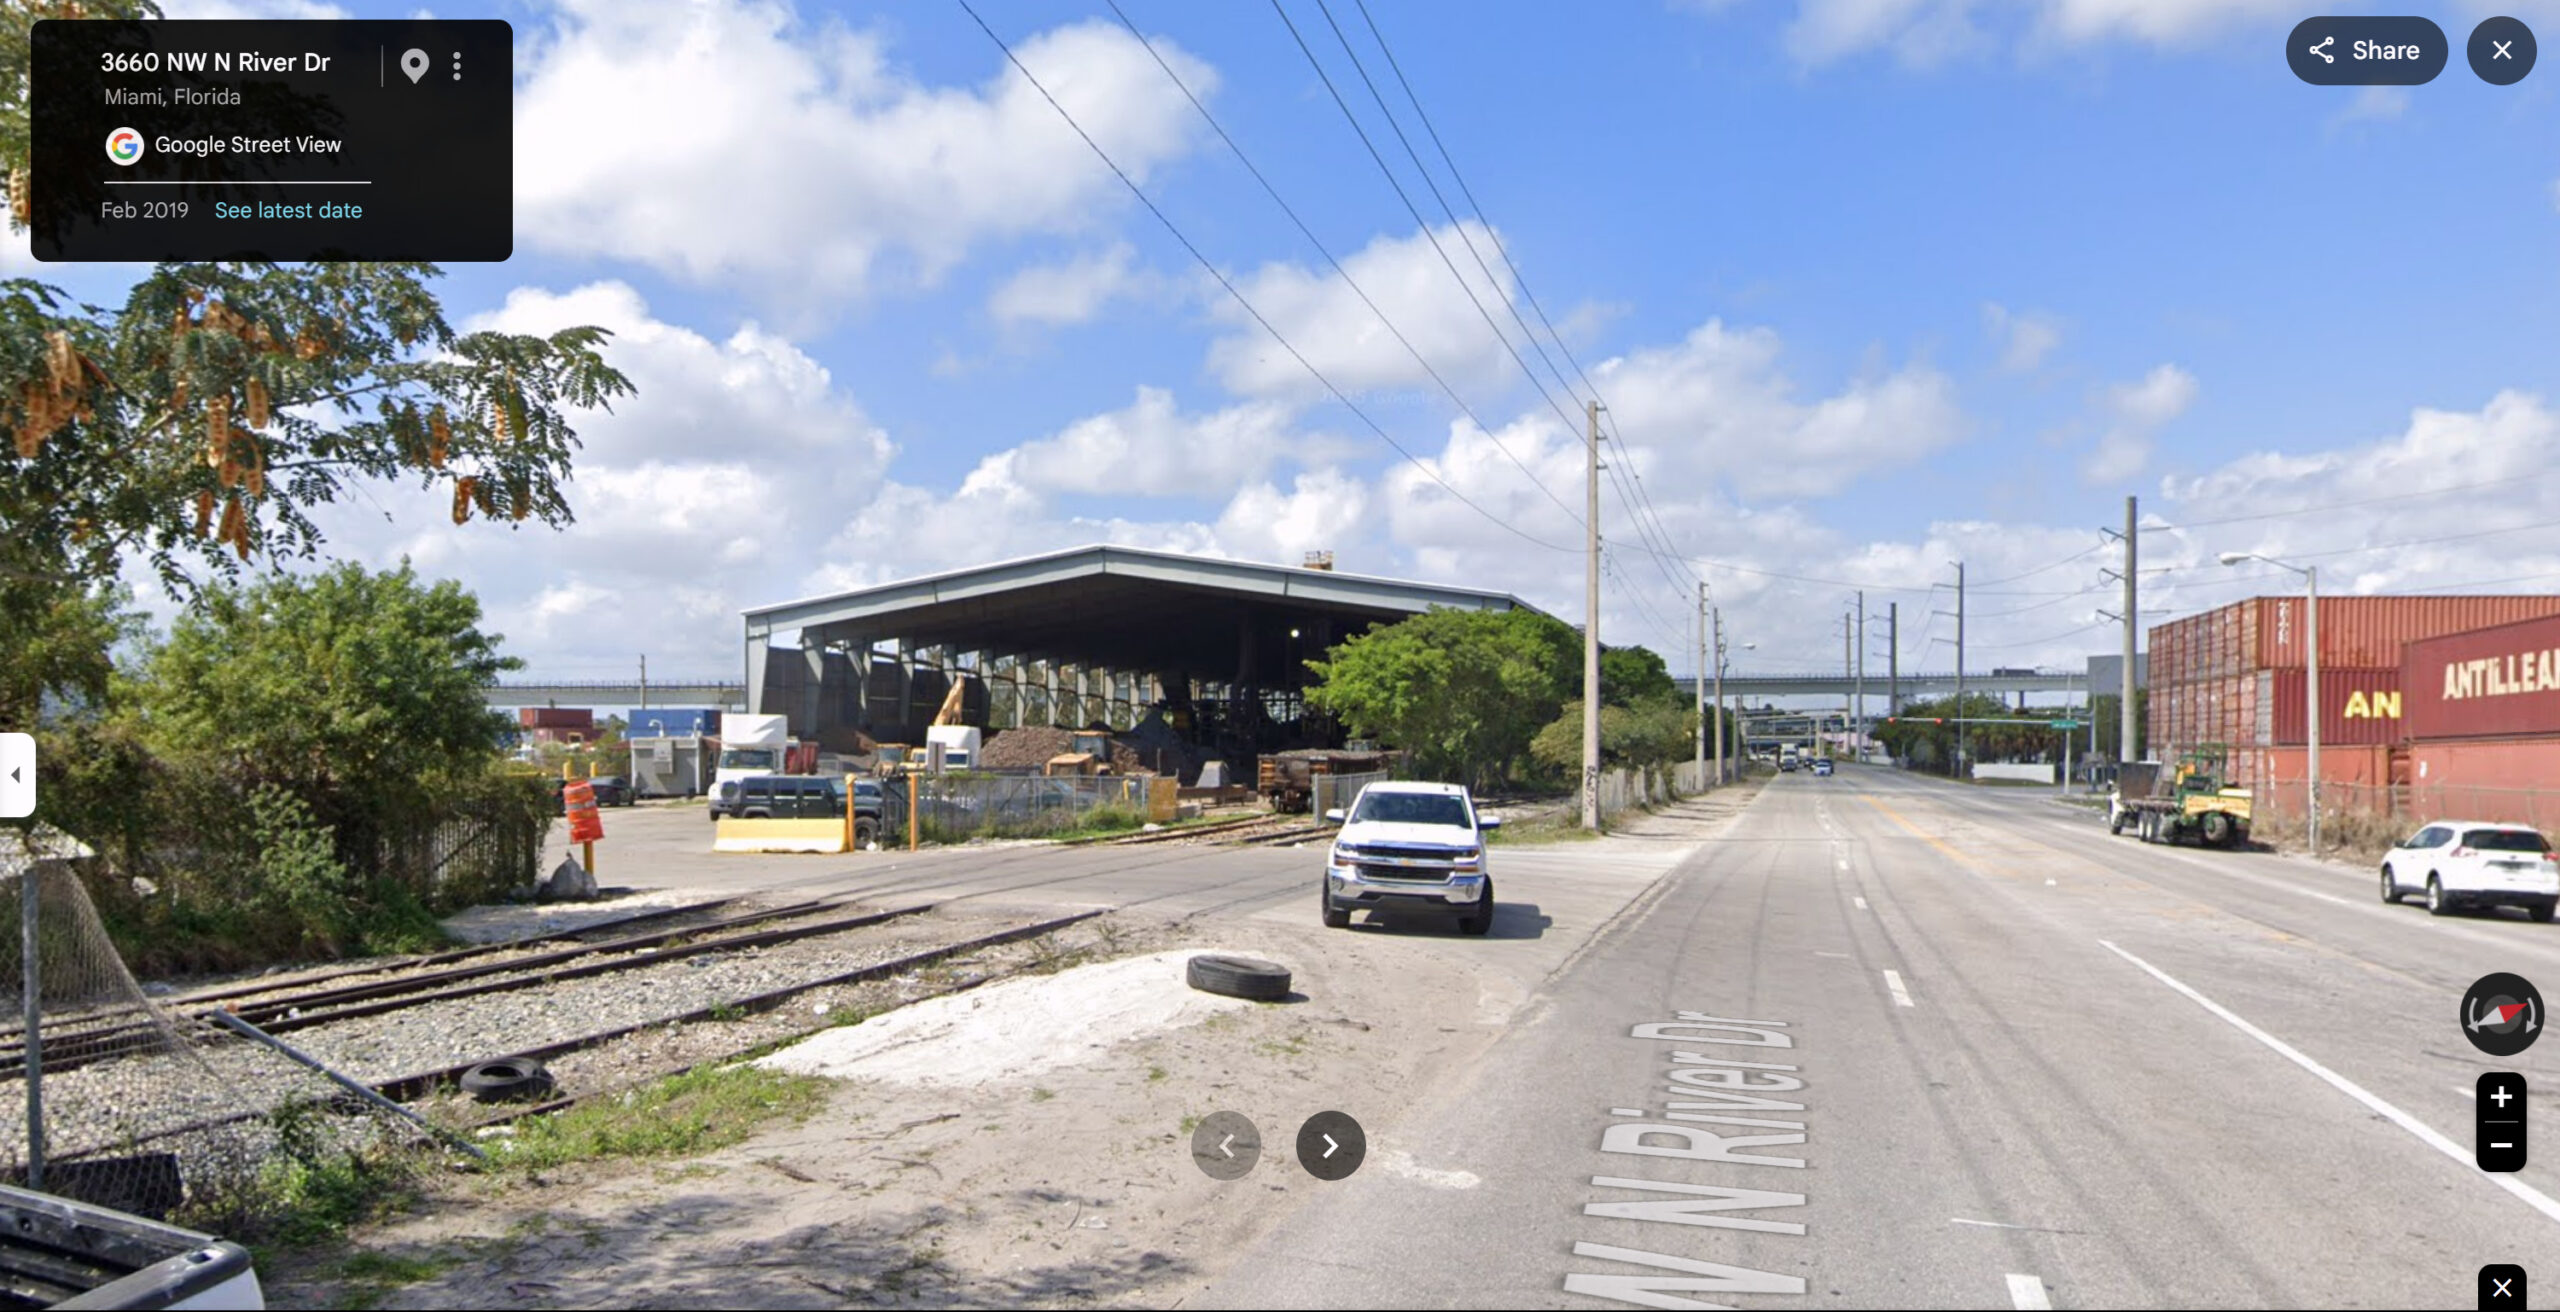
For this particular shot, my iPhone 6 gave the most realistic angle. The background sky was cropped in using a screen capture from Google Streetview taken from I95 near Melbourne.
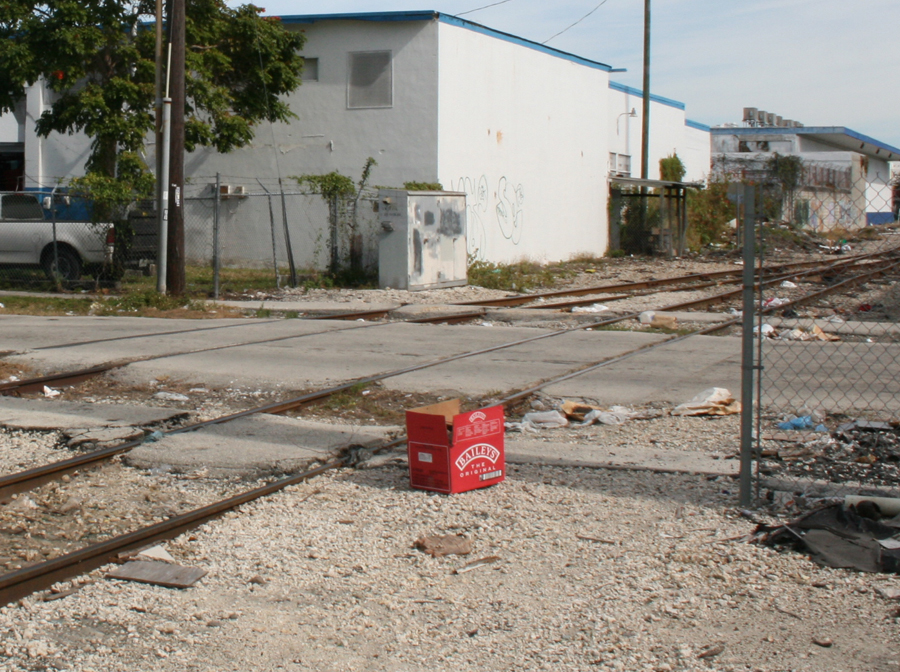
If you look closely, you’ll see a dot of red on the right under the crossing flashers. Back in 2012 I was walking the line and noticed something red by the street. When I walked up to it, I saw it was an empty box of booze dumped by the side of the road. Not really thinking about it I took a quick photo and moved on. Years later, in a clear case of having too much time on my hands, I printed the box out to scale and put it on the layout.
Large format versions of my work can be found on my Flickr page.