Over the last few years, I’ve become more and more aware of the need for a very solid core to prevent structure warping. For styrene based projects I’m particularly fond of PVC “lumber” easily found at big box lumber stores. It’s light, cheap, easy to cut, and works with plastic solvents. For the current project, I picked up a PVC 1×2 and laminated .060″ styrene sheet to it with MEK. Using .060″ styrene alone was just causing too many stability problems. Before laminating the photo wallpaper in place, I’ll add the eaves trim and paint and weather the roof. Doing so before adding the photo wallpaper prevents it from overspray or other damage. For the eaves (aka roof caps) I used .188″ by .020″ thick Evergreen strip. The back of the eaves are flush with the back of the wall. You want enough width on the eaves to allow for the thickness of the photo paper plus a little overhang.
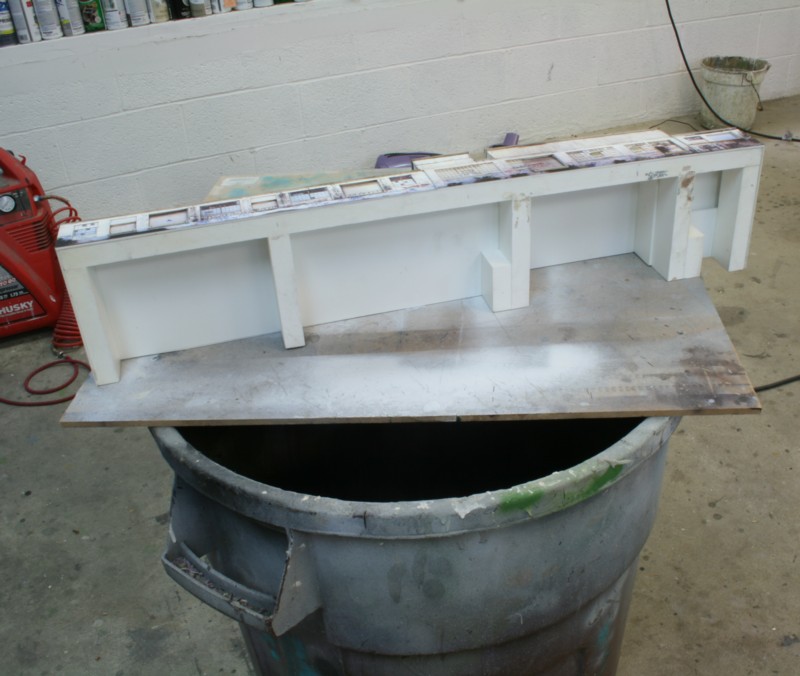
Shown above is an underside view. For added insurance, I ran one-inch finishing nails into the connections. If you do so, make sure you countersink or tap the nails in hard enough the head doesn’t protrude up above the surface. Roofs, in particular, are prone to sagging and warping over time. For this project, I used scraps of leftover over sign material (Komacel) a quarter inch thick to get a more stable roof base. Komacel is a little pricey so you might want to find something else but whatever you use, make sure it is thick and rigid.