- I added a blog to my business website on creating curved fascias. Here’s the link: http://shelflayouts.com/2016/08/easier-curved-fascias/
- There was an exceptional operations article in the Sept/Oct. issue of N Scale Railroading as part of their Railroading You Can Model series. Professional rail Bill Edgar goes into detail how a routine move on the Washington Eastern Gateway Railroad in Harline, Washington is performed. Beautifully illustrated and photographed.
Model Railroad Blog
4780 Corona
Thanks to Mike C. for identifying the architectural style of the 4780 Corona structure as “Streamline Moderne”. For those with a love of architecture do a Google images search and you’ll be treated to some gorgeous examples of this style.
4780 Corona Avenue
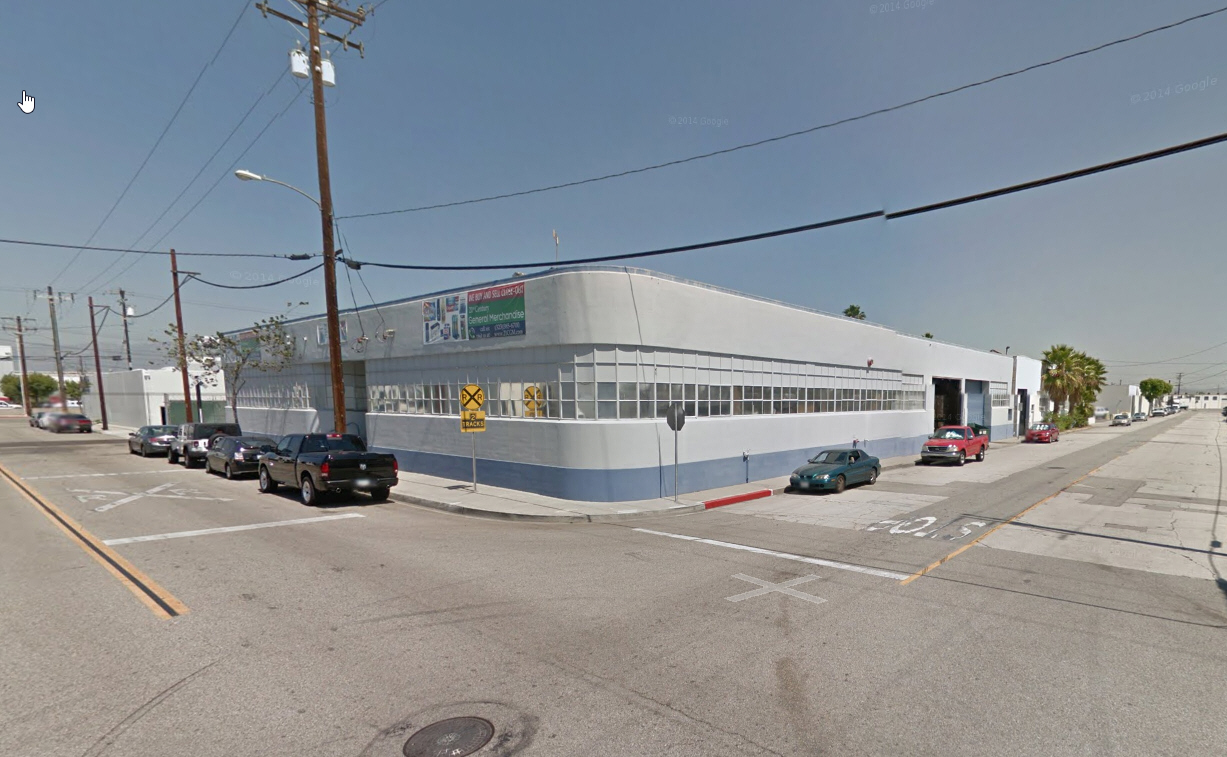
For my first foreground structure, I wanted something that was representative of Vernon, CA but not over the top architecturally. This building at 4780 Corona Avenue fits the bill. I like the distinctive curved corners. I’m not sure what style of architecture this falls under? Art Deco? If there are any architects out there I’d be interested in knowing.
Track Thoughts

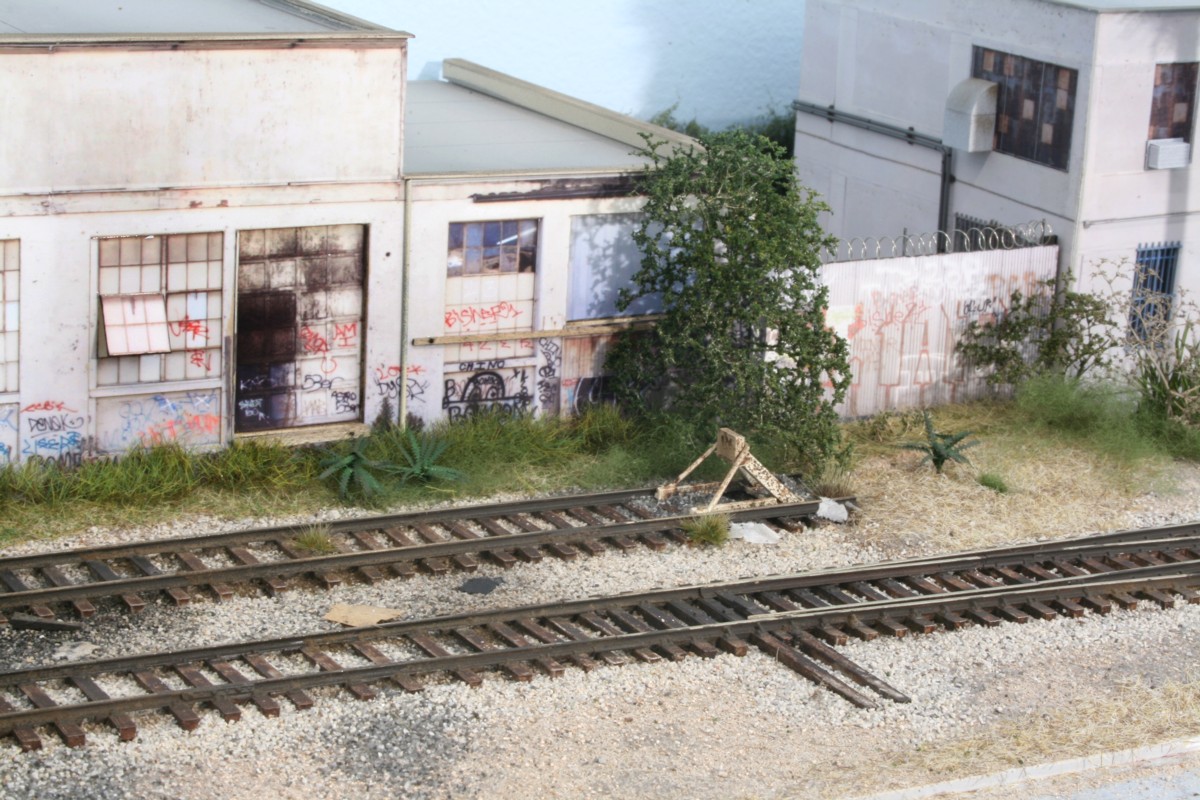
After hand laying about three-quarters of the LAJ track, I have to say I don’t really see a noticeable improvement over well colored Micro Engineering flex. Comparing the time and effort versus visual payoff, the Micro Engineering wins hands down. While laying the last section of track I stumbled on a technique that creates the nice effect of rust texture and rust stains on the ballast directly below and adjacent to the rail. After painting the rail, I took an old, small, stiff brush and ground brown powdered chalk into the rail web and allowed the extra chalk powder to drop downwards on to the ballast. When finished I sealed it with Krylon acrylic flat.
4835 E. 48th Street, July 16

Shown above is the finished structure. I’ve found that the appearance of photo wallpaper models is improved if I inset the roll up doors so that was done by cutting holes in the .060″ laminate before mounting it to the pvc core. The challenge of this model was the photos. I had no choice but to take them shooting into the sun on a bright clear day. A lot of photo editing was required to improve the subsequent dullness of the images. In the past, I would have spent a lot of time editing out the foliage at the bottom. I this case I decided to leave most of it and will just place scenery in front of it to cover it up.