Model Railroad Blog

National Lines Supply – Pt. 2

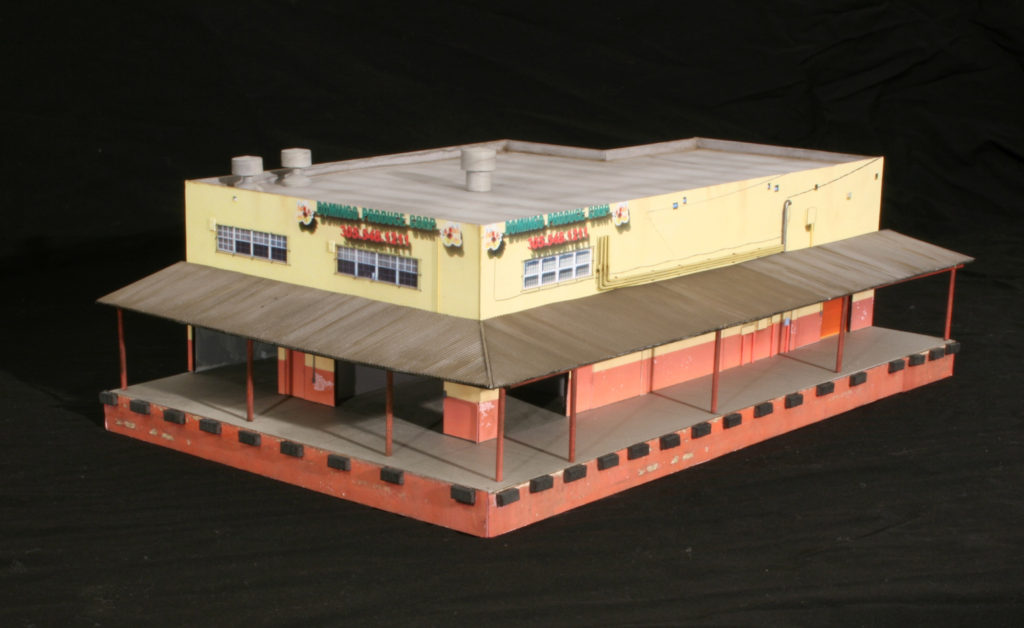
This structure will be a combination of traditional kit components (DPM for the sides) and photo laminates on the front and back.  The photo laminates were needed as an effective way of handling the signage.  The .060″ styrene you see for the roof and ends tends to de-stabilize and warp over time.  To combat this I cut short sections of an aluminum yardstick and glue them to the back with CA.

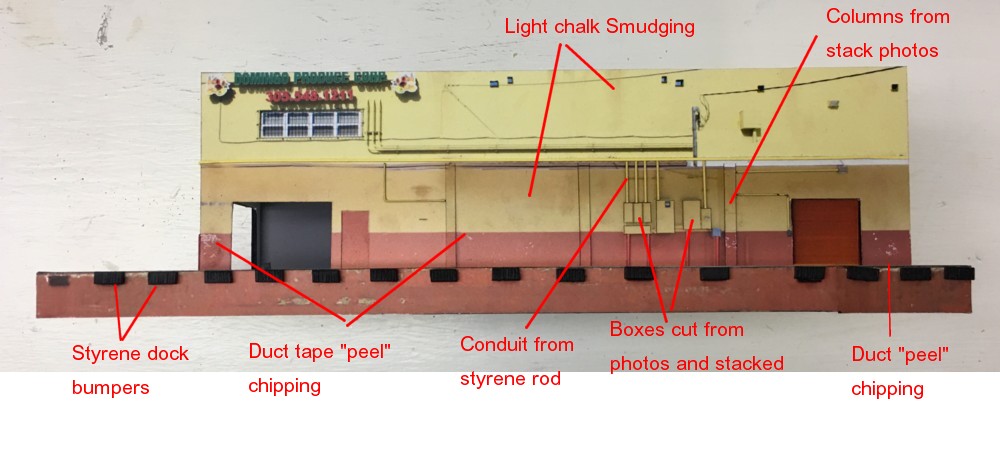
The photo laminate you see is three photos stacked on top of each other to create depth.  The bottom layer is gloss paper for the windows, the middle is the structure face itself, and the top is just the columns.

National Linen Supply

Looking at the BT track plan I’m going to start construction in the area that appears in the upper right of the track plan drawing.  Next up is National Linen Supply across the street from the freight station.  The challenge in capturing the feel of WW2 era structures is how to handle the signage.  Printing the signs, cutting them out, and gluing them on won’t work and looks exceptionally cheesy.  If you go that route the paper is too thick, the edges too obvious, and the lack of brick texture is apparent.  Making your own decals will work but hoofing off to kinkos and begging them to run your decal paper through their (very expensive) machines gets old.  That leaves the tried and true photo wallpaper technique which gives you the most control of the process.  I downloaded an image from the net of an appropriate brick structure and squared the perspective up in photoshop.

The challenge was the sign itself which took the better part of an afternoon.  I wanted a faded, peeling paint look with some of the bricks showing through.  Photoshop font is too crisp so I used a blurring tool to soften the edges.  The band is charcoal gray not black and the lettering is slate gray not white.  Extending the column edge shadows down across the band completed the process.

An Intermountain Upgrade

One advantage of the Intermountain freight cars is that they feature stand off details such as ladders and grabs.  The downside is that these details are grossly over-sized.  I spent the weekend puttering around to see what upgrades might improve the look.  I operate on the philosophy that no detail is better than a bad detail.  With that in mind I shaved the roofwalk grabs off and left it at that.  I didn’t want to spend a lot of time trying to fashion something thinner.  Blma makes some nice etched ladders and stirrups so I pried the stock ones off and replaced them with the etchings.  The IM trucks were replaced with much finer scaled products from BLMA.  Although not noticeable from this angle, a lot of the underbody rigging was oversize so I just cut those pieces out, pitched them, and left them off.  The side grab irons are .010″ phosphor bronze.

Re-cycling Structures


Photo laminate on a blank wall of a DPM structure.

When I took down the old Monon  layout, I kept all of the structures and carefully packed them away.  At the time I had no clue how handy it would be to have them for the Brooklyn layout.  Turn of the century brick architecture is as much of a fit for Brooklyn as it was for Bloomington, IN so they’re great candidates for recycling.   Most are DPM either un-modified or kitbashed.  When I originally built them,to save time, I only constructed the portions that would be visible from aisle, often just using a sheet of styrene for walls that wouldn’t be seen. Those styrene walls are turning out to to be a really nice blank canvas for photo wallpaper.  I wasn’t sure how the photo laminate technique would work in N scale but I think it’s an even better fit than the larger scales because you want even less relief.

Working the Freight House

The freight house scene at the end of 1st Avenue is now complete and ready for operations. The structure is based on the Bush Terminal’s old facility on 1st Avenue. I’m happy (and relieved) to see that the photo wallpaper technique scales down to N scale.


With the freight house scene now complete, I can have some enjoyable mini op. sessions through scenery.  I like to run a short solo session at least once a week.  These are simple affairs running less than hour.  I recently staged a simple scenario centered around working the freight house and was surprised to find it took about 45 minutes.  The plan was simple, take four cars from the freight house/team track area and return them to the yard.  In addition, four cars buried in the yard needed to be fished out, blocked so the one for the team track was on the end, and then take the entire cut to be spotted at the freight house.


I began by pulling the empties from the freight house and dumping them on the street trackage on 1st Avenue just to get them out of the way.  Digging the inbound cars out of the yard and grouping them, although simple in concept, was pretty time consuming. Once they were organized with the team track car on the end they were spotted.  The switcher then grabbed the empties on 1st Avenue and took them back to the yard.  It didn’t take much track to spin out an enjoyable, relaxing, 45 minute session.