Model railroading is a miniscule portion of the much larger universe of design in general. Art, architecture, engineering, interior design, landscape design, etc. all fall under that umbrella. In the big boy world of design, the one where people and companies actually make their living at it, the process is driven by a foundation of five guiding principles, generally known as “The Five Principles of Design”. Those are balance, rhythm and repetition, proportion and scale, harmony, and emphasis/focal point. Our life becomes easier if we approach layout design the way the pros in other fields do.
The principle of “emphasis” is particularly crucial to successfully composing a model railroad scene. There are several strategies for emphasizing something of importance to us. Those deal with strategically managing the subjects of: size, location, color, and contrast.

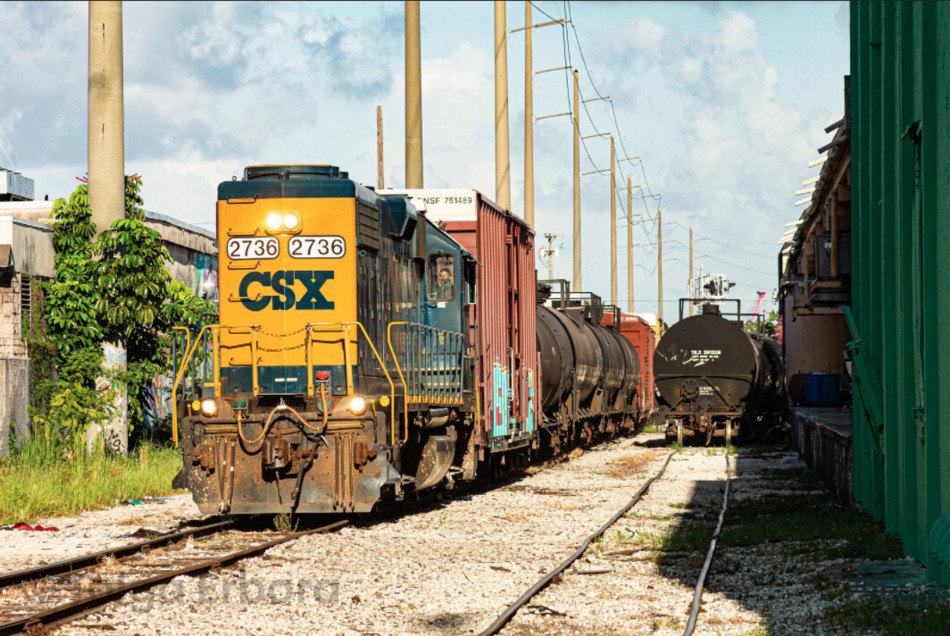
Size. Although its colors are muted, and there is nothing spectacular about the architecture, the sheer mass of this grain elevator draws attention to it.
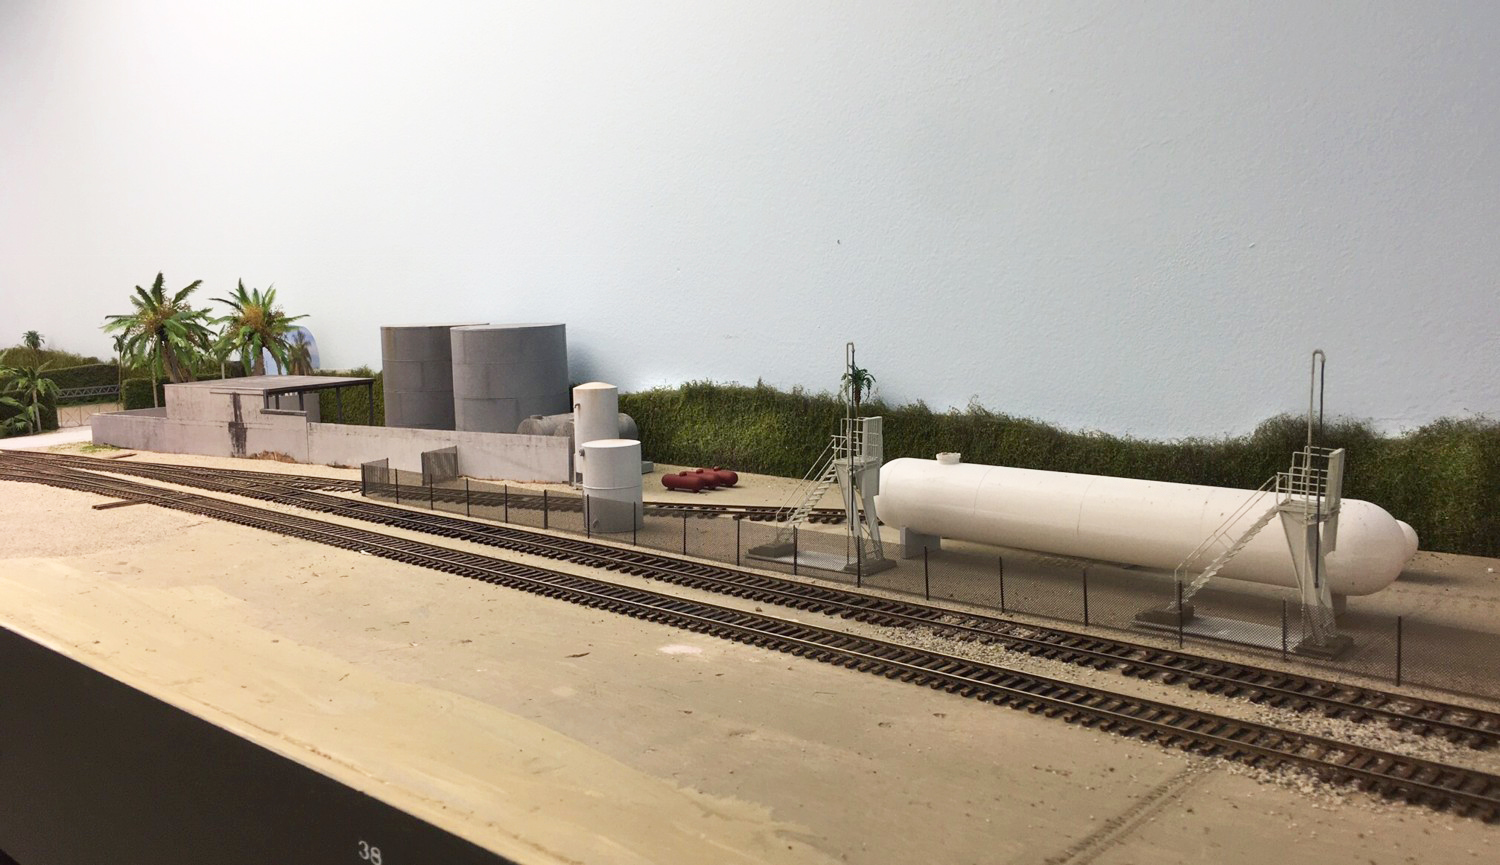
Location. If you have a structure that is near and dear to your heart, one that you’d like to emphasize, place it in a prominent location. Make it the first thing you see front and center when you enter the layout room. Try to avoid tucking the prize in a back corner.
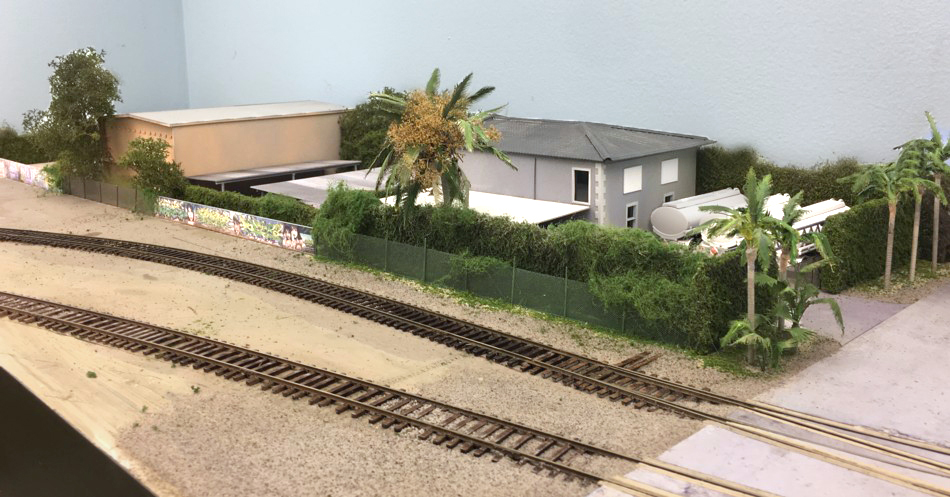
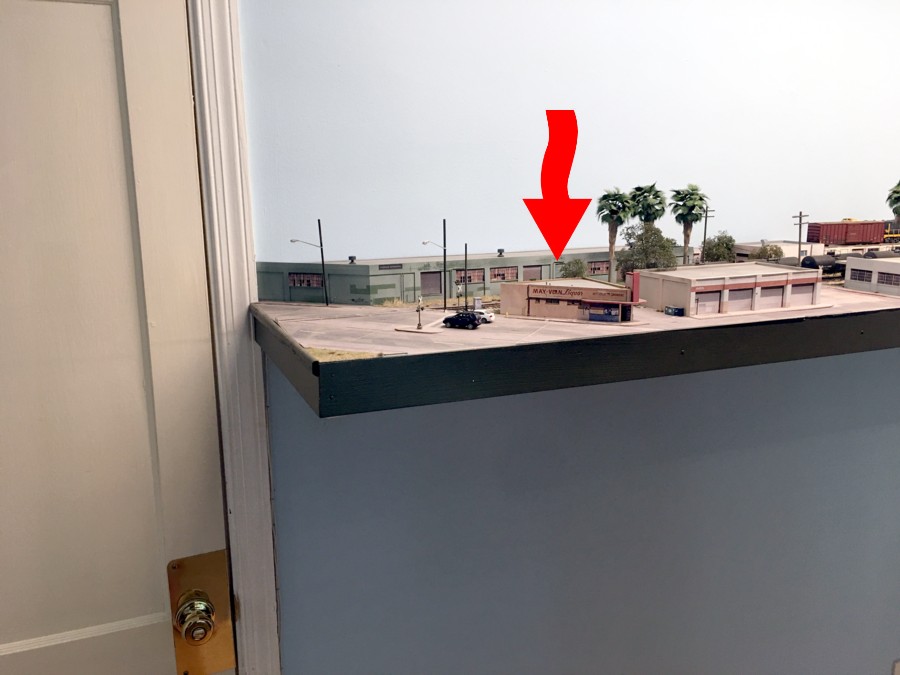
Color. The peach tone of the warehouse makes it stand out among the dull grays of it’s neighbors. Had each structure been painted an equally bright color it wouldn’t stand out as much.
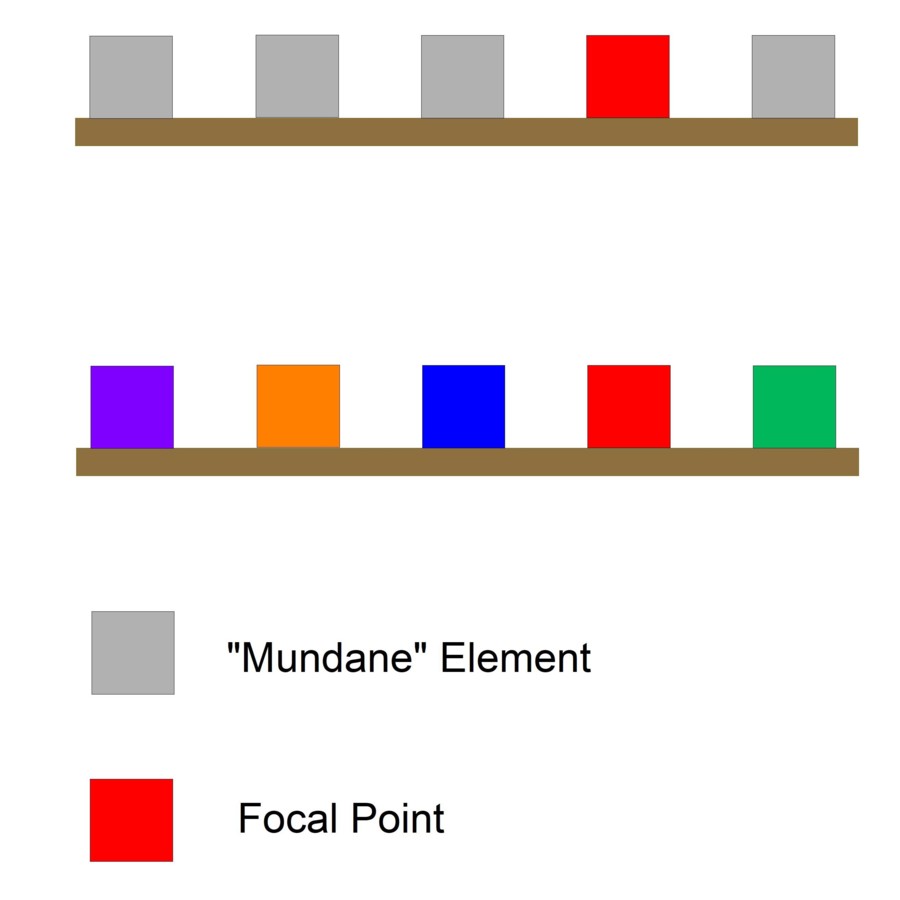
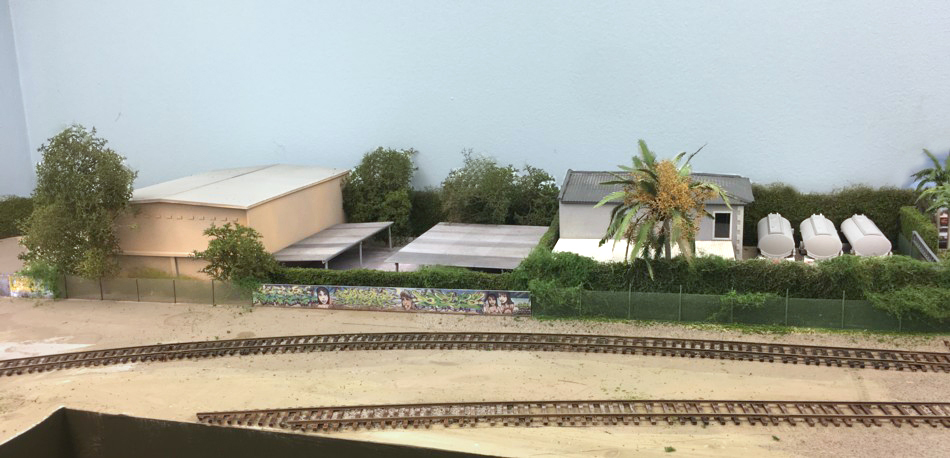
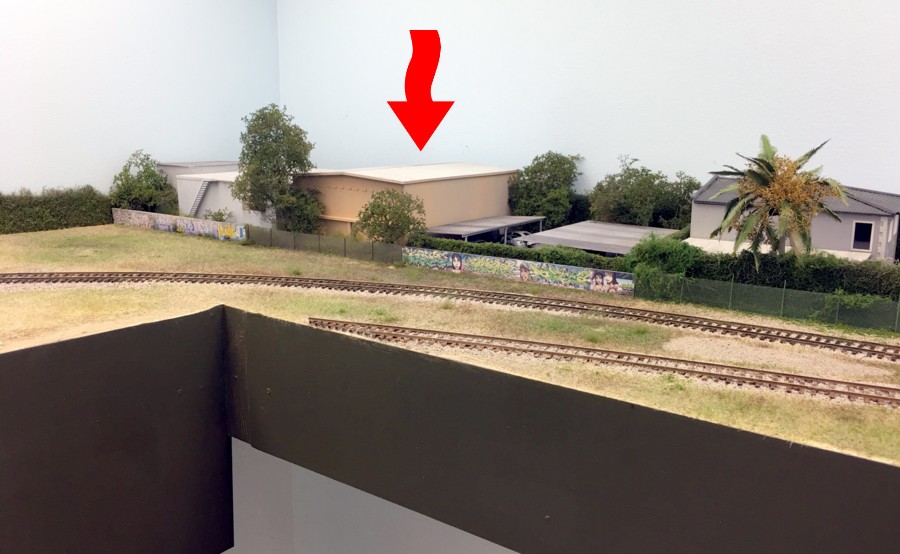
Contrast. Contrast means “different from” an adjacent feature. This could encompass a number of facets but for our purposes let’s talk about an area modelers really struggle with. There are so many cool structures and scenes out there. It’s understandable to want to include as many as possible. Not being able to prioritize can work against you visually though. If you have five “cool” structures and place them next to one another they compete with each visually for attention. No single building will pull your eye in. Your eyes will dart all over the place. On the other hand, if you pick one as your favorite, and surround it with low key “mundane” structures then it will stand out visually because it “contrasts” with its neighbors and becomes a focal point.