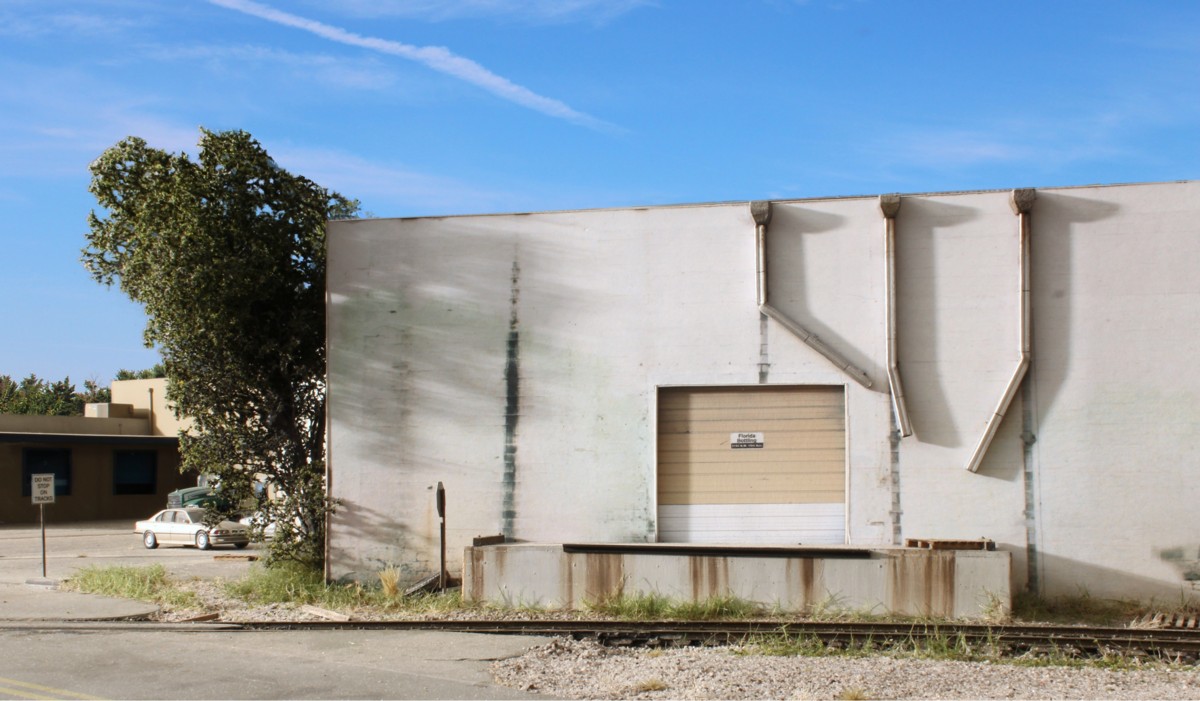
The mid-morning sun washes over Florida Bottling on The Downtown Spur layout.
A landmine is something you didn’t see coming (but could have), step on, and then suffer the consequences. To that extent it’s not the same as being subjected to some totally random negative event. If you know you’re entering a mine field, you can be careful where you step.
Finishing a layout falls into that landmine category. Despite what we might think, for many of us, declaring a layout “done” is not a good thing. In fact it can go pretty far beyond being not a good thing. The depth of the problem is made worse by the fact that it is so subtle, the way it sneaks up from behind, and then blindsides us. Wow, didn’t expect this.
Hobbies are not a frivolous pastime and nobody should frame them that way. They are a deeply meaningful aspect of our lives. They give us creative expression, purpose, the satisfaction of assembly, and deep friendships and social connections. I could go on and on. The vast majority of us are builders. We lose sight of that as we get caught up in research, collaboration, emailing friends, solving problems, developing skills, building stuff, and just the overall process. Somewhere along the line though we ever so slowly drift towards making the mistake of thinking there is a race to the finish line. To get the layout “done”.
Fine. What if you’re unlucky enough to hit that mark? Congratulations, you can now say you checked another damn box off of your life list. Then what? Seriously, what then? You need to think about it. If you don’t have another idea in mind for the next railroad you’re cruising for trouble. I’ve seen it happen to myself and time and time and time over with my friends. The sense of malaise and depression and just feeling lost when something that was so meaningful is “done”. It’s not a small thing. Like many of you, I don’t have any other themes that are calling to me that would create the same level of passion as what I’m doing now. This is it. Everybody is different but here are some ways I’ve dealt with it.
First, recognize the depth of the problem.
Second, take your foot off of the gas. Getting a layout launched and establishing momentum is vital to its success but, once you’ve hit cruising altitude, working like a demon is essentially speeding up how quickly you won’t have a job. I still put in as many modeling hours as ever but now work at a much more leisurely pace. It was a hard habit to establish, but I’ve learned to put my emphasis on savoring the process not checking another thing off of a goals list.
I kept my main layout, but took a break and built a few small ones that allowed me to explore other themes. Specifically, the LAJ and Brooklyn Terminal layouts.
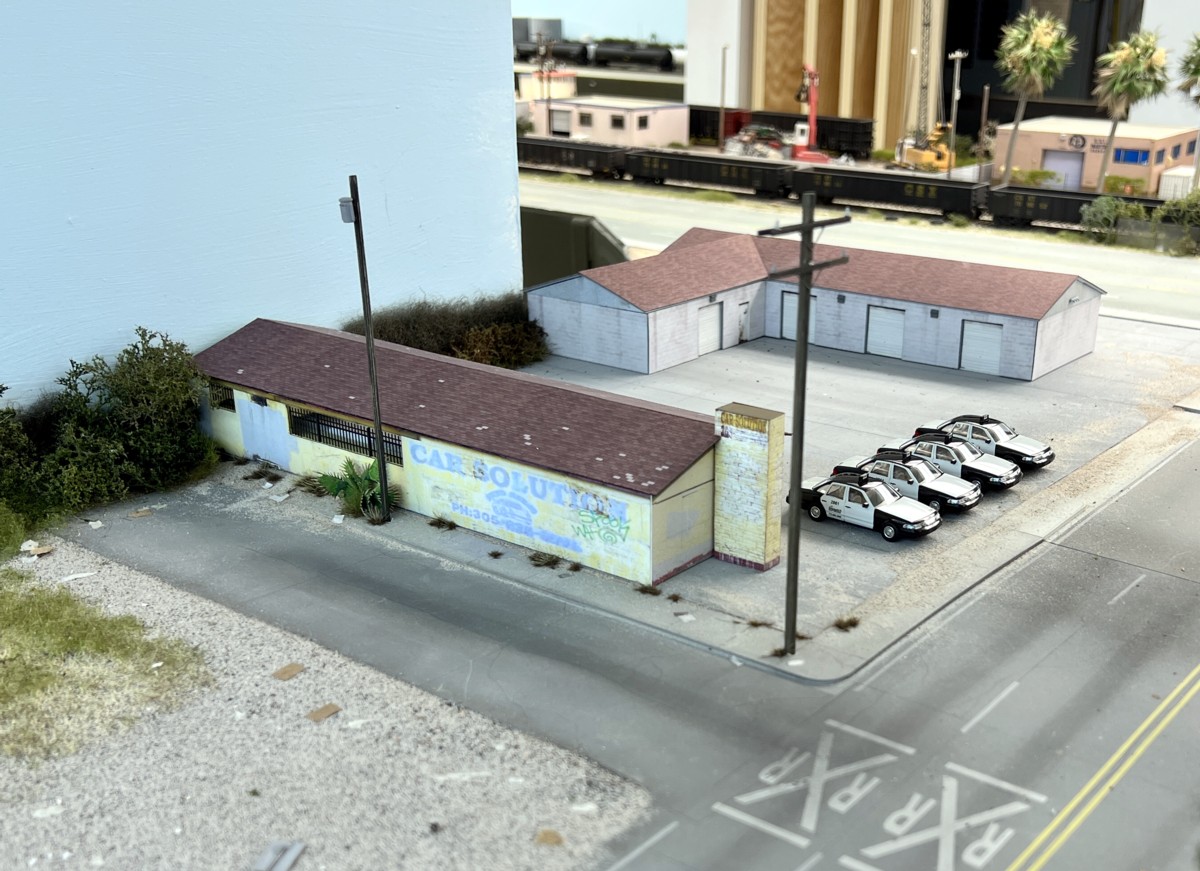
Renovate the layout. This was surprising to me. I guess you don’t know what you don’t know. The Downtown Spur was getting on in years and was starting to show signs of age. I’ve been surprised how uplifting it is has been to go back and fix, repair, or even replace elements that were wearing out. I thought it would be a boring slog and it’s been quite the opposite.
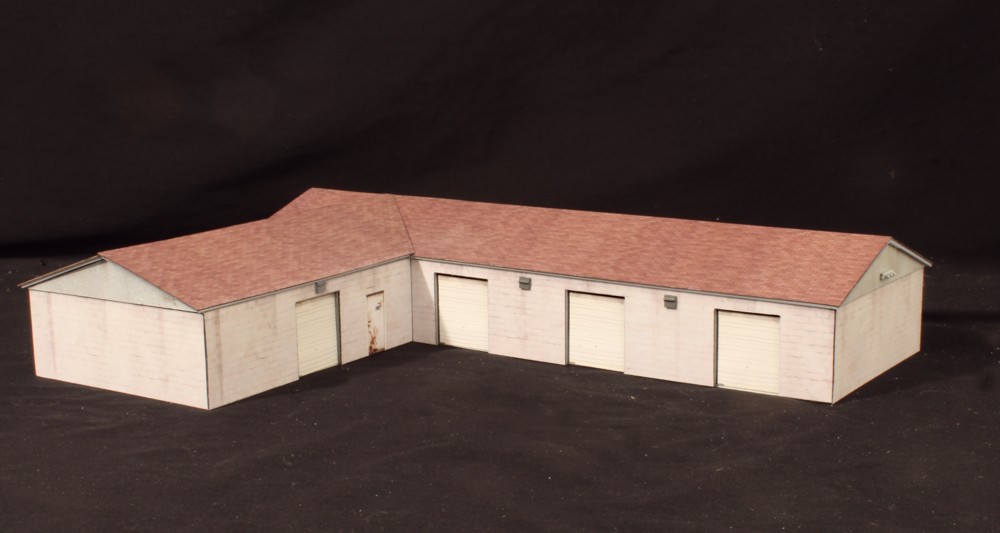
Go back and rebuild or replace elements. If you’ve been at this a while, your skills are higher than they were ten years ago. There are areas (scenery, track areas, structures) where I realized I can do a better job now and have gone back and replaced them. As with the restoration I’ve been surprised how fun and uplifting this has been. In other words I’m taking a second pass over the entire layout and raising it to higher standards.
Just because an expression is corny, trite, and overused doesn’t mean it isn’t true….the hobby is meant to be a journey, something to be experienced, not a destination, something to finish and mark off your list.