Added pavement for the area surrounding Modern Pattern and Foundry. Much of this will be covered by the structure but a few alleys and parking areas will be visible.
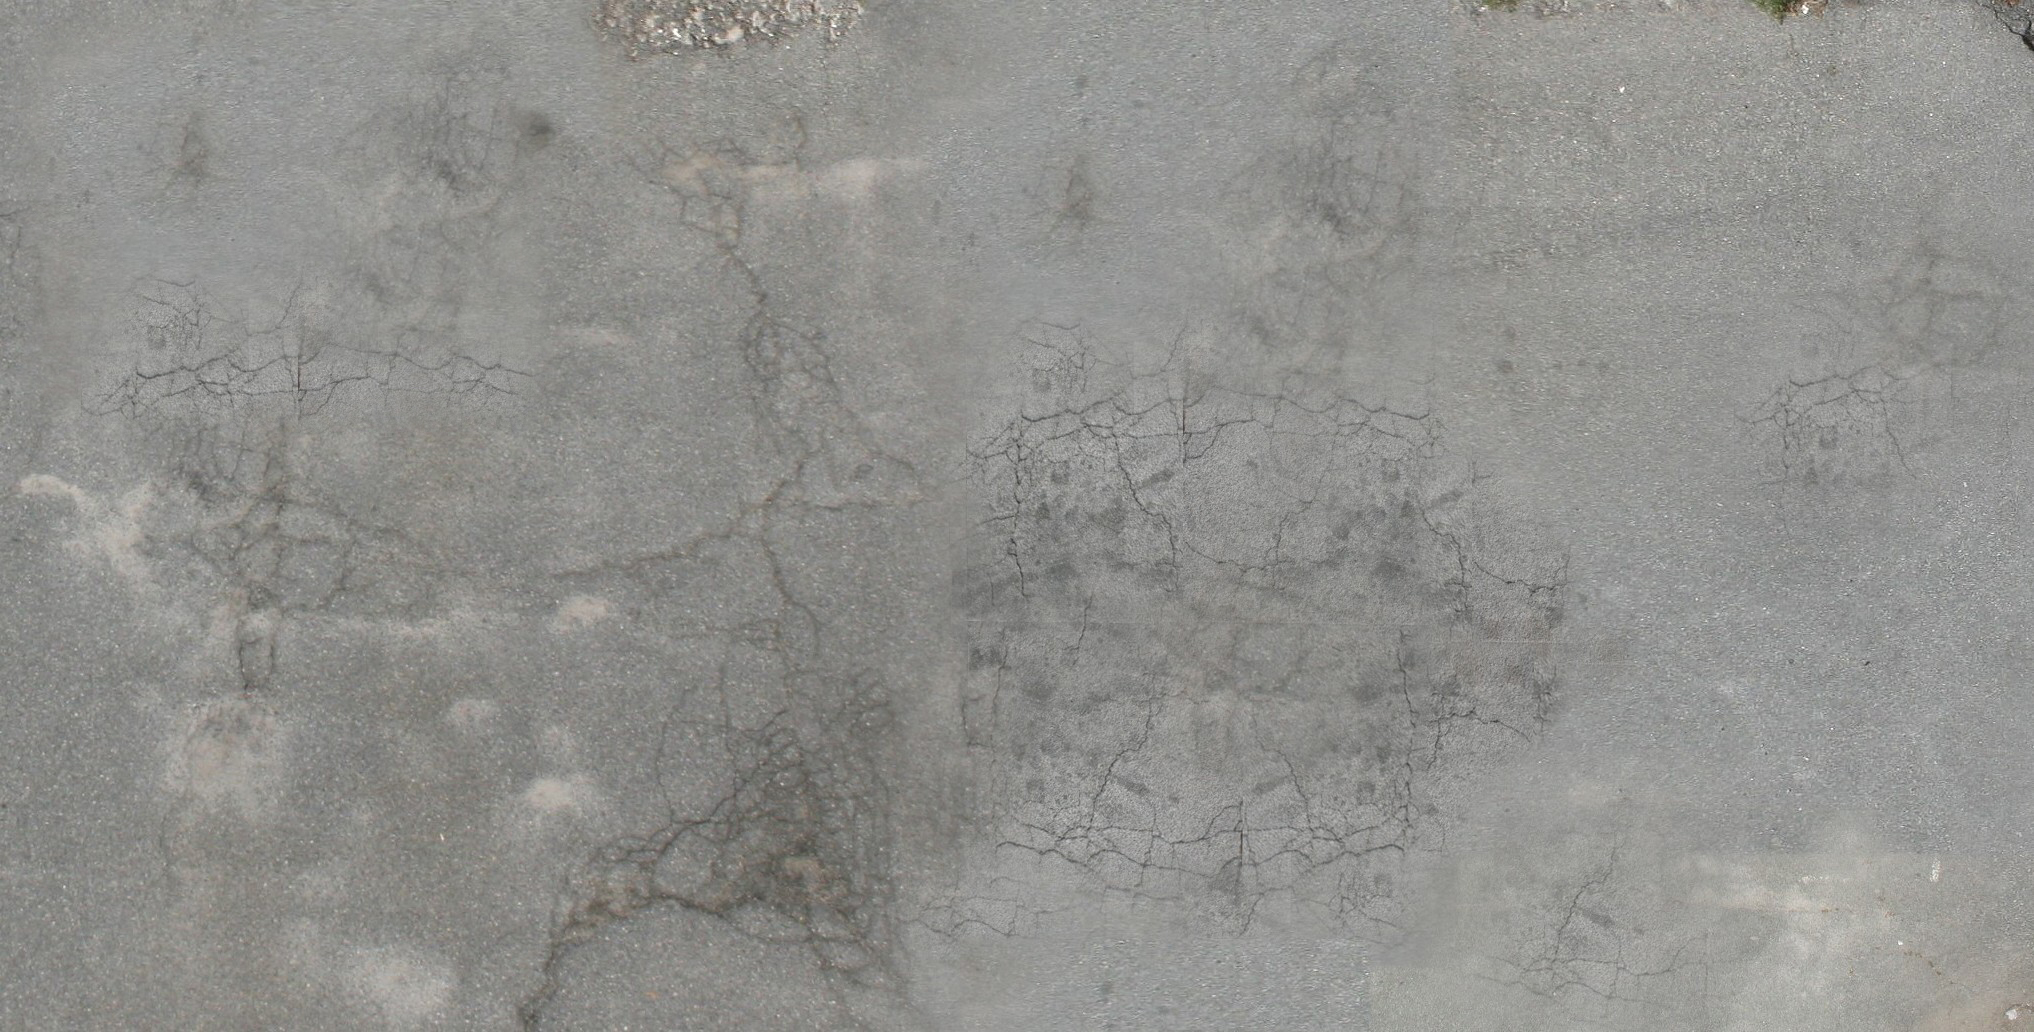
Here’s the base image for anybody that wants to use it.
Added pavement for the area surrounding Modern Pattern and Foundry. Much of this will be covered by the structure but a few alleys and parking areas will be visible.
Here’s the base image for anybody that wants to use it.
Looking back at my last four layouts, two have been purely prototype based, the other two proto-freelanced. I can’t say one type offered more enjoyment over the other. From a scene composition standpoint though, proto-freelanced projects such as the LAJ can be particularly challenging. Left to our own imagination there is a general tendency to end up with implausible, overly compressed, toy-like scenes. The best way out is to scour the landscape for a prototype scene that would fit your theme and simply copy it.
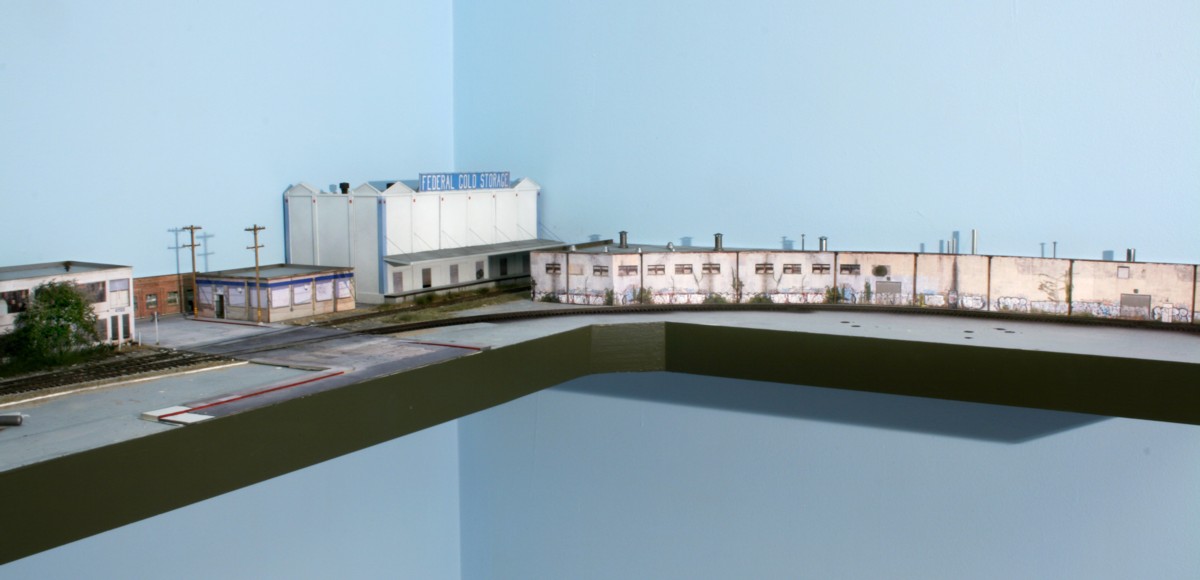
The LAJ is proto is proto-freelanced. I used the Horn Lead as a general guide but have not modeled it exactly. What I have done is pour over photos from surrounding blocks and then picked structures that do actually exist.

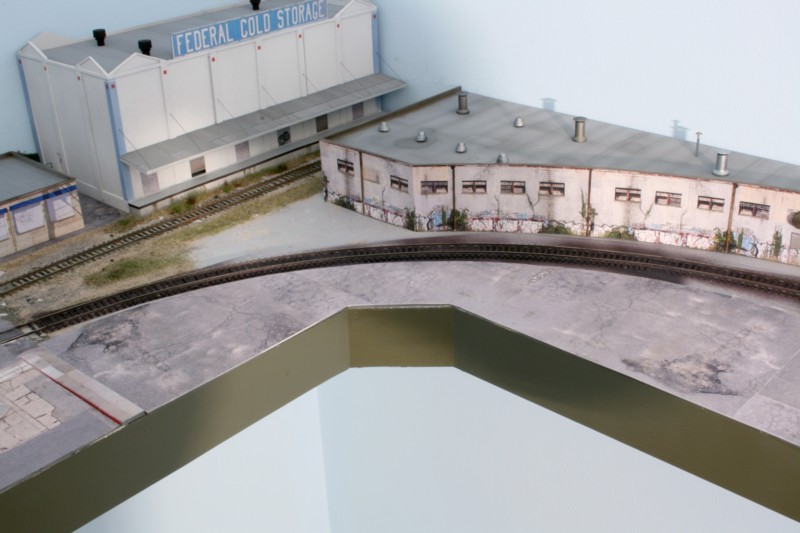
I’d been struggling with what to put on the inside of the curve in front of Sweetener Products. A weedy gravel lot would be an easy out in that it would give a clear line of sight to the rolling stock while I’m operating. What I really wanted though was something that was more “signature LAJ”. By that I mean the ubiquitous curved spurs diving into a narrow alley between two structures. Back to Bing Maps “Birdseye” to scan the landscape.
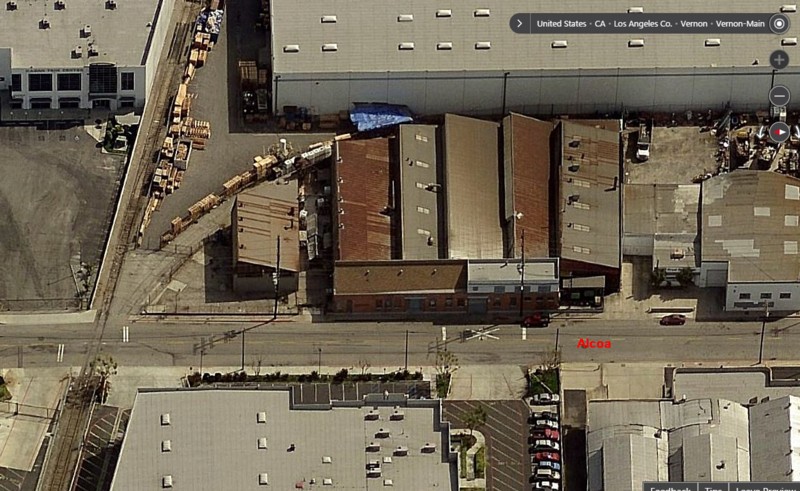
It didn’t take long before I found a perfect fit in a scene a few blocks from the Horn Lead at 5610 Alcoa Avenue, a complex housing Modern Pattern and Foundry. With a few minor adjustments I can almost copy it to exact scale and plop it right into the vacant footprint on the layout. The depth will need to be reduced but depth compression is much less noticeable to the eye from standard viewing angles.
Proto freelanced layouts can be highly convincing if we can train ourselves to select prototype scenes that “fit” and simply copy them.
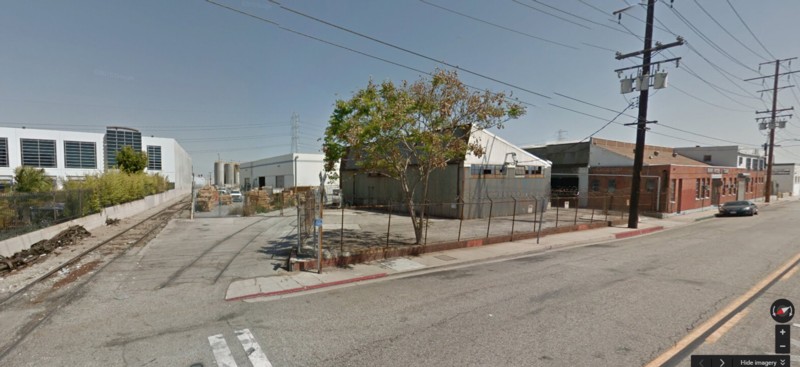
Their are a number of features of this scene at 5610 Alcoa Avenue that are highly representative of the LAJ: the one story brick structure, the sawtooth corrugated steel backshops, and the track curving into a narrow alley.
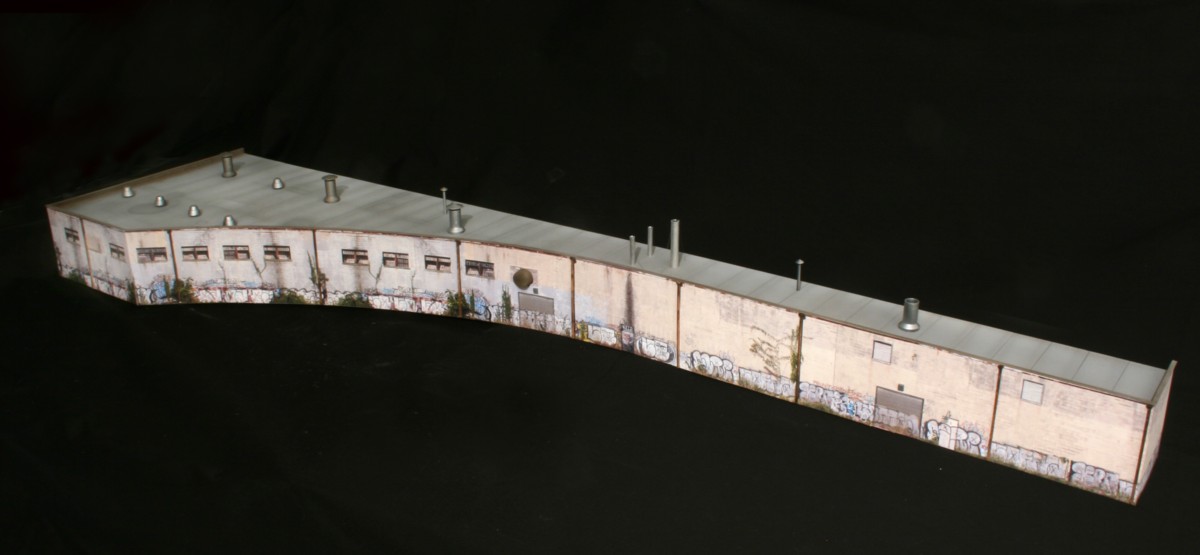
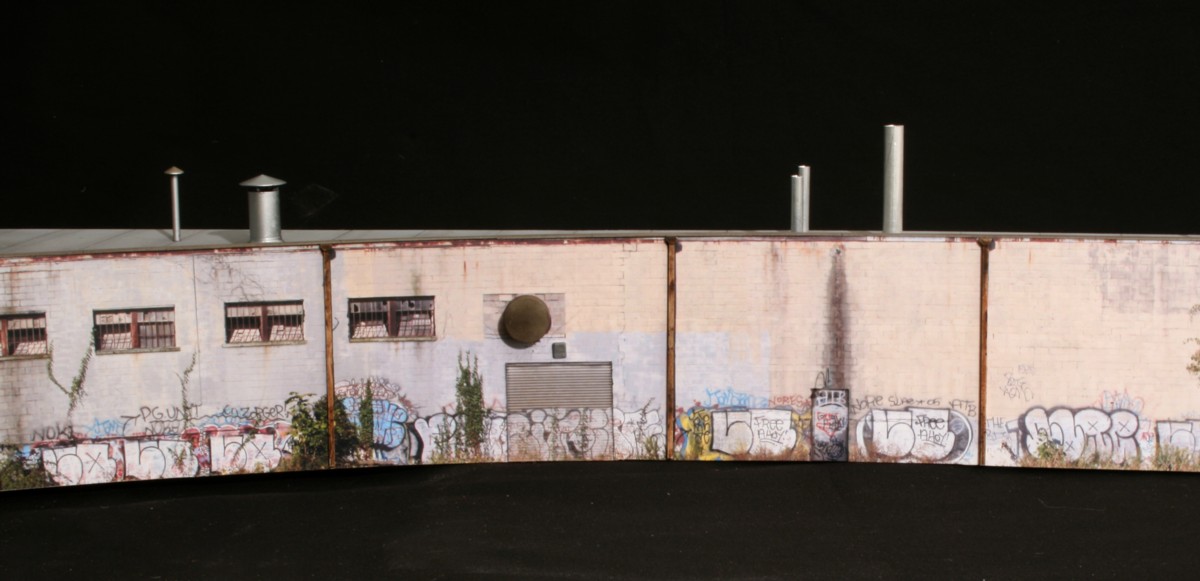
I finally finished up the Sweetener Products corn syrup structure. Once I decide on the foreground composition I’ll add the unloading hoses and piping. The image originals that I wanted to use for the photo wallpaper contained no doors, somewhat unrealistic for this application. One of the more involved aspects of the photo editing was cropping in the roll up doors in such a way that the graffiti was continuous. Stand off details consist of scratch built downspouts and scuppers, security lights, and a vent. For the roof vents I used the Walthers details painted with Alclad II lacquers plus some K&S aluminum tubing.
When you think about it, those YouTube viewing preference “suggestions” are a little scary. For example, you might want to take a hard look at your life path if you get a YouTube note that reads, “based on your past viewing experience you might like the suggested videos on (take your pick), joining ISIS, aborigine mud wrestling, or the Brady Bunch.”
Then it hit me, before I become too self-righteous I should take a hard look at what Big Brother YouTube serves up to me. Case in point, the above video on How To Unload A Tank Car. I’m not sure what’s worse, the fact my life has hit the point where this is what is suggested or the fact that I found it fascinating to watch! Don’t laugh, most of you will too.
I can see it now, your significant other walks unexpectedly into your office and you minimize your screen in a panic. SO demands, “Busted! Show me what you’ve been watching and it better NOT be one of “THOSE” sites”. You hang you head in shame because it is, in fact, one of those sites….. a site catering to those that like watching tank car unloading videos.
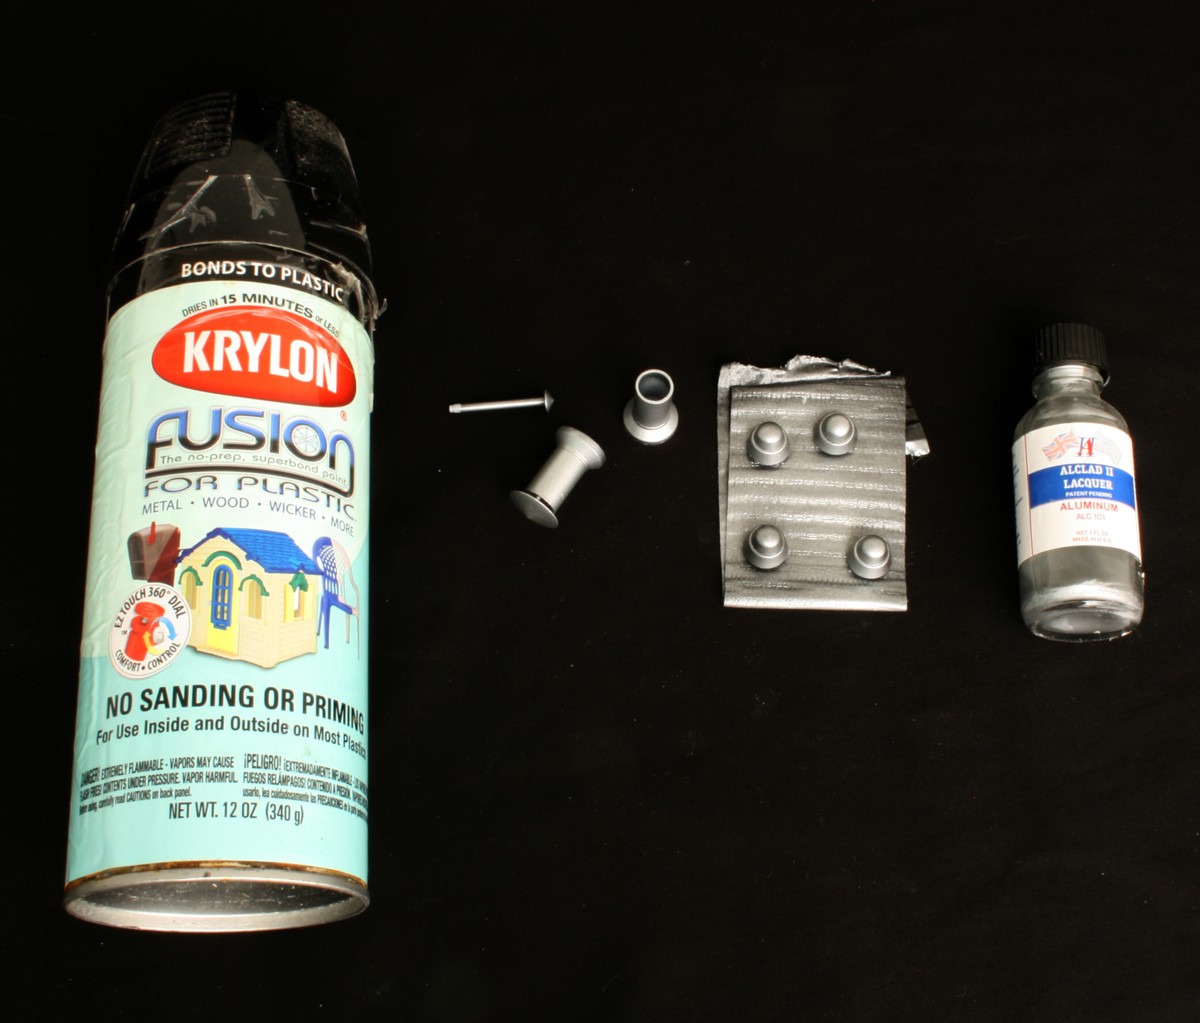
My attention of late has been on the Sweetener Products structure. One of the signature features of corn syrup facilities is the preponderance of metallic vents and piping. The question then becomes, how do you make plastic look like metal? Simply using silver paint, even traditional paints labeled as metallics, won’t work. They’re far too grainy and look like crap. Fortunately, there is a system that is a) simpler and b) actually looks like metal when you’re done. So, that leaves two options: the old way which doesn’t work or a simpler method which does. The challenge is that old habits die hard in model railroading.
For decades, military modelers have been using Alclad II metallic lacquers (easily found online and in many hobby stores). They are very forgiving and flow out of an airbrush far more smoothly than traditional paints. They only require one additional step and it’s a simple on at that. The parts must first be painted with a gloss black lacquer. I prefer Krylon Fusion for plastic as it has a very sophisticated spray tip that lays down an ultra smooth coat. Here’s all you need to do:
That’s it!