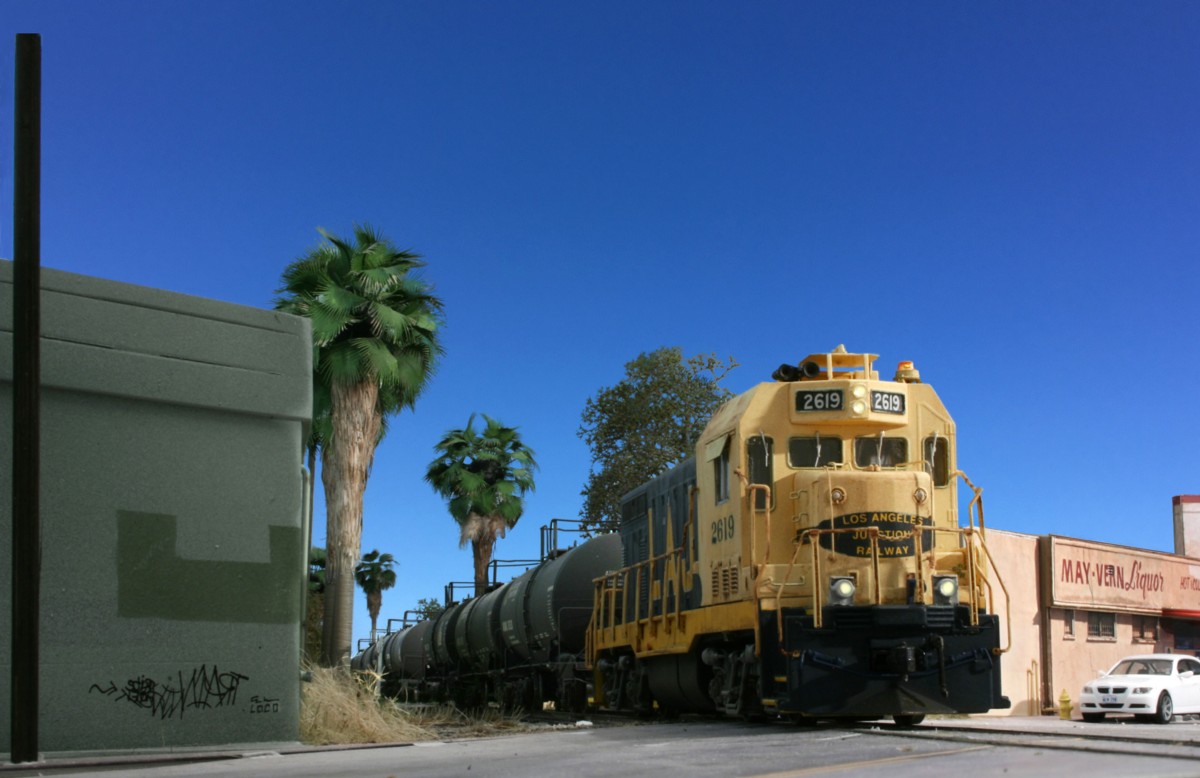
This shot was a little challenging because I didn’t have as much room as I would have liked to move the photo floods back where I really wanted them. After some trial and error I got something workable but was getting a lot of light burnout on the green building to the left. By holding a square of cardboard up I was able to block the light falling on that structure and insert a shadow. Longer scenes are harder to light as there is a tendency to get dark gloomy regions in the back. The room has overhead 3200 K LED strip lights and by turning those on I was able to get a more even light fill. After taking a few test shots something just seemed off. Things were too clean. I went back and added three pieces of trash, subtle but did the trick. You can see them on the sidewalk between the loco and pole. When photo editing (Adobe Photoshop) one of the first corrections I apply is the levels tool. First I apply this globally to the entire image. Further improvements can be made by applying it to select areas. Using the selection tool I highlighted the sides of the tanks and made a second pass with the levels tool. I did the same for the nose of the locomotive.
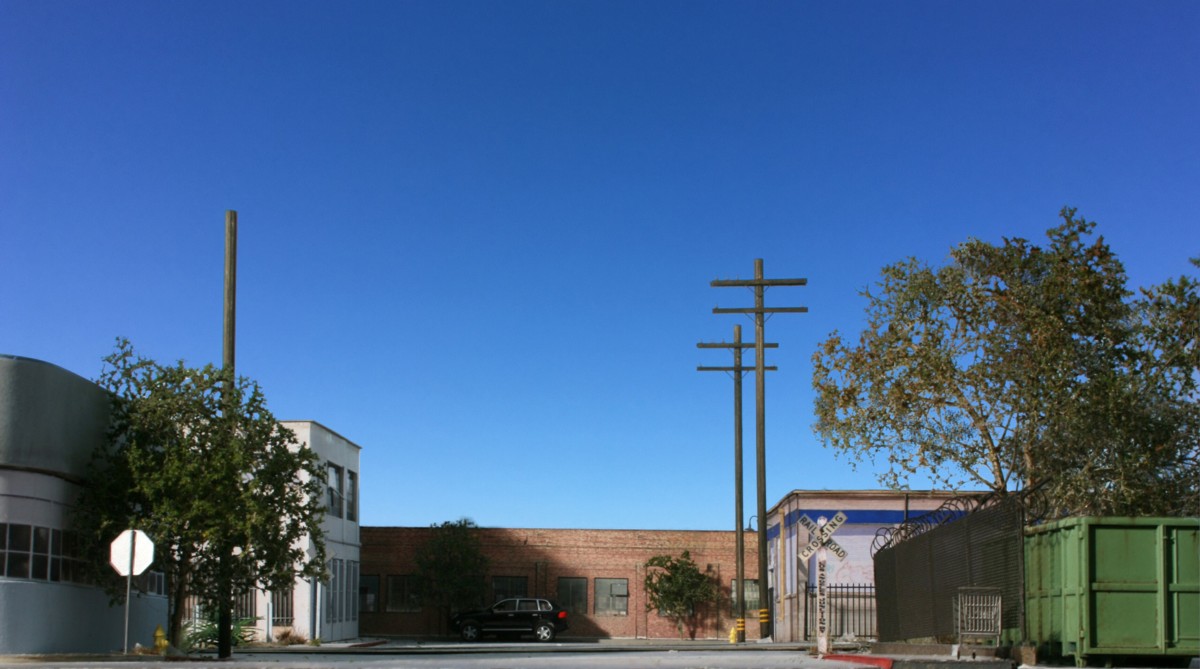
The second image, shown above, was an exercise in working with shadows. All overhead lights were turned off and a single photo flood was positioned about three feet to my left and back a bit. Moving the light around a little I was able to create glare on the stop sign, highlights on the dumpster face, and a shadow on the brick background structure. To me, many elements go into making a rail scene, elements that go far beyond just rolling stock. It isn’t necessary to have a freight car or locomotive in every shot. Viewers are smart enough to pick up on the suggestion of rail activity through hints such as the side of a rail, crossbucks, an abandoned loading platfrom, etc.
Full size versions of both images can be found on my Flickr page.