The success of a layout, ultimately measured by the satisfaction we wring out of it, is usually determined before we even begin construction. I’ll take it a step further, it even starts before we begin drawing a track plan. It’s such a subtly complex topic because it may take years to ultimately know whether we hit the mark or not.
However, once we do know whether we “succeeded” ……or didn’t, the answer can ultimately be tied back to the earliest and most strategic of decisions. Those absolutely crucial decisions simply cannot be made if we don’t know the questions to ask ourselves in the first place. Therein lies the problem. We don’t ask the questions because we don’t know what they are. And, even if we did, without experience we might not be able to give an accurate answer to them. Without a number of layouts under our belt we don’t have the perspective to truly understand what works for us and what doesn’t. It gets even trickier when we factor in that our likes and preferences will change and evolve over time.
One of those crucial questions is, how much does the appearance of our layout matter to us. On one end of the spectrum would be an end result that hits the target of a well-executed work of art, and uses the well-established principles of the art world to get there. Principles such as composition, balance, and color theory. The other end of the spectrum would be a plywood pacific. Depending on your interests appearance may not matter. That’s o.k. In some cases it’s irrelevant, the diehard operator for example. I can’t tell you how many thoroughly enjoyable hours I’ve spent running trains on well thought out model railroads that didn’t have a grain of ballast on them or a tree to be seen. That takes care of one group, if you lean really hard to the operations end, I wouldn’t lose any sleep over the appearance issue.
For the rest of us some tougher questions loom. Particularly if you are a “prototype” modeler. First, you have to define what that means. “That” being prototype modeling. Do you want a model, a copy? Do you want to take a hard run at creating a dimensionally accurate replica of a segment of a transportation system that actually exists or existed? Or, is creating a model that meets the standard of well executed art important to you? Notice the use of the word “or”. Its taken me decades to realize this but the two, appearance and accuracy are, in fact, often mutually exclusive. A controversial opinion I realize. Being tied tightly to a prototype means you need to copy what is there. And, unfortunately, that often means giving up appearance in order to do so. Sure, you can have a well-executed, skillfully built, masterfully sceniced layout but that doesn’t mean it hits the top tier of visual execution, art. To meet that standard means you need to utilize the principles of design that have been the foundation of the art world for centuries….symmetry, balance, emphasis, unity/variety, etc. Being “handcuffed” to following a the framework of prototypical dimensions generally doesn’t allow you to do so.
Want an example? I’ll give you one that hits close to home, my Downtown Spur layout. It’s a copy of a transportation system. It’s a copy of a piece of the world that I find fascinating. However, rigidly sticking to following its urban grid of low lying one story warehouses, it’s uniformity, the lack of flexibility in terms of incorporating negative space, the lack of flexibility in placing vertical elements where they were needed leaves the viewer underwhelmed when they take it in. It leaves me underwhelmed when I take it in. Does that mean I don’t enjoy it, that I’m unhappy with it? Of course not. I’m just saying that by making the decision to be a “prototype modeler” I had to give something up in exchange. That something was a piece that didn’t meet the standard of really good art. Are there prototype exceptions out there that would allow you to hit that bar? Maybe. I’d say rarely though.
So, what’s a modeler to do if they are drawn to prototype modeling but want an artistic end result also…..to have their cake and to eat it to? Proto-freelancing. This is a middle ground where you give yourself the flexibility to deviate from the prototype where necessary to meet artistic goals but do so in a way that is still plausible. It’s maintaining plausibility that is so, so hard. Why? Because as soon as we leave “pure” prototype modeling we don’t have an exact guide to follow and it’s so easy to roll down that slippery slope and end up with that “model railroad” look, a caricature, a toy.
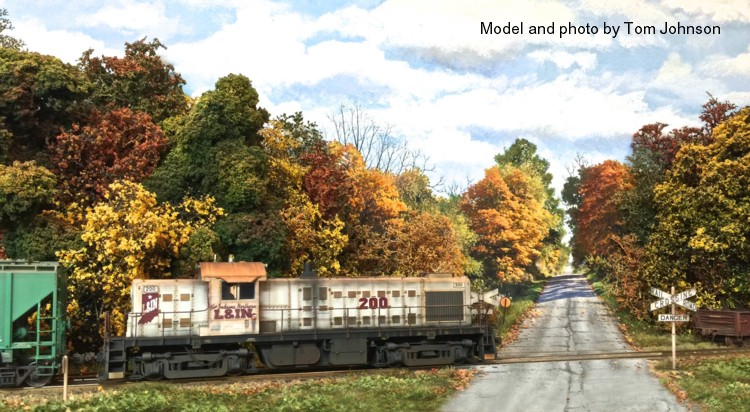
Those, however, that can develop master level skills in walking this tightrope ultimately end up with what I would consider to be the best layouts in history. Examples? Paul Dolkos, Tom Johnson, Mike Confalone, John Wright, and Bill Henderson. In many of these cases the builder relied heavily on prototype locations and prototype motive power to keep a stake in the ground that anchored the theme in the world of plausibility. It is exceptionally hard to pull off but Tom and Mike were able to come up with freelance motive power schemes that are utterly believable.
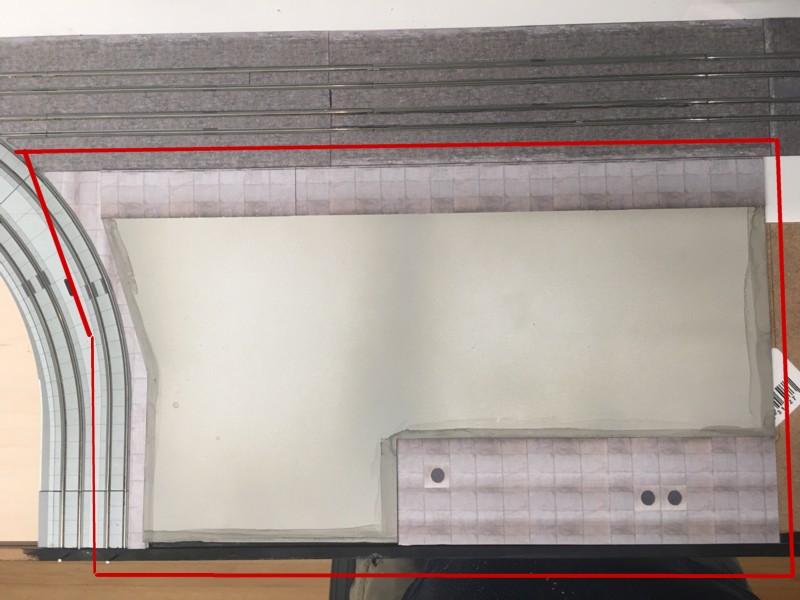
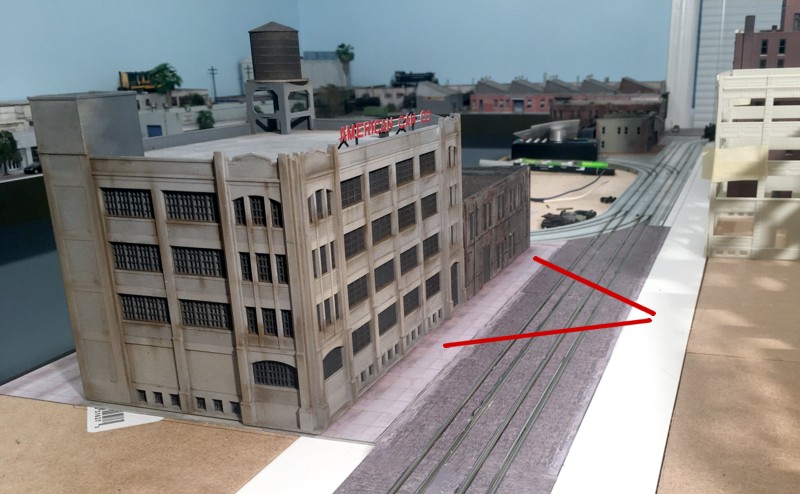
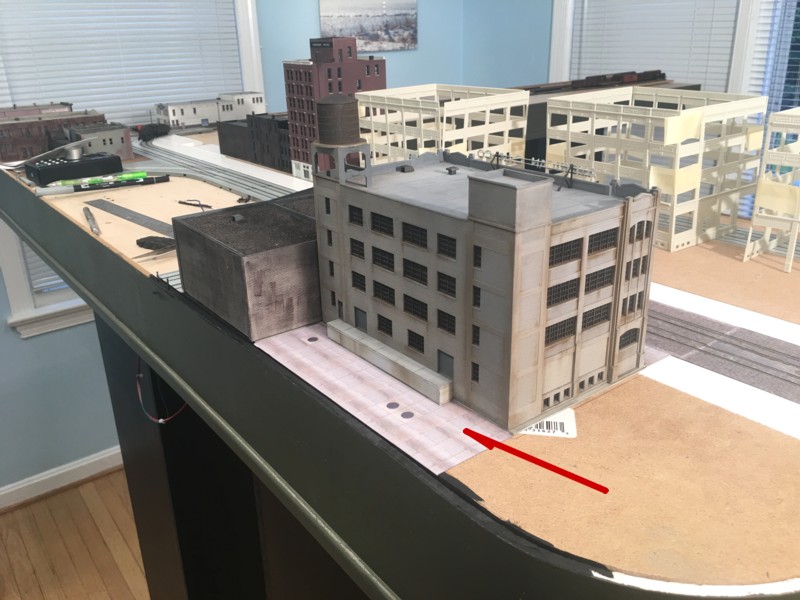
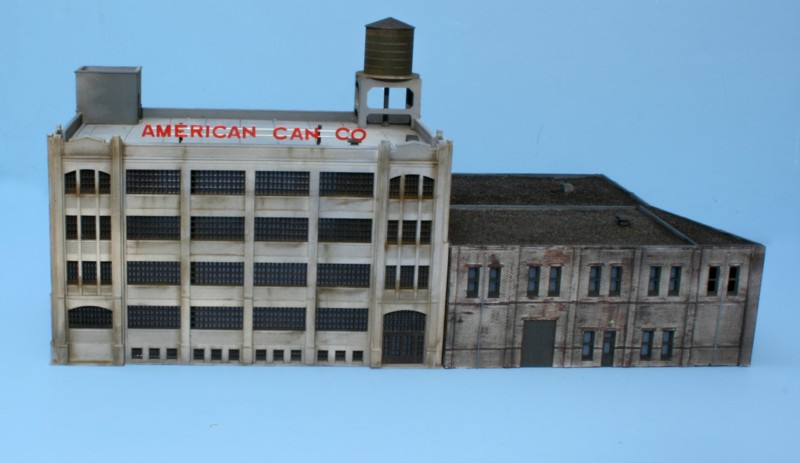
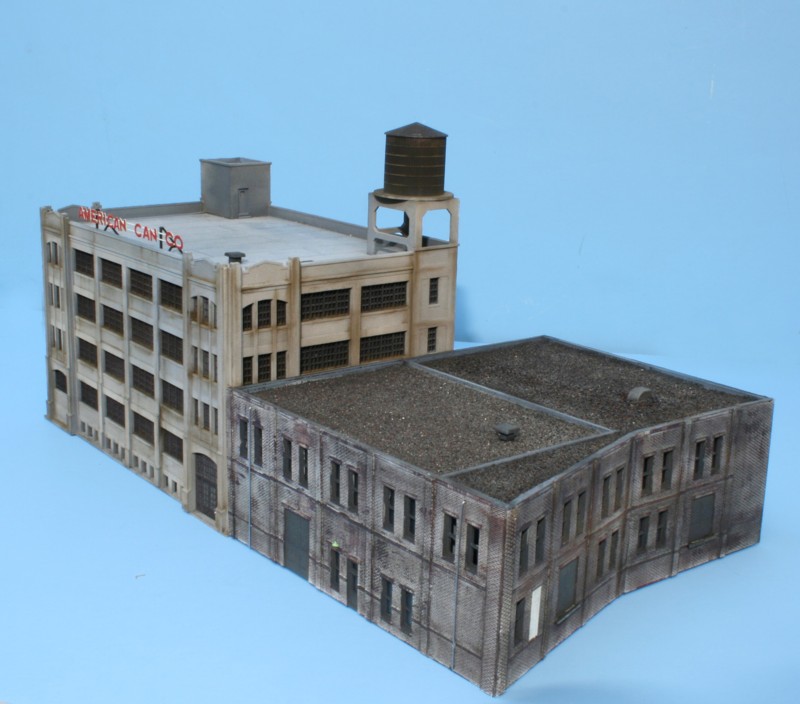
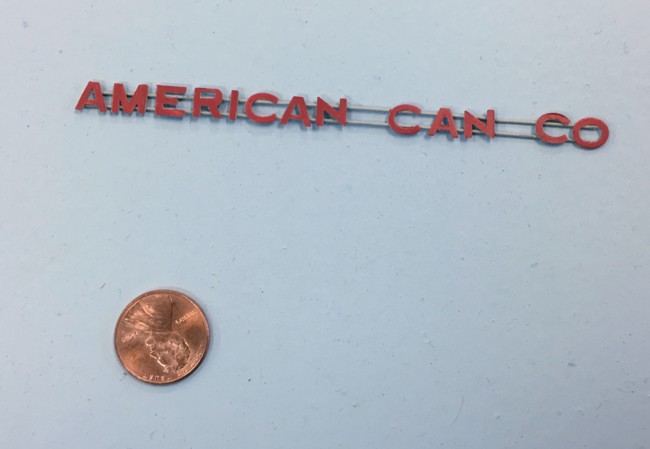
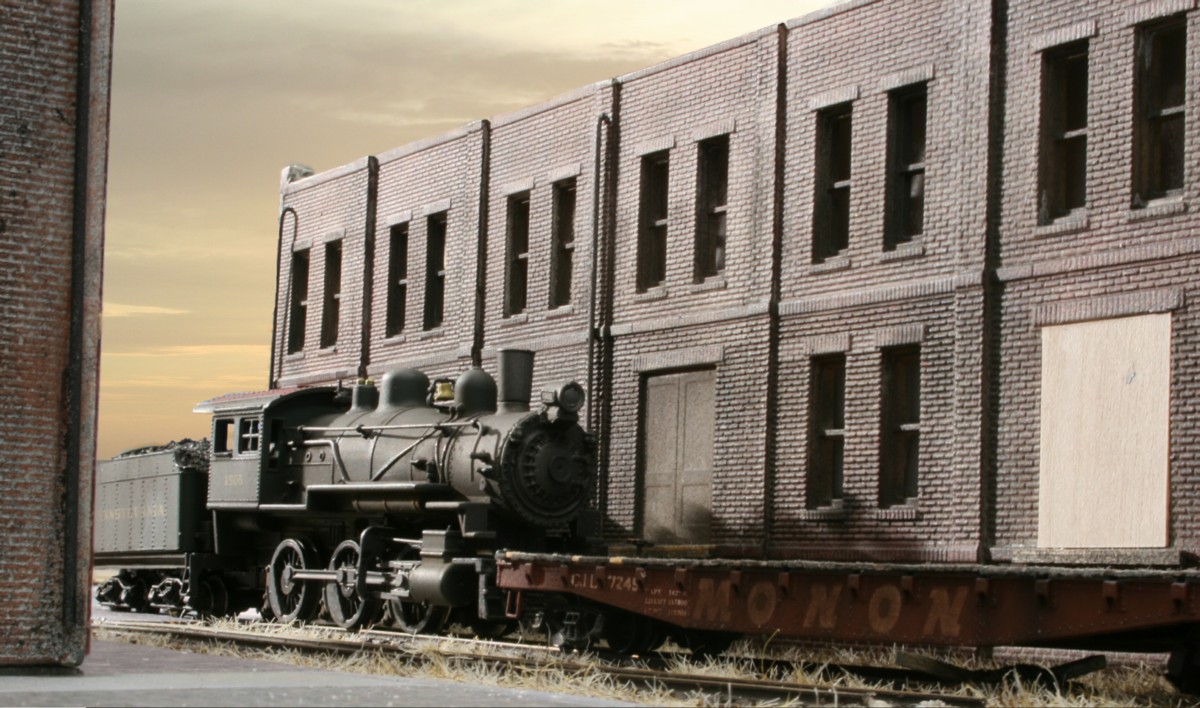
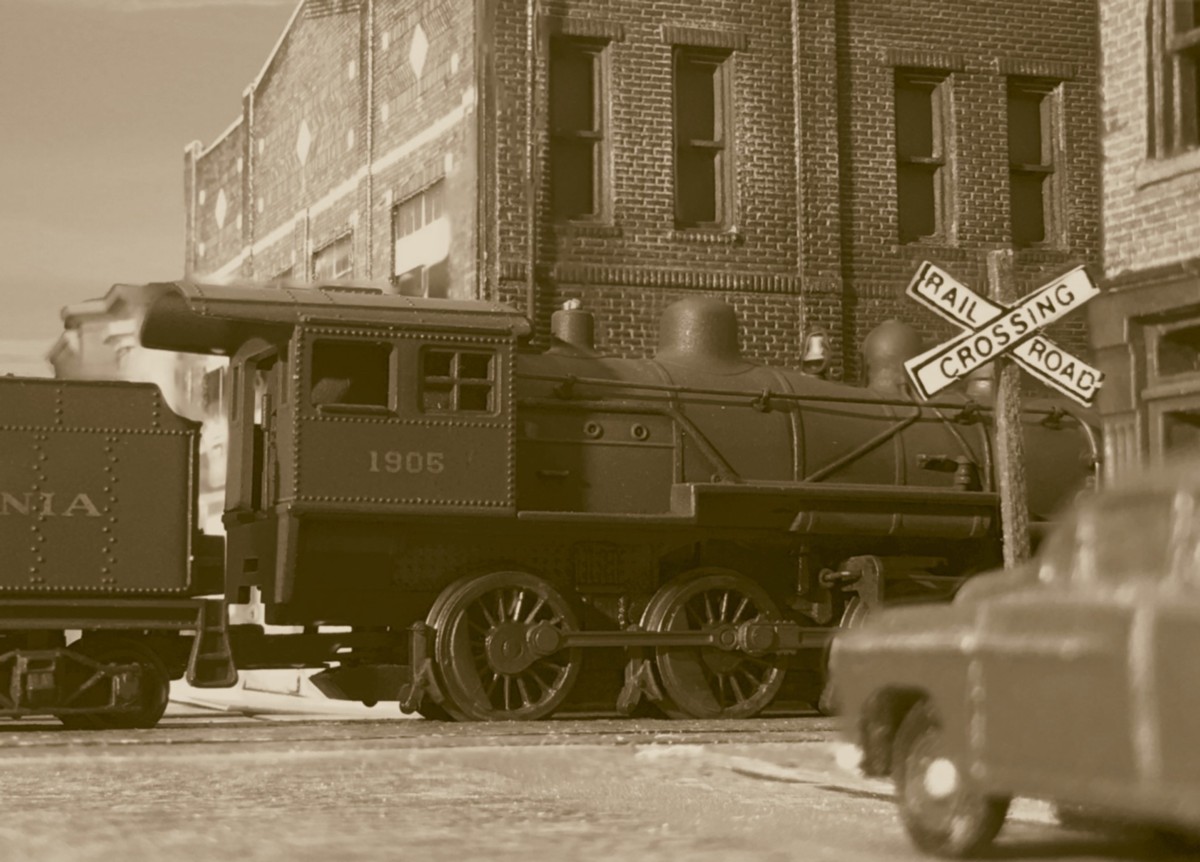
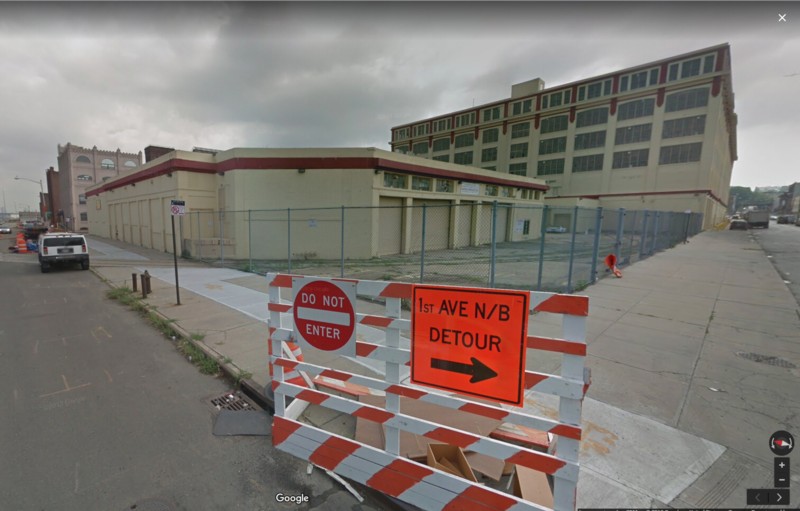
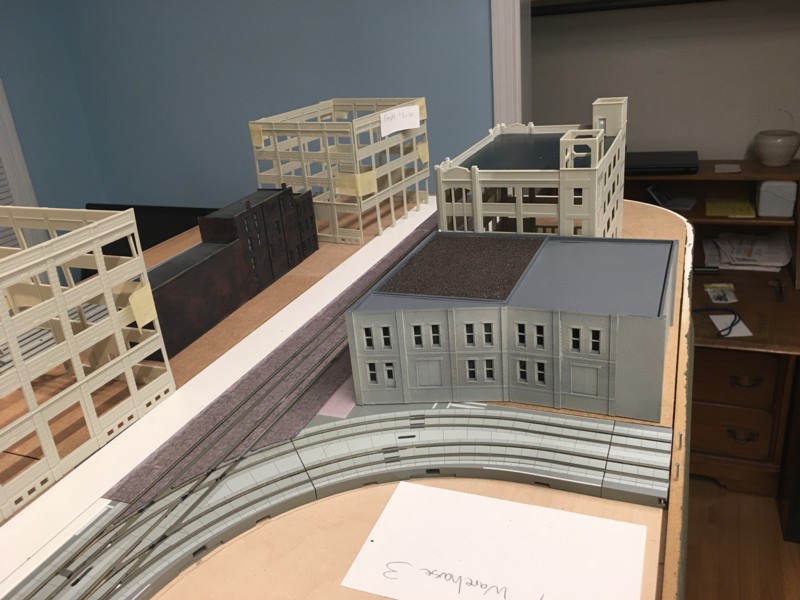
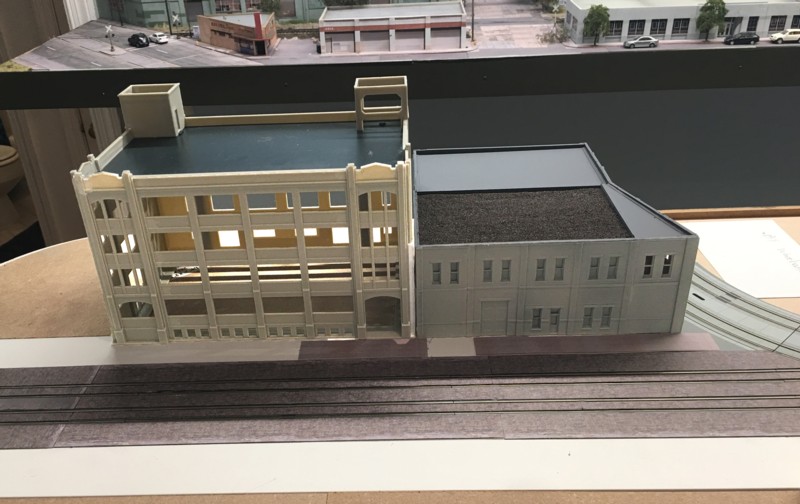
I followed this proto-freelance approach with my Los Angeles Junction railroad. Almost all of the structures I used exist on the protoype, just not in the positon they appear on the layout. I drew from subjects within a few miles of the Horn Lead which is the subject I chose. I allowed myself the flexibility to change structure dimensions, add negative space, viewing windows, and vertical elements, where the principles of art dictated it was necessary. The end result was rewarding from the standpoint that I was still able to capture the vibe of a railroad that was meaningful to me, while at the same time have something that I really, really enjoy looking at when it’s not running.
The takeaway of all this isn’t so much that it matters which approach you take. Rather it’s understanding yourself and what you truly want to accomplish. That part, the self-awareness piece, is often the hardest. Food for thought.