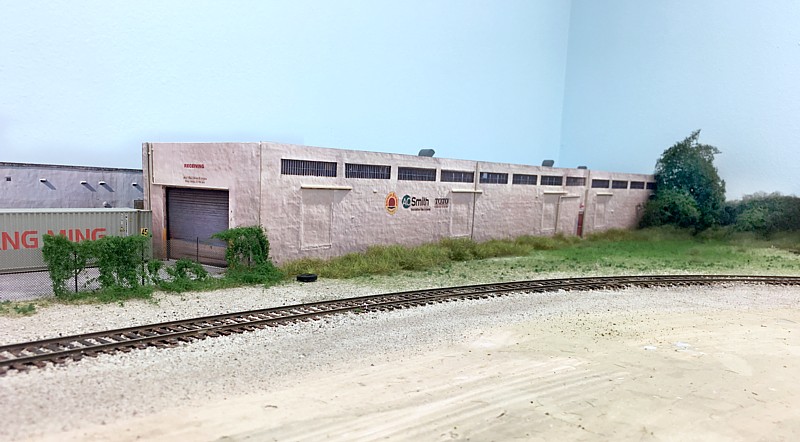
There’s still tons more to do but I got the walls up this weekend so at least you can begin to see what it will look like.
There’s still tons more to do but I got the walls up this weekend so at least you can begin to see what it will look like.

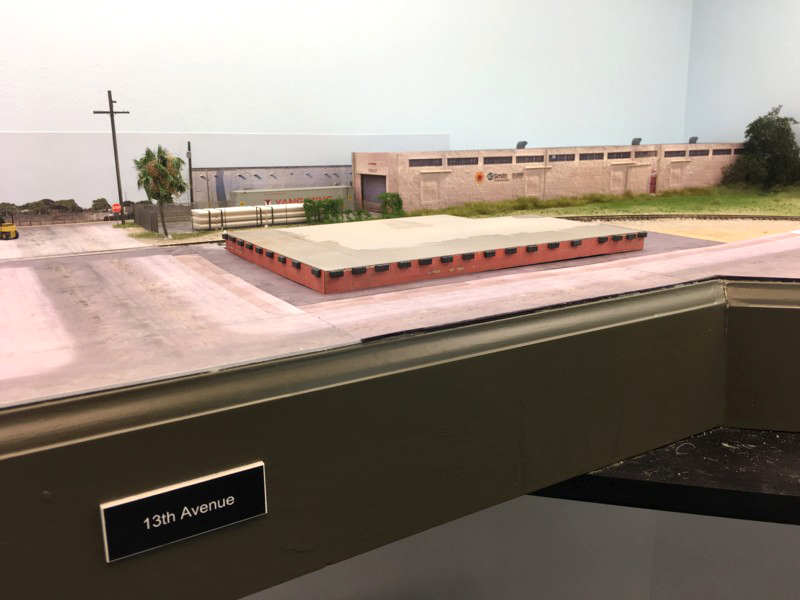
This week’s focus was completing more of the 13th Avenue/22nd Street intersection, feathering in the ballast at the grade crossing, and adding the asphalt apron between the sidewalk and foundation. The foundation was painted, weathered, and photo laminates and dock bumpers added to the dock face.
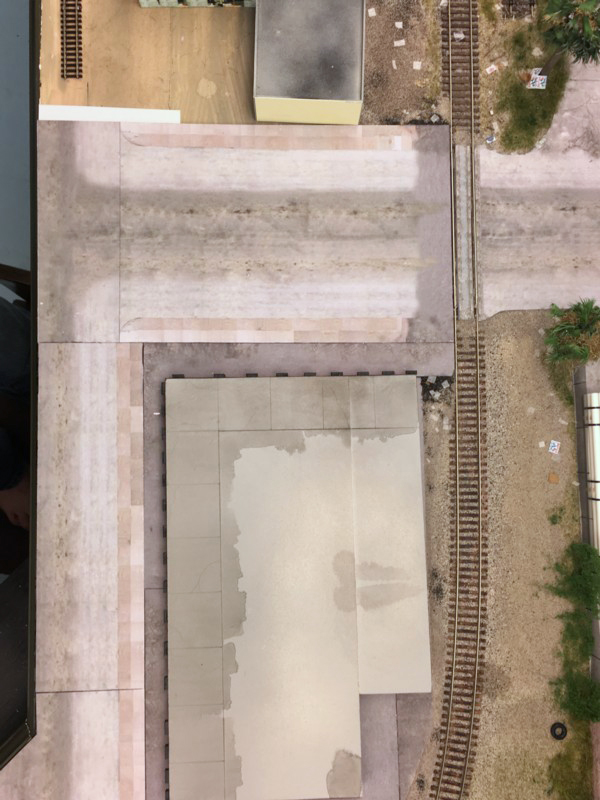
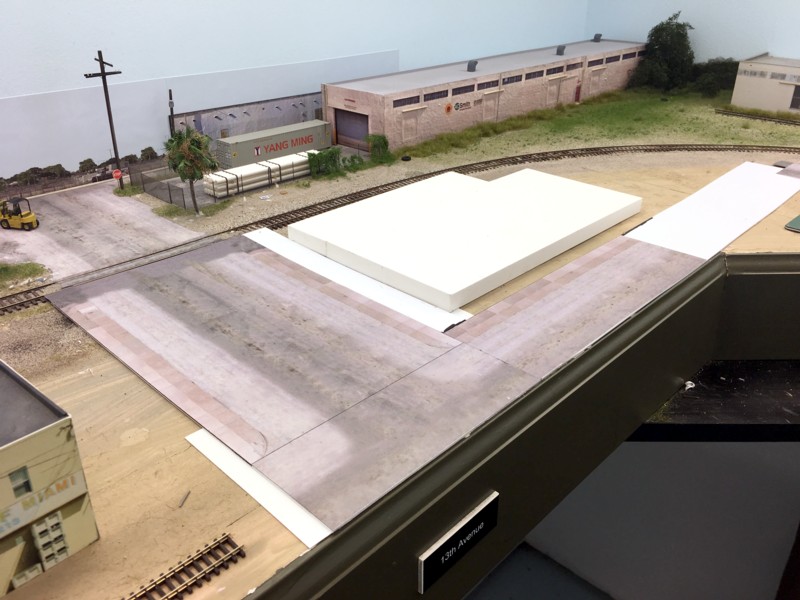
With urban layouts, pavement areas take as more or more time than the structures themselves. Today was spent doing the photoshop work and installation of the rest of the 13th Avenue grade crossing. I also completed the foundation for the structure. I used 3/4″ pvc wood that my Dad planed down to 9/16″ to represent the typical scale four foot height of a loading dock.
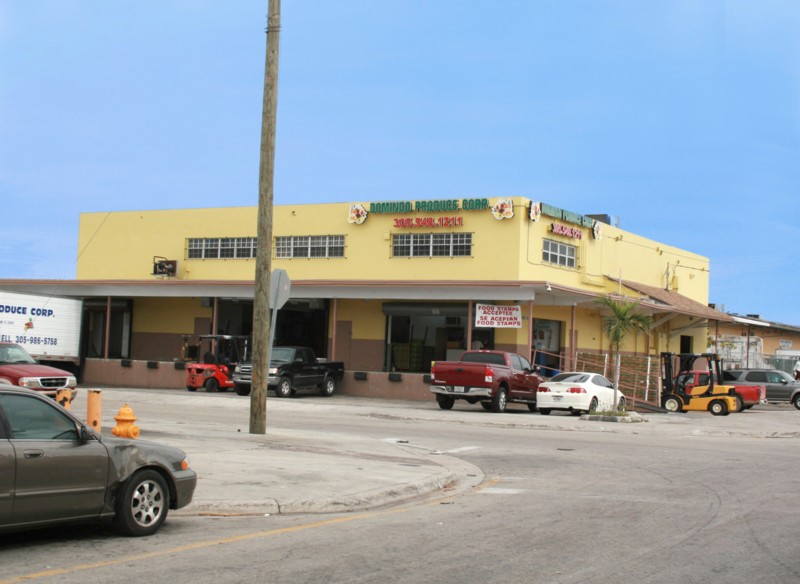
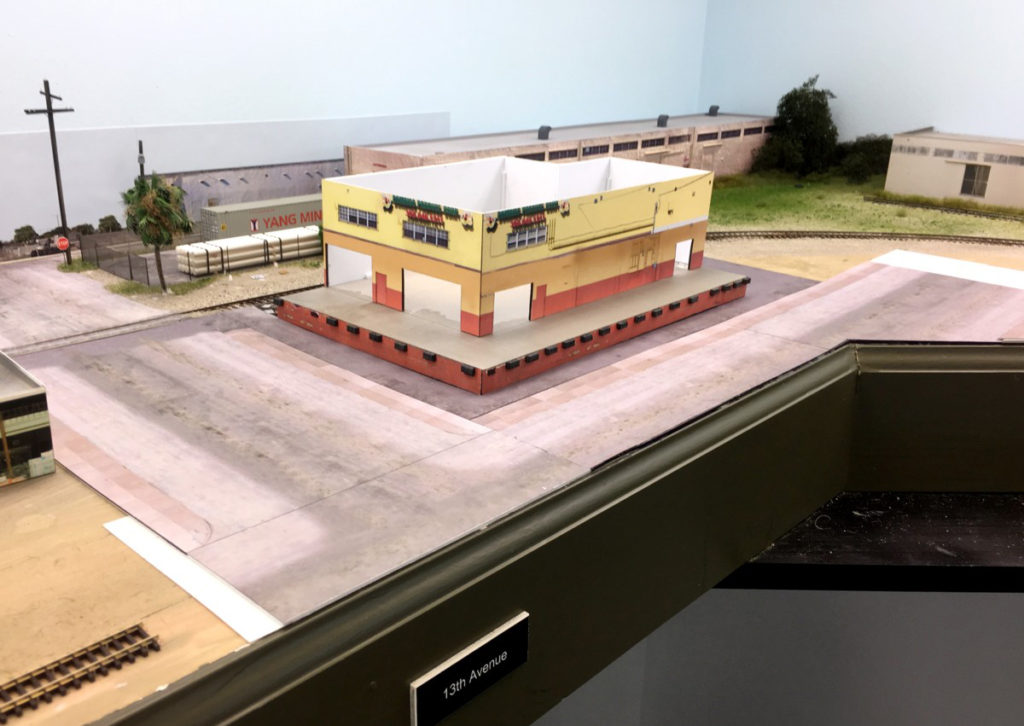
I’m still in the mood to do some more work on the Downtown Spur so the next project will be the eye catching Domingo Produce structure on 13th Ave.
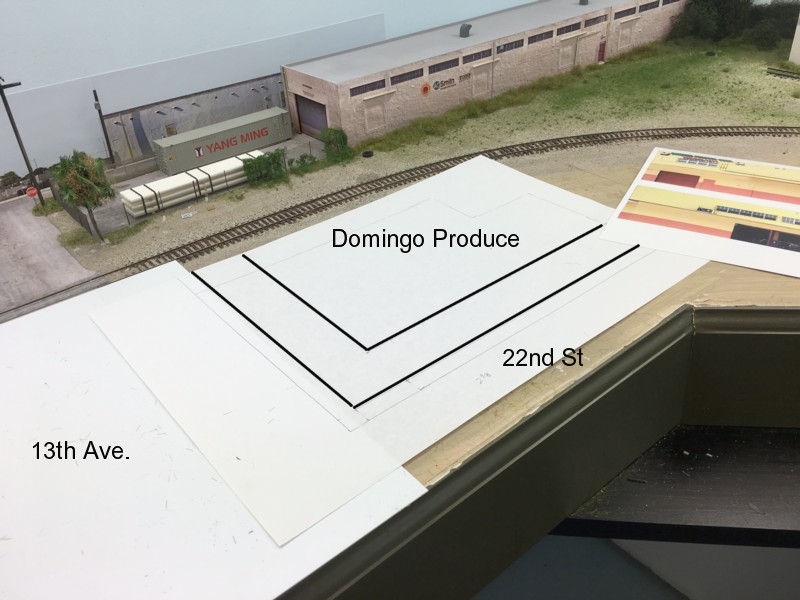
Mocking things up with a sheet of paper I’ve found I’ll be able to maintain the prototype dimensions on the south face. The north wall will have to be truncated slightly in order to fit (which won’t be that noticeable I don’t believe).