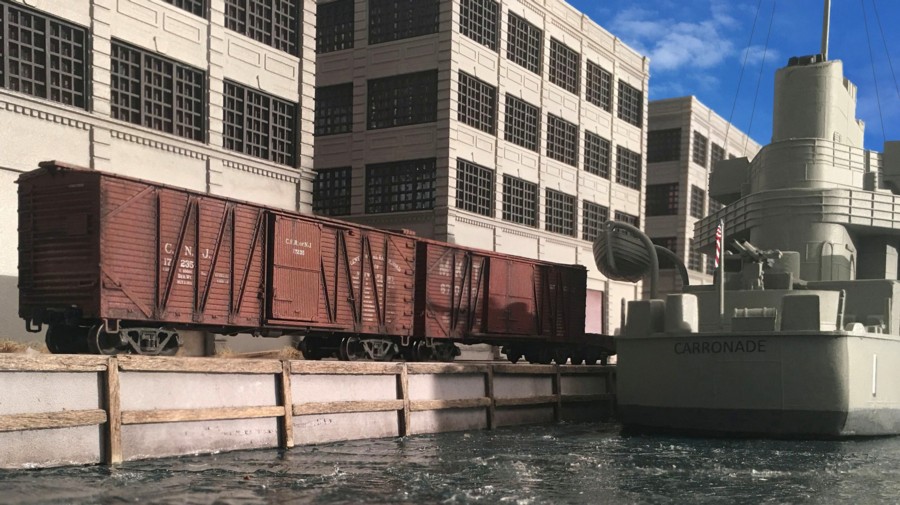
Our hobby is a visual one. It’s hard to overemphasize the power the camera lens gives us in terms of allowing us to experience our work in a way that is simply impossible with the naked eye. The only limits are our own imagination. When we are lucky enough to hit the mark photographically, the payoff is that of being transported to the time and place we’ve worked so hard to create in miniature.
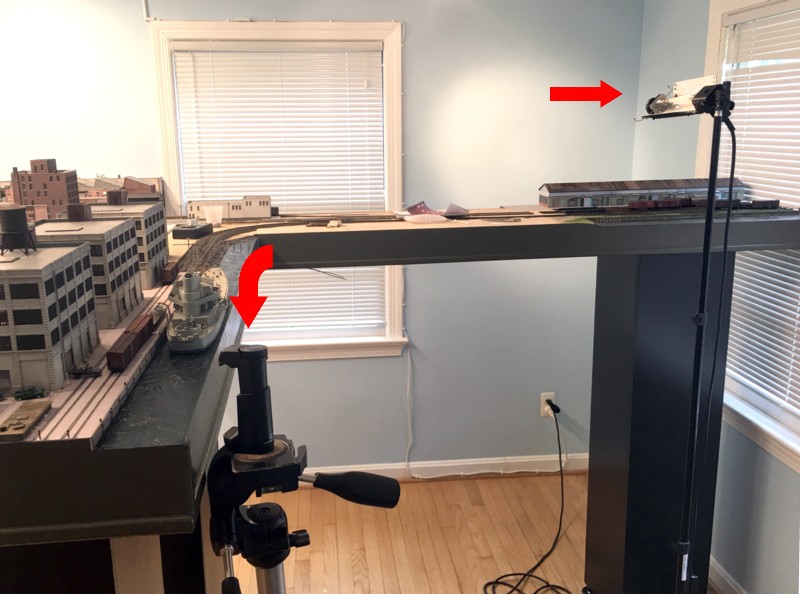
To create a shot like the one above we need to have a strategy going in. There are two pillars that make up the foundation of what you see above. First, the camera angle needs to be low in order to create the sense of mass that is so captivating about our subjects. Trains and ships are huge, our models are not. (The N scale boxcars in the photo above are only three inches long). The advent of exceptional smartphone cameras opens up an entirely new world from the standpoint that you can get the lens so much lower than with the a traditional SLR. Strategy 1, use a smartphone. Second, it’s all about the lighting. In order for a shot to “snap” you need contrast. That means using photo floods NOT diffuse flourescents or room lighting. For most shots I use just one photo flood.

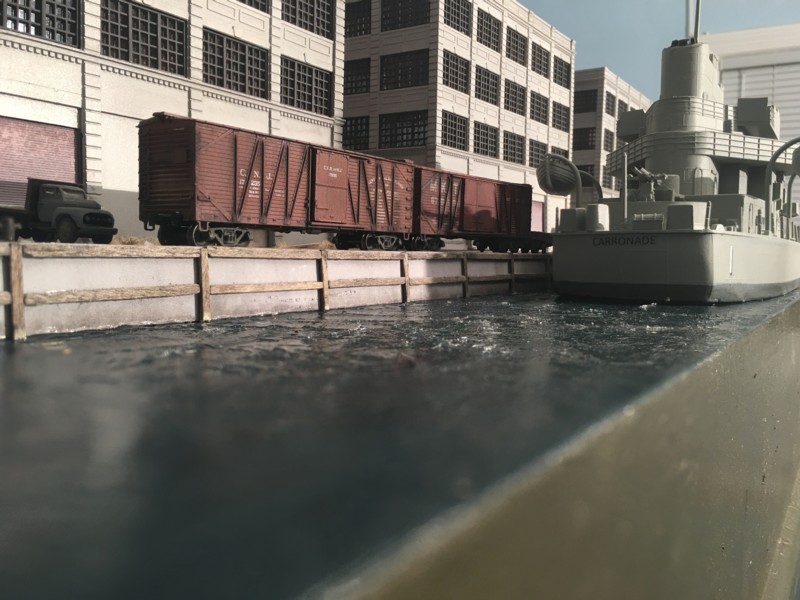

The final step of creating the image is some touch up. Blemishes, dust specks, minor modeling errors, etc. were lightly cleaned up with the clone tool. I bumped the saturation up just a hair (10 on the slider bar).
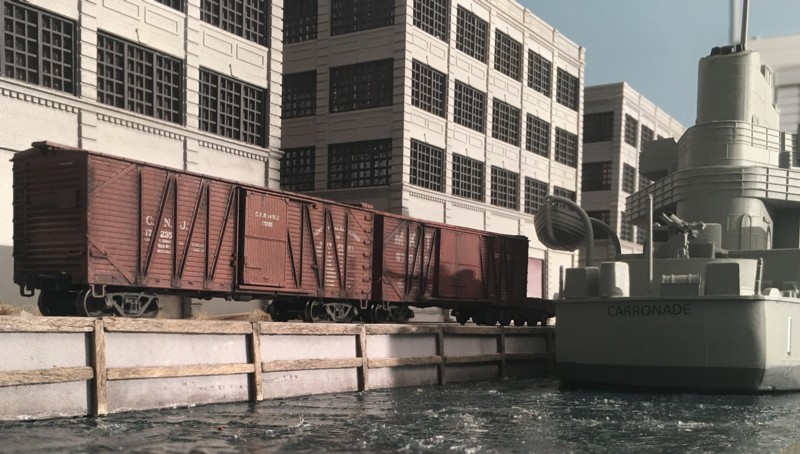
With experience we all learn that certain details just aren’t practical to model so be liberal in applying the old adage, “no detail is better than a crude or bad detail”. Guy wires and flags are no goes. If you try to model them, the eye will immediately key in on the fact that your subject is a model. To get around this, I photoshopped both in. The guy wires on the mast were edited in using the lines tool (medium gray not black). The drooping flag on the back was found on the net, sized appropriately, and cropped in.
This one image took about a half day to create but to me it’s worth it to have something you can enjoy looking at for many years into the future.