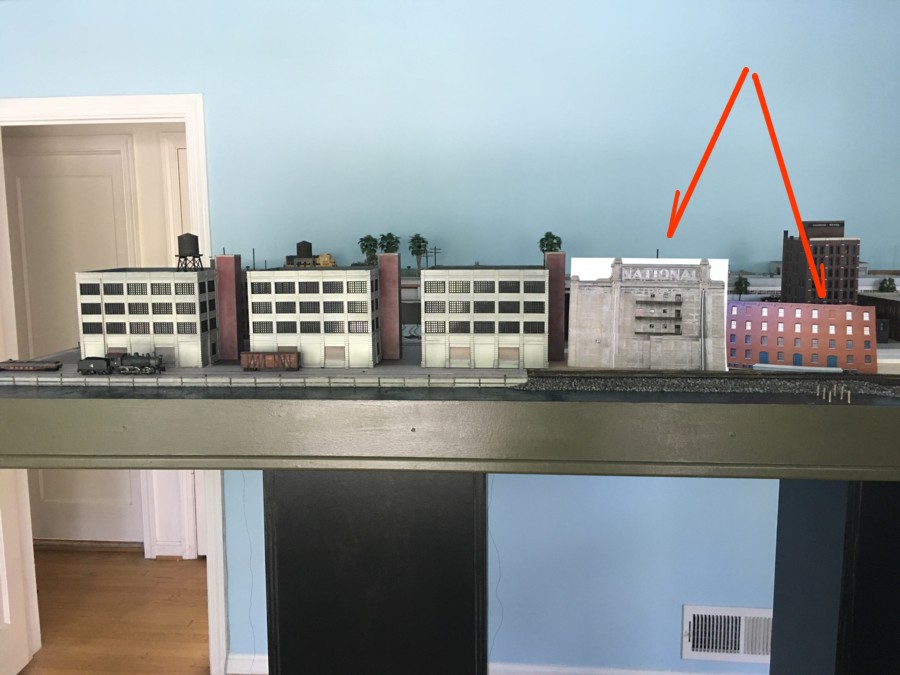
The final structure this year will be National Cold Storage. When that’s done, I want to double back and do some tuning and detail work. Since the prototype is pretty massive, I’ll need to do some selective compression. To dial in the best composition and sizing I printed out some photos of the prototype as well as a photo of the Atlas Middlesex kit. It’s far easier and faster to do it this way than with a kit.
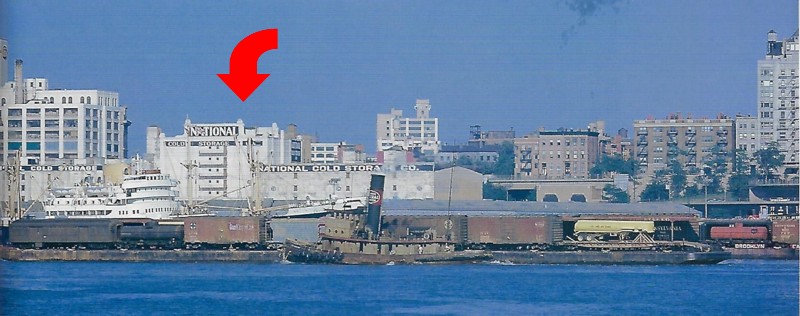
I used the size of the prototype relative to it’s neighbors as a guide. Note that NCS doesn’t tower above the surrounding structures. Since the three warehouses on the layout are only four stories tall, I want to make sure not to exceed that.