Our chances of attaining an end result are higher if we can, at least in rough terms, define what it is we’re actually after. Before that can happen, we need to develop an awareness that it’s an issue in the first place. This brings me to today’s topic, defining hobby success. The actual definition doesn’t matter and will obviously vary from person to person. A subtle disconnect arises though when somebody’s personal definition doesn’t match their behavior. In these cases, we need to either alter our definition and have peace with it, or change our behavior. The most common situation is somebody who, in their own minds at least, considers themselves to be an active modeler. Their behavior contradicts that self-image, however, if ALL of their time (not most of it, but ALL of it) is spent on social media, forums, and shopping.
The issue is the difference between “recreation” and “entertainment”. It’s a subtle distinction but an important one. Entertainment is essentially passive and involves watching, surfing, and buying. Recreation involves “doing”. Even with a huge umbrella for defining “doing” (building, writing, photography, volunteering, researching, etc.) more than half of our hobby population never gets under it.
The issue has always been there I’m sure, but the advent of the net has set it into overdrive. For all of the enormous benefits it offers to our hobby, they come at a huge cost. It’s an enormous distraction, addictive, and reduces attention spans. Speaking for myself, it’s pretty easy to create a habit of plopping into a chair and surfing YouTube instead of turning off my devices and picking up an X-acto knife.
Basic self-awareness can go a long way from the standpoint of keeping us on guard for those time periods when the needle is tilting more towards the entertainment side and away from the recreation (action) side. By the same token, there’s nothing wrong with somebody being honest with themselves and saying, “Truth be told I’m really more of a fan of the hobby than a participant”. For example, I like watching surfing videos and reading about the sport, but my motivation to be an actual participant is pretty low. I’m more of a fan of the pastime.
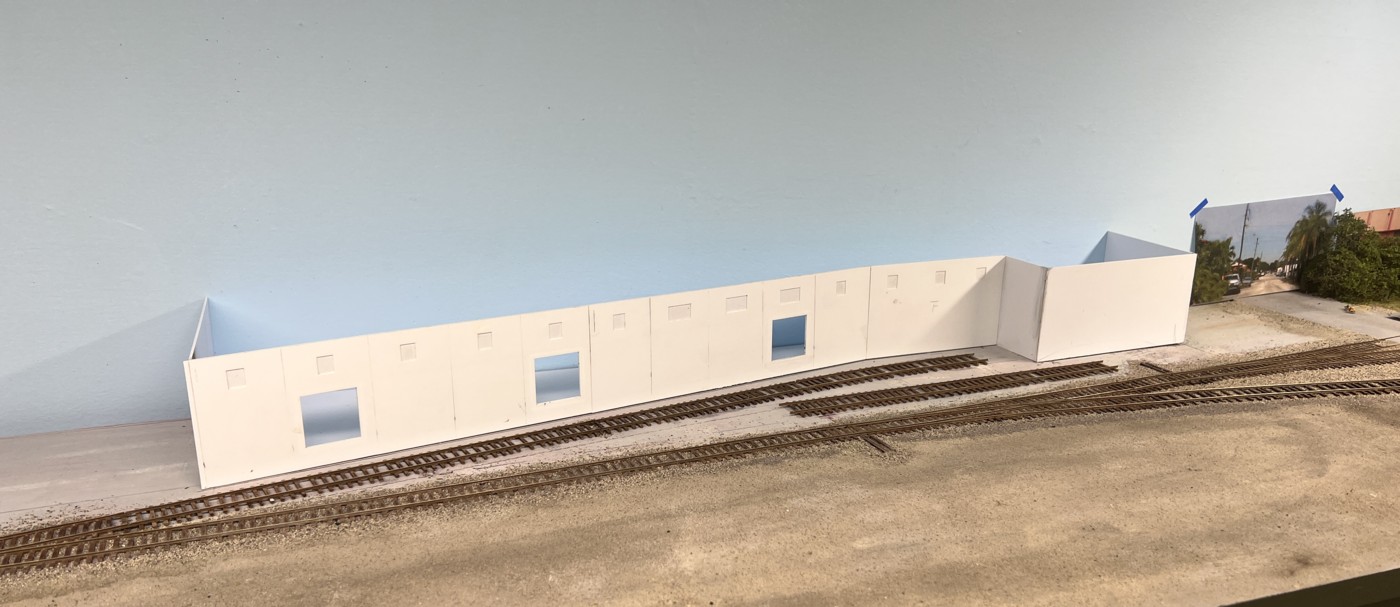
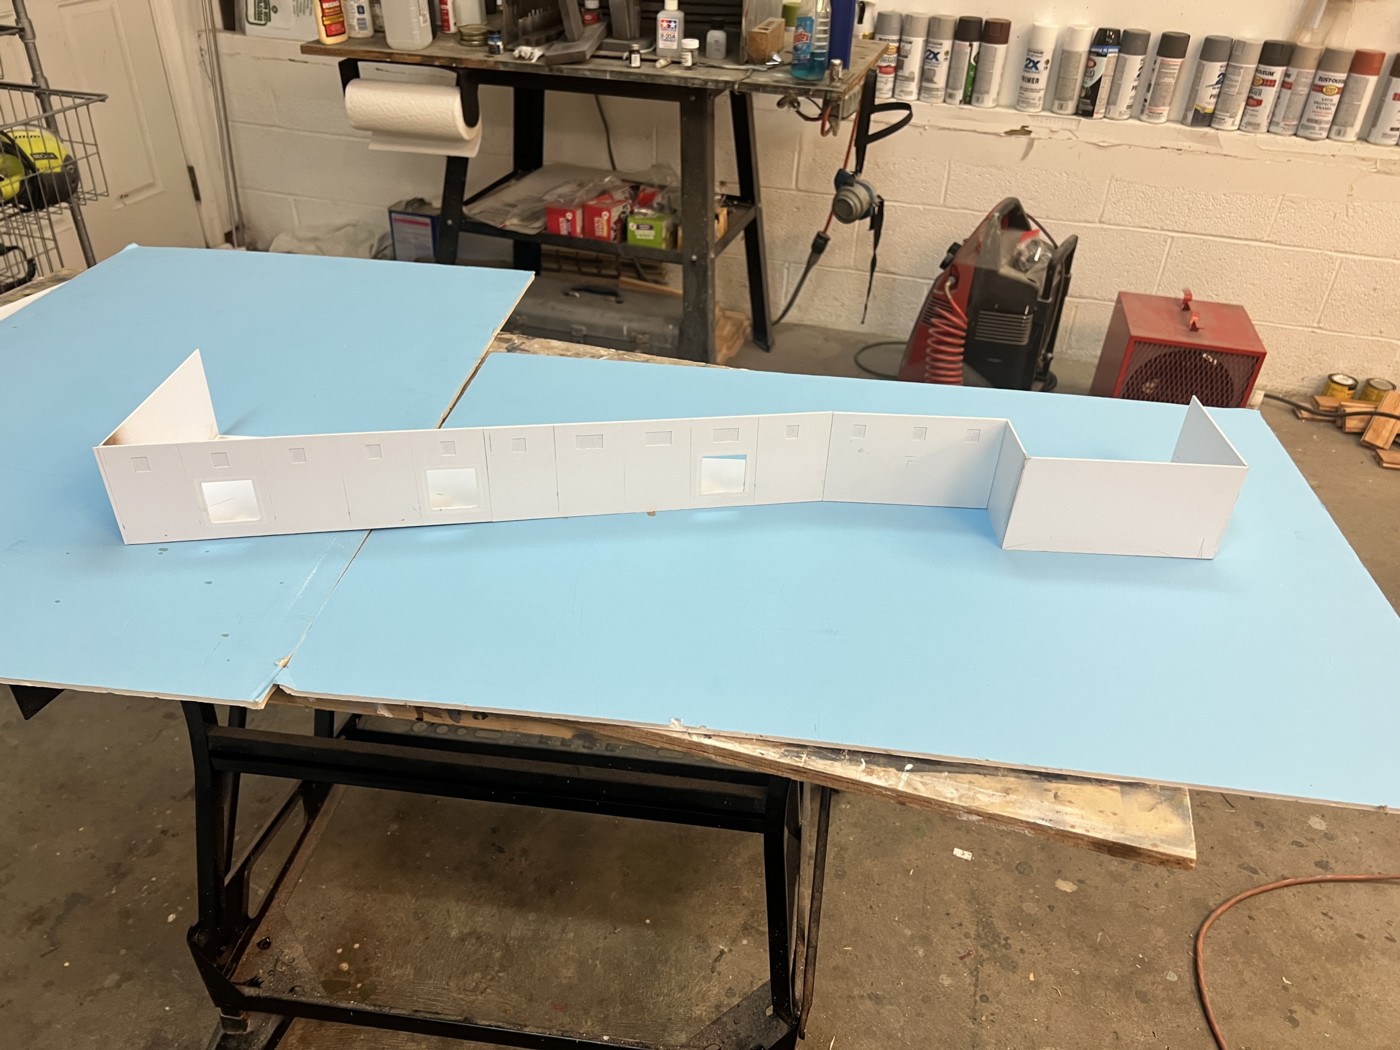
One of my favorite YouTubers is SoCal Scale Models. The reason isn’t what you’d expect. Yes, his layout is well designed and composed, neatly constructed, reliable and a joy to take in. But that’s not what stands out to me. What I really respect is his level of engagement with the hobby. He thrashes the living daylights out of that layout, squeezing every ounce of enjoyment from it that it has to offer. To me that’s what the hobby was meant to be, one primarily of engagement and participation and not the empty calories of a “stare at a screen” existence.