In a recent blog we discussed learning Photoshop Elements. The main points were: despite all of the tools on the screen, you only use a few of them over and over. Last time we discussed cropping, color correction, and adjusting lightness and darkness.
Today we’re going to discuss the “selection tool”. As its name implies, the tool is used to highlight a specific area that “you want to do something to”. That something could be making a specific area lighter, darker, a different degree of saturation etc. The selection tool is identical to what you do everyday in MS Word or on your cell phone…highlight something….do something with it. Simple.
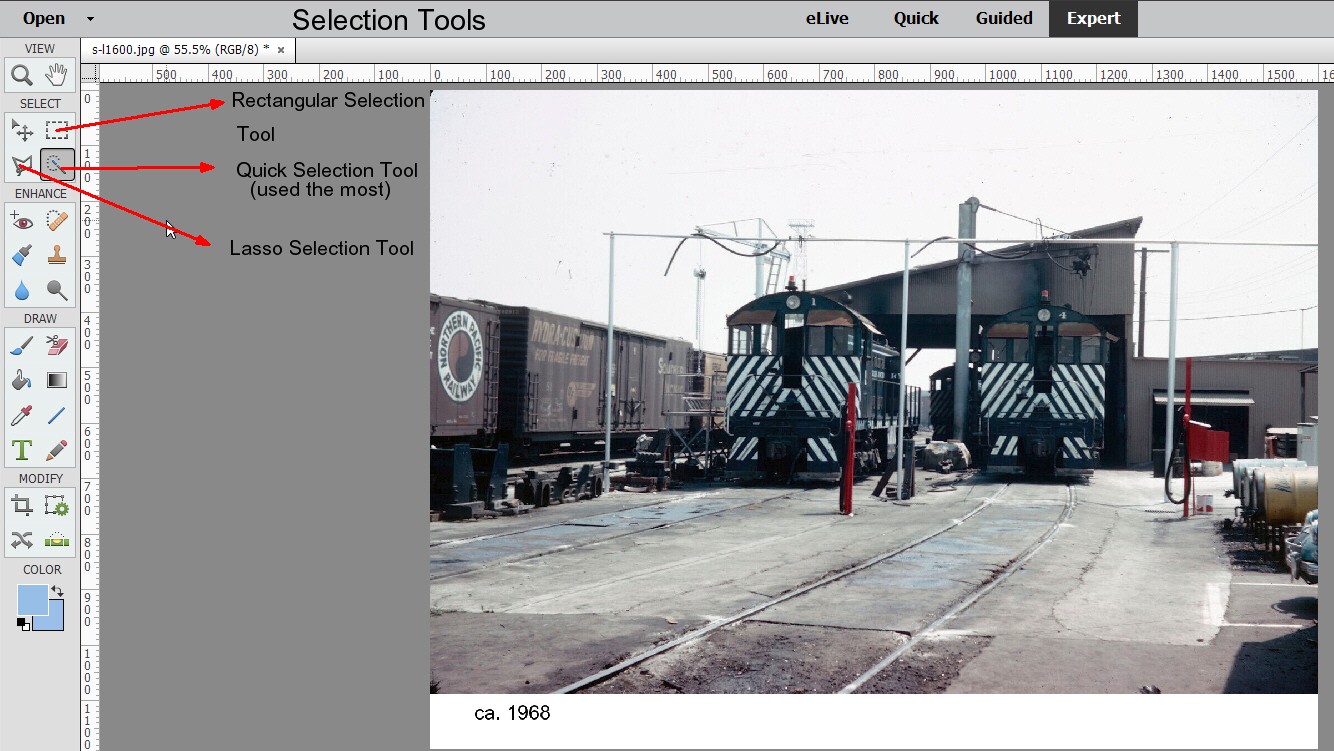
In the photo above, I’ve shown the location of the selection tool at the top left. There are three versions: magic wand (which you’ll use most of the time), the rectangular selection box, and the lasso (which I don’t use much).

I use the magic wand aka quick selection tool the most. Just drag it around the area you want to work with. You’ll see the dashed borders immediately appear. If you look closely at the image above you can see the dashed zone around the boxcar. At the bottom of the page are toggles that allow you to increase or decrease the area selected. Clicking add and waving the wand will add to the area selected. Hit subtract if you want to decrease the zone. After some quick adjusting you’ll quickly have the outline of the area you want to work with. If you want to hit the eject button, right click and hit “deselect”.
Lets say you have an image that is perfect except for one area. For example maybe a locomotive pilot is too dark but everything else is perfectly exposed. If you apply the lighten tool globally it will make everything brighter not just the pilot. If you outline that pilot with the selection tool you can then fiddle with it without impacting the rest of the image.
Wrapping up. The quickest way to learn Elements is to get it on your machine and fiddle with it. The most frequently used tools are:
-Cropping
-Color Correction (never needed for outdoor shots. Almost always needed for indoor model photos)
-Adjusting lightness and darkness
-Using the selection tool to adjust a specified zone.
If I get the sense that readers are actually getting the software and trying to learn it, I’ll continue the tutorials.