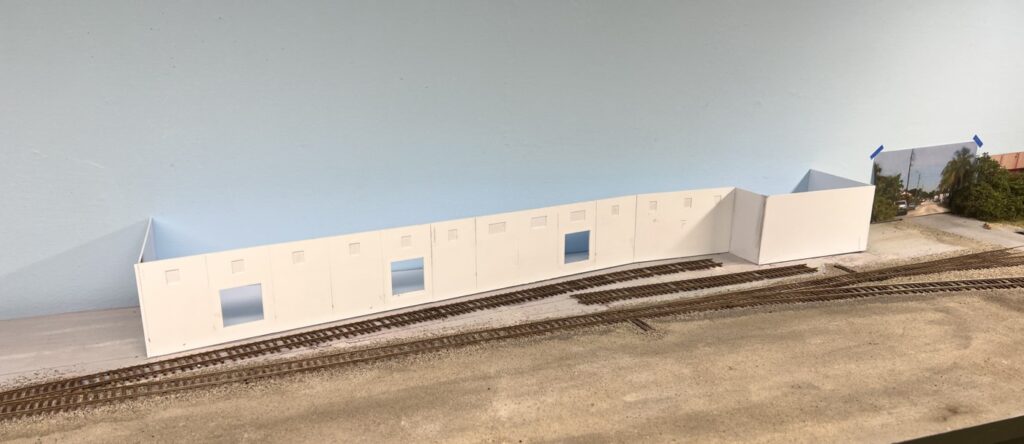
The SALCO structure as of today.
The three elements of a well executed structure are:
-Neatness and alignment
-Effective color treatment
-Appropriately thin parts thicknesses
Mastering the first two is a lifelong journey. No matter how much experience you have, attaining clean alignment with no gaps or skewed parts takes a lot of attention and focus. You’ll notice a long row of smaller windows across the top. For whatever reason, if elements like this are even slightly tilted or out of square, the eye picks up on it. I don’t know why. On the flip side, if a prototype dimension is off by a foot or so nobody will notice.
Due to the need to have the windows aligned, I decided to use the craft cutter for this job. Cutter is a misnomer. It’s more of a deep scriber as it won’t really cut anything thicker than .010″. This means the walls are a two layer laminate. The surface is produced with the cutter out of .020″ styrene. For stability I then laminate this onto a sturdier .060″ base. It would be impossible to get even a remotely clean look cutting the .060″ directly.

On the top we have the base and the two smaller slabs are the laminates (showing the back side). Both surfaces will be sprayed with Super77 and, after allowing 30 seconds to set, the overlays will be laminated on. You need to get these perfectly aligned before you press them together as you really don’t get a second chance!

Next up is filling the gaps with Squadron putty and sanding those smooth followed by the columns and roof. Stay tuned…..