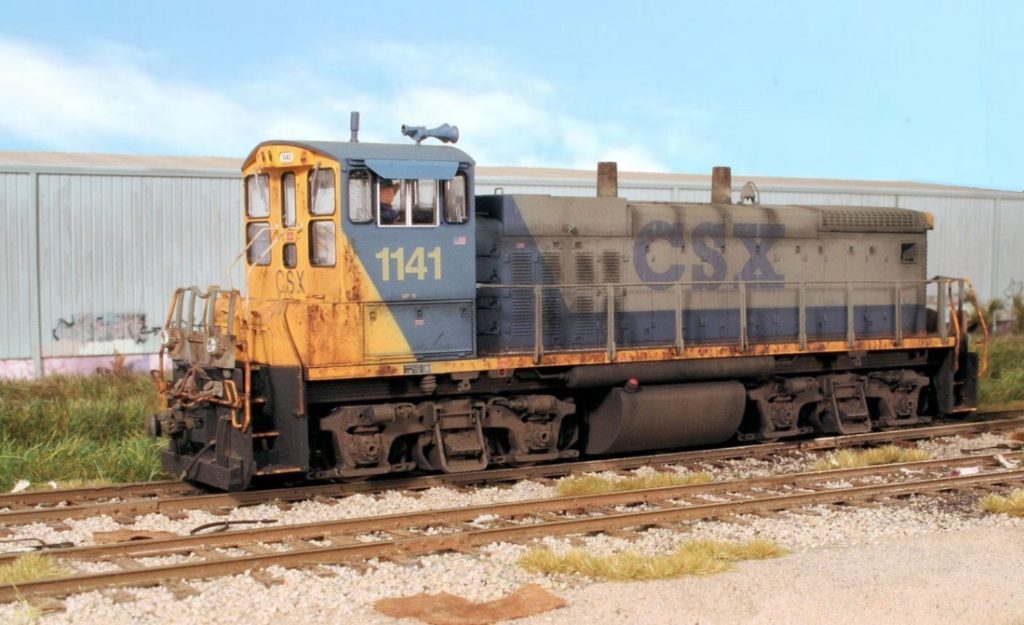
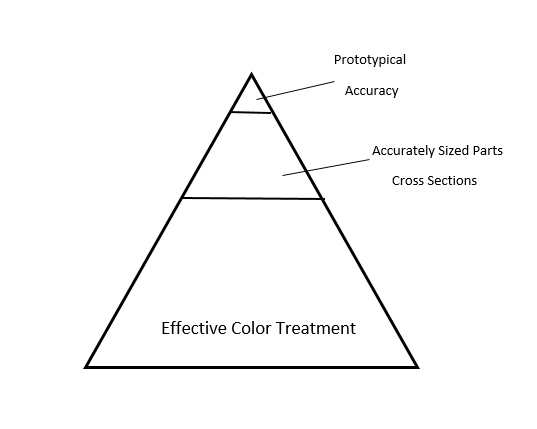
The overwhelming majority of a model’s visual impact comes from the effective handling of color, far more so than prototypical accuracy. As such, becoming an effective modeler begins with understanding that reality and embarking on a lifelong journey to constantly improve your color treatment and weathering skills.
Tips
- Number 1, know when to quit. When in doubt as to whether you’ve applied enough weathering, quit for the day!
- Work in light, subtle layers. You can always add more color but reversing overdone weathering is often impossible.
- Study photos carefully and try to determine what weathering patterns catch the eye and what colors you are actually dealing with.
- Fade with a lighter version of the base color, not white.
- Before starting, ask yourself, “what could go wrong” Often it’s a long list! To that end….
- Practice off the main subject on scraps.
- Be aware of the composition of the paint you are using (enamels? acrylics?) and what will be going on top of what. If you use enamels and then apply an oil wash over them, the oils will erode the underlying paint.
- Make extensive use of thin, dark washes to create contrast.
- Focus on the use of the burnt umber and flat black color palette. Use pumpkin oranges and raw sienna’s sparingly if at all.
- Be aware of the 80/20 rule. That is, what patterns and colors create the lion’s share of your particular modeling subject.
- Refer to rule number one, know when to quit for the day!
Tools
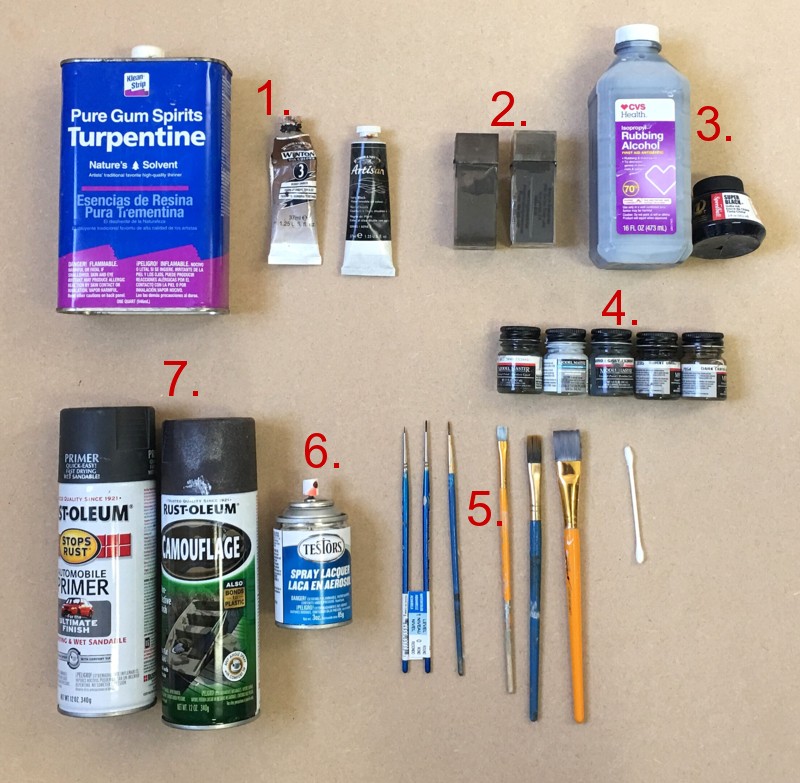
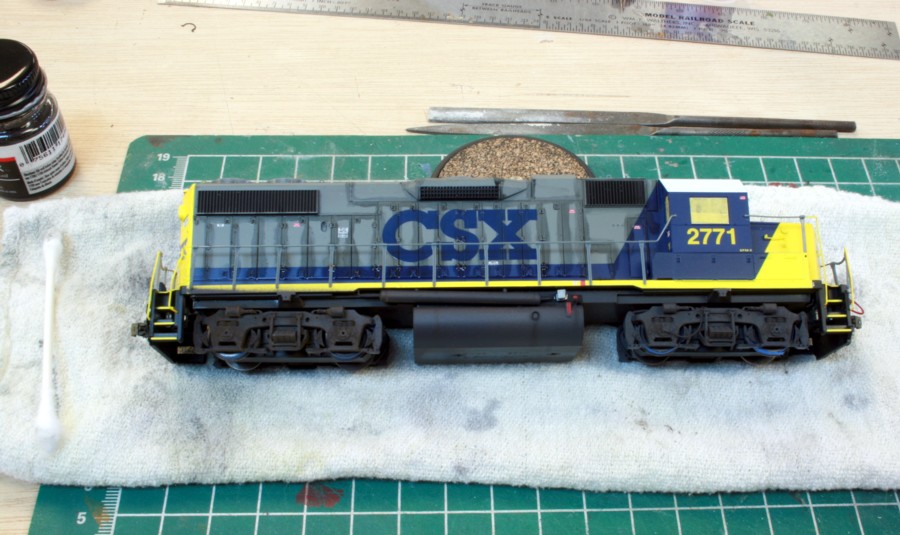
Shown above are the tools and materials I use for the vast majority of my weathering projects….inexpensive, simple, and within reach of even a middle school aged modeler. I do use an airbrush on occasion but have left it out as you can survive without it and the cost may be out of reach for younger modelers.
- Artists oils and mineral spirits. I only use two colors, black and burnt umber. Note the absence of burnt sienna, rusty orange, white, etc. Black is applied in dilute form as a wash with a 3/4″ wide flat brush. Burnt umber is used for rust bleed and rust spotting and is typically applied with a toothpick.
- Bragdon weathering powders. Used for rust. Again, only two colors….Bragdon “Soot Black” FF-64 and Bragdon “Weathered Brown” FF-69. I mix these together 50/50. Apply with a brush, a cotton squab, or sprinkled onto wet Dullcote to represent pitting.
- India Ink/Alcohol. Used as a wash. Mix three batches: 1/2 tsp of ink per pint of alcohol (for washes over white), 1 tsp per pint, and 2 tsp per pint (for brick and darker colors). Make sure you avoid the water soluble inks. I use 70 per cent alcohol.
- Model Master paints.
- Light Gray FS36495 (instead of white)
- Euro Gray FS 36081
- Burnt Umber 2005 (Rust, rails, etc.)
- Dark Earth (ANA 617) For painting Micro Engineering track but NOT other brands with oversize details
- US Army Helo Drab FS34031
For fades, I start with flat white and then slowly add drops of the base color. For example, say you were modeling a faded blue steel warehouse. Applying the unfaded blue and then trying to fade it later with white or gray is a fairly difficult road. Instead, pre-mix your own batch of the faded blue ahead of time by taking white, adding drops of the base blue to bring the color up, and then applying the pre-faded mix.
5. Small, round tip brushes (000,00,0) and an assortment of flat tip brushes (1/4 inch to 3/4 inch or so). Cotton swabs.
6. Dullcote. If you get alcohol on Dullcote it will frost. Re-apply the Dullcote and things will revert to normal
7. Rustoleum “Dark Gray Primer” I use this instead of black. Rustoleum “Earth Brown” camo. paint (basically burnt umber and used for rust (track etc.)
50 Shades of Gray
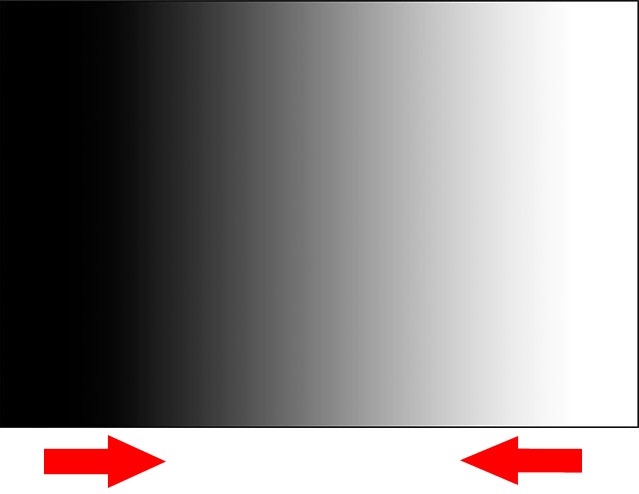
In our modeling world, nothing is black and white. Black fades to charcoal, white slides to a very pale gray.
Creating Contrast, Skill Number One
The largest color challenge facing a modeler is instilling a sense of mass in our subjects. Light doesn’t seem to bounce off of our miniatures the same way it does for the full-size counterparts we are trying to represent. If we don’t address this, our models will always seem small, toy-like, and will have a hard to define color “flatness”. The solution is to inject shadows into the panel lines of our rolling stock and crevices of our structures. Fortunately, this is easy to do and should be the starting point for anybody jumping into the world of weathering.
The solution is simple enough and that is to apply a black wash at some point in the weathering process. I usually do this first. For structures, I apply an India Ink/alcohol wash with a 3/4″ flat brush using vertical strokes. Out of the box rolling stock has a very robust stock paint layer. A wash can be applied with the same 3/4″ flat brush but I use thinned black artist oils instead. For more control sometimes I’ll apply the dilute artist oils directly to the panel lines with a number 0 brush and wipe the excess off with a cotton squab. If you want to see some masterful examples of adding contrast Google “Tamiya Panel Lines” and check out the work of our military modeling cousins.
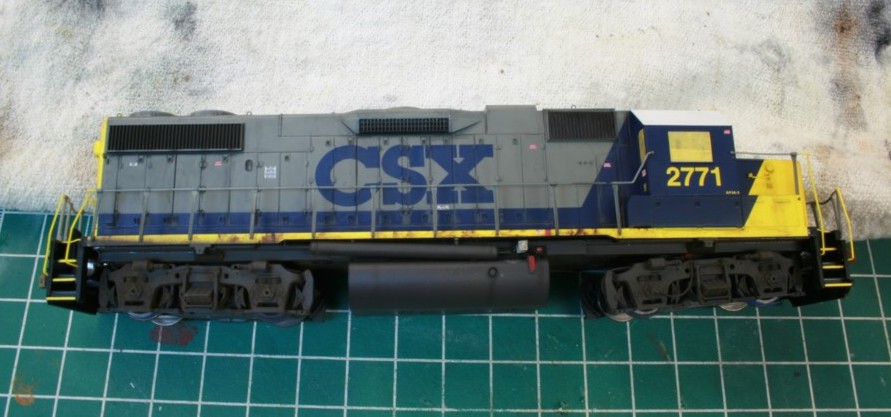
In the above images I’ve applied the panel line contrast directly with a small brush, let it dry a few moments and then wiped off the excess with squab dampened in mineral spirits.
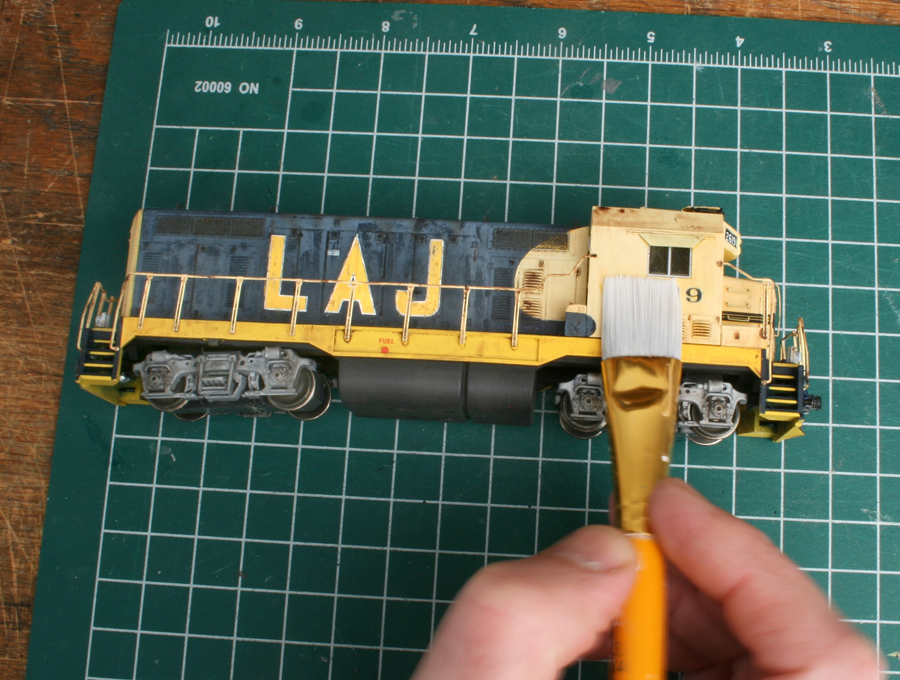
With this model I created the panel wash accents simply by applying a dilute wash of black artist oils with a flat tipped brush.
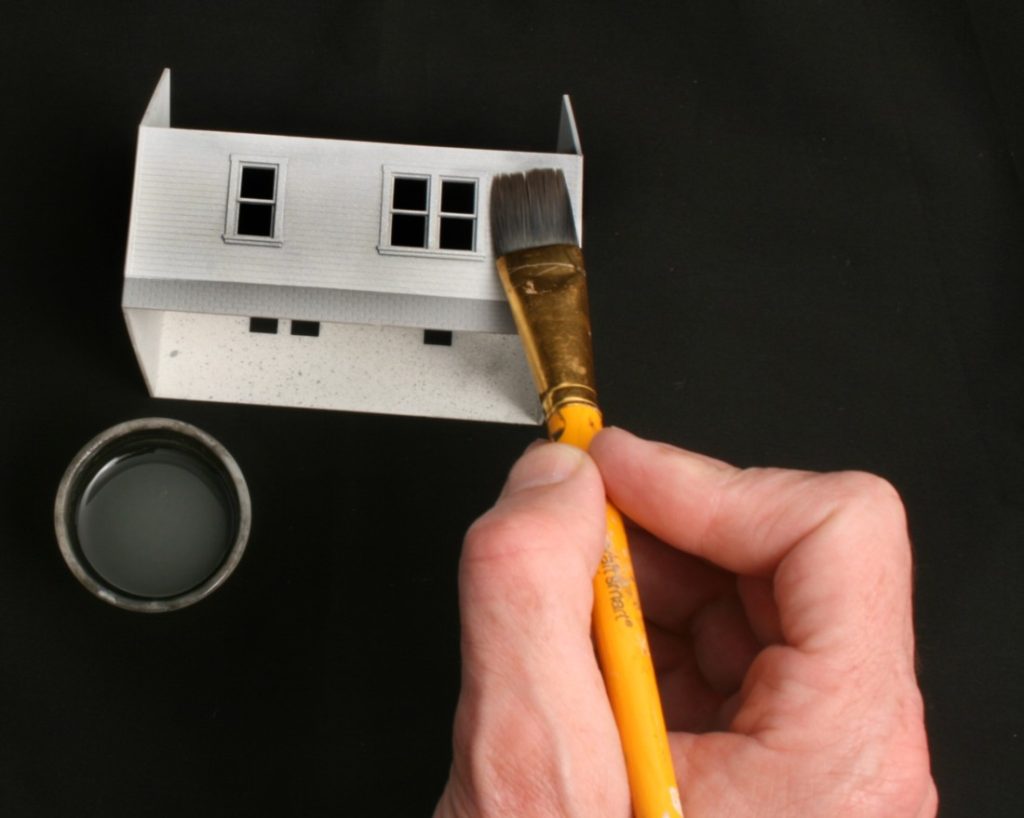
For structures, I use a wash of India Ink and alcohol. Since this structure is white, I use a dilute wash of 1/2 tsp per pint.
Finally, a word of caution when using oil washes. Always be aware of the type of paint you’ve applied to the previous layers (lacquer, enamel, acrylic). If you’ve spent hours laying down weathering details with an oil based paint and then apply an oil wash, you’ll erode your previous work……speaking from experience :(. Plan the order of your work. Generally, I do the wash first.
