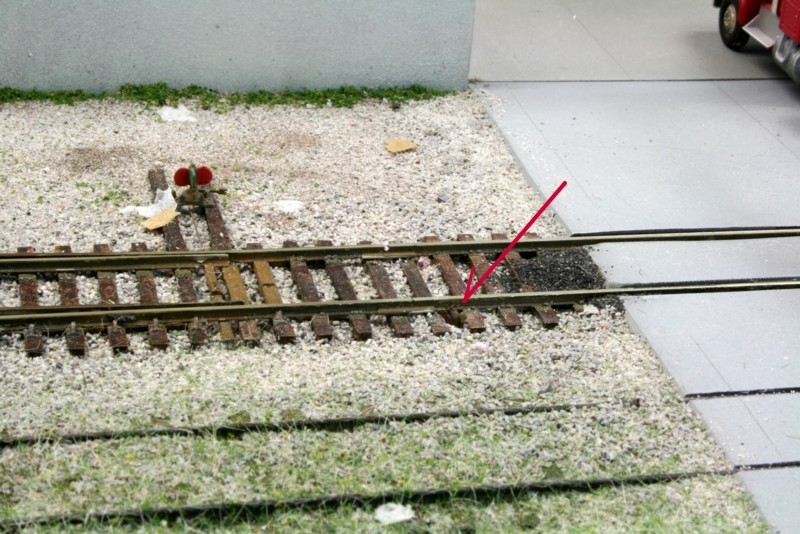
Attaching your track feeders to the rail in such a way that they are hidden is much easier than you would think. Follow along as I show you how to solder the wire to the bottom of your rails and do so in a way that produces a reliable connection.
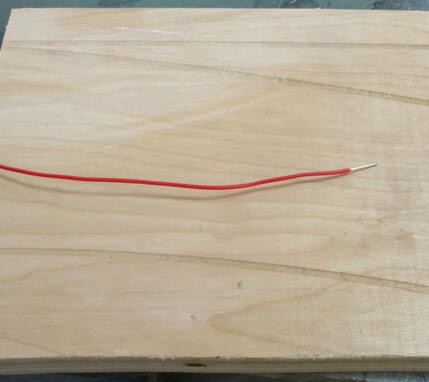
Start with 18 gauge solid hook up wire and strip roughly 3/4″ of the insulation off.
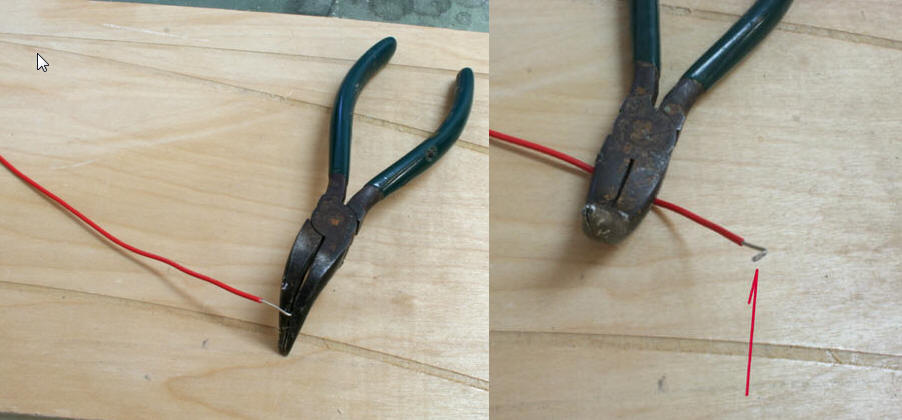
Bend a small “L” into the end of a wire about an eighth of an inch long.
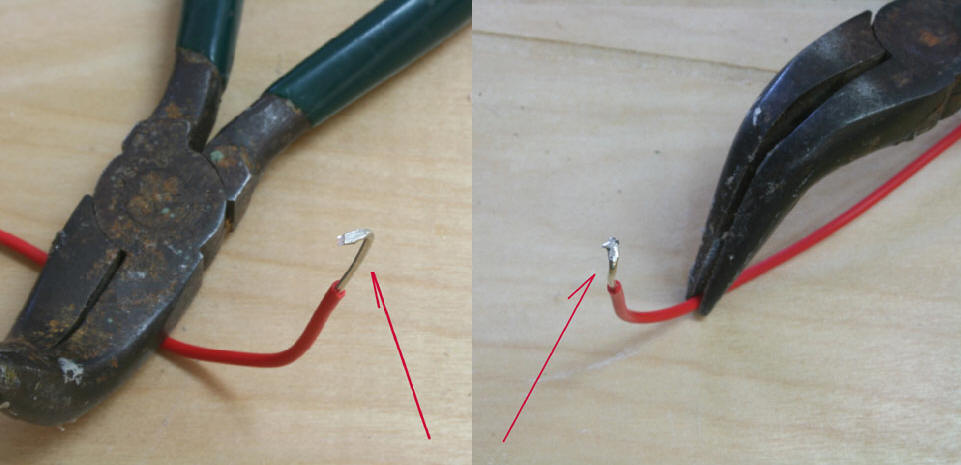
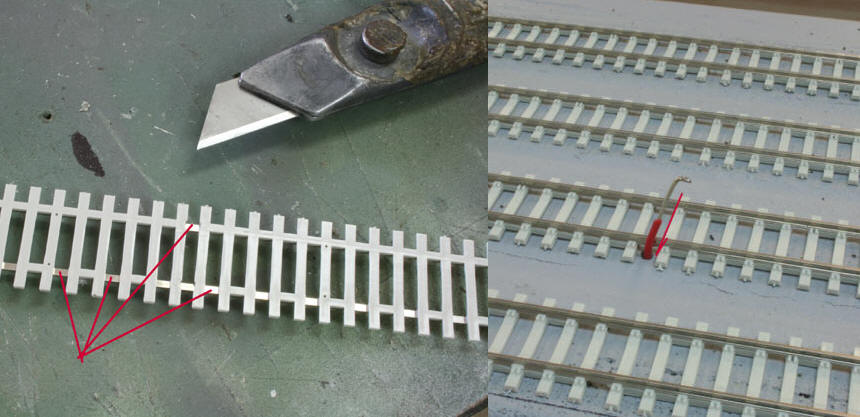
Using pliers, smash the “L” section as flat as you can (Left). Put a drop of flux on the end of the “smashed L” and tin a drop of solder to the face of the “L”.
Different flex track brands have different tie fret arrangements. Trim away a few fret sections as necessary to make sure you have a some bare metal locations exposed to solder to (Left). Drill your feeder hole and slip the feeder wire down from the top. Add a drop of solder flux to the top of the tinned portion of the feeder.
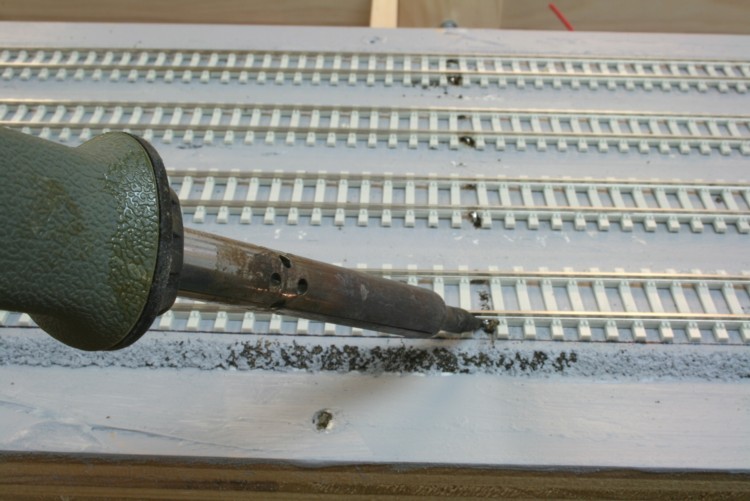
Reach under the layout, grab the feeder wire and gently but firmly push it up until the “tinned, smashed, L” makes contact with the bottom of the rail. Place the tip of your soldering iron on the bottom of the rail web right next to the feeder. Apply some upward pressure with the iron so it is firmly contacting the bottom rail web. In a matter of seconds, the tinned solder on the feeder should liquefy and spread to the rail base. Remove the soldering gun. Give a firm downward tug on the feeder to make sure it is securely soldered.
